Gears in real estate photography in 2025 is more considered than ever. High-quality visuals are crucial for marketing success. With new technology shaping the industry, choosing the right equipment can make all the difference.
Here, we explore the essential gears in real estate photography for professionals in 2025.
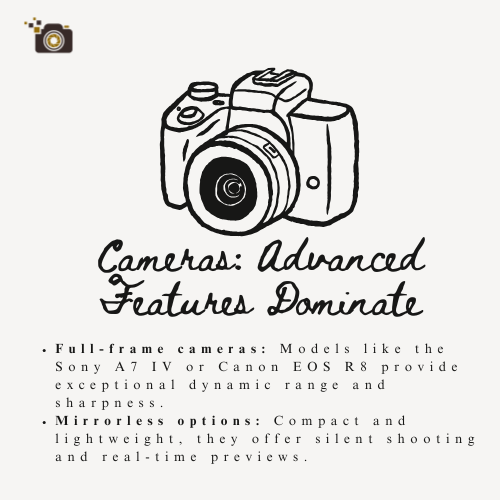
1. Cameras: Advanced Features Dominate
Choosing the right camera remains a priority for photographers. In 2025, cameras with AI-powered features are the norm. These features assist in automatic composition and lighting adjustments.
- Full-frame cameras: Models like the Sony A7 IV or Canon EOS R8 provide exceptional dynamic range and sharpness.
- Mirrorless options: Compact and lightweight, they offer silent shooting and real-time previews.
AI tools in these cameras help balance light, making them ideal for interiors with mixed lighting conditions.
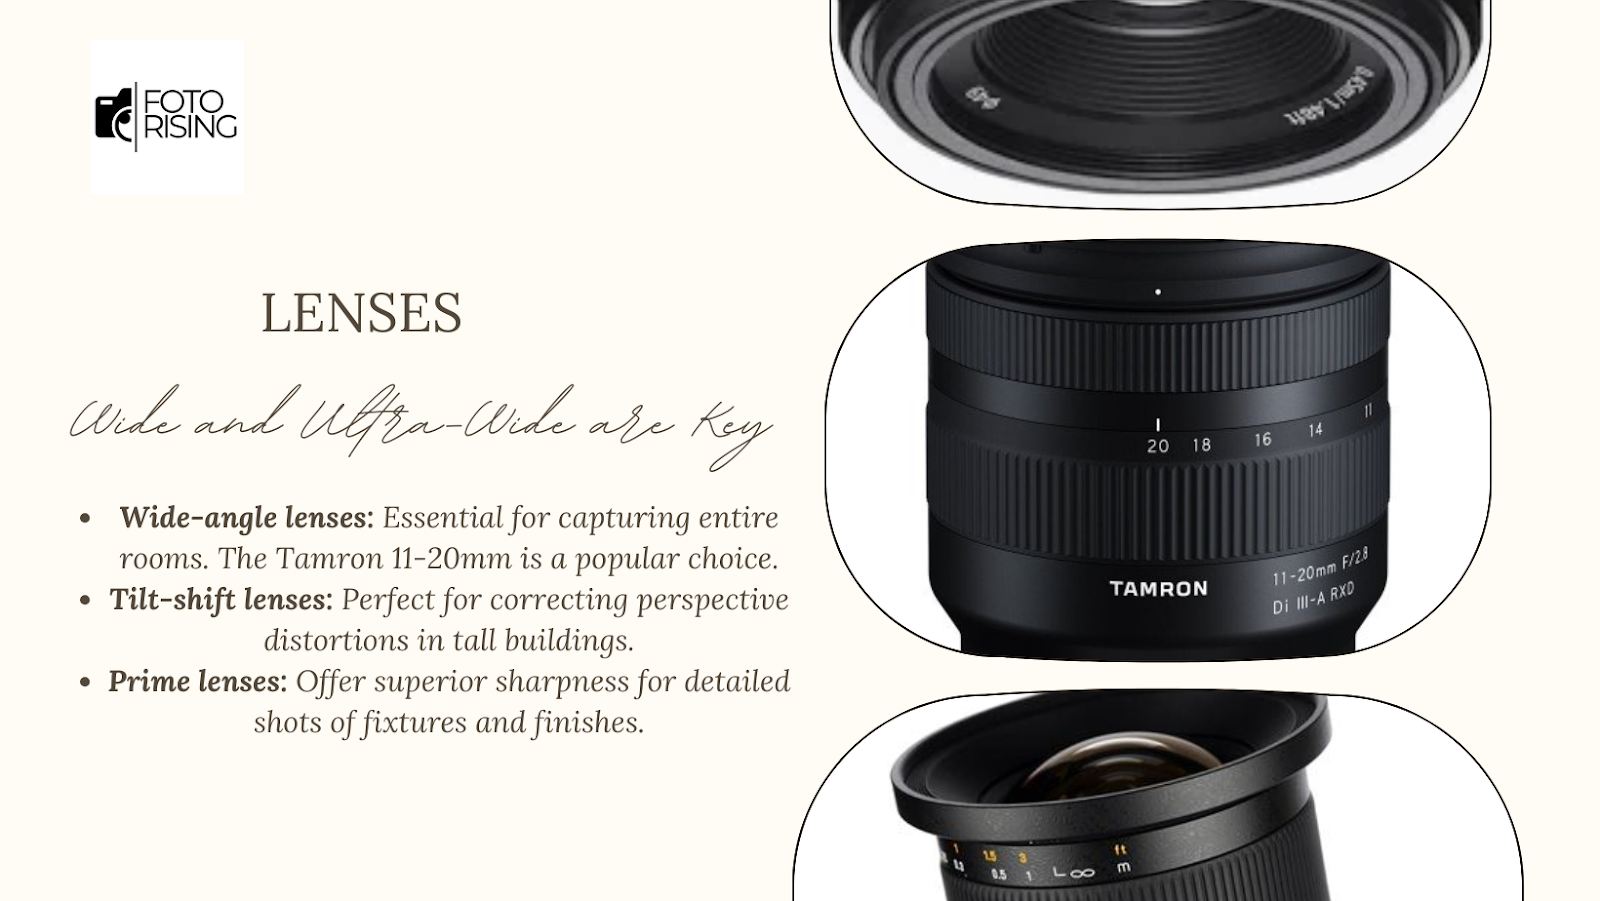
2. Lenses: Wide and Ultra-Wide are Key
Real estate photography heavily relies on capturing expansive views. Lenses in 2025 cater to this demand with enhanced optics.
- Wide-angle lenses: Essential for capturing entire rooms. The Tamron 11-20mm is a popular choice.
- Tilt-shift lenses: Perfect for correcting perspective distortions in tall buildings.
- Prime lenses: Offer superior sharpness for detailed shots of fixtures and finishes.
Investing in high-quality lenses ensures consistent results and minimizes editing requirements.
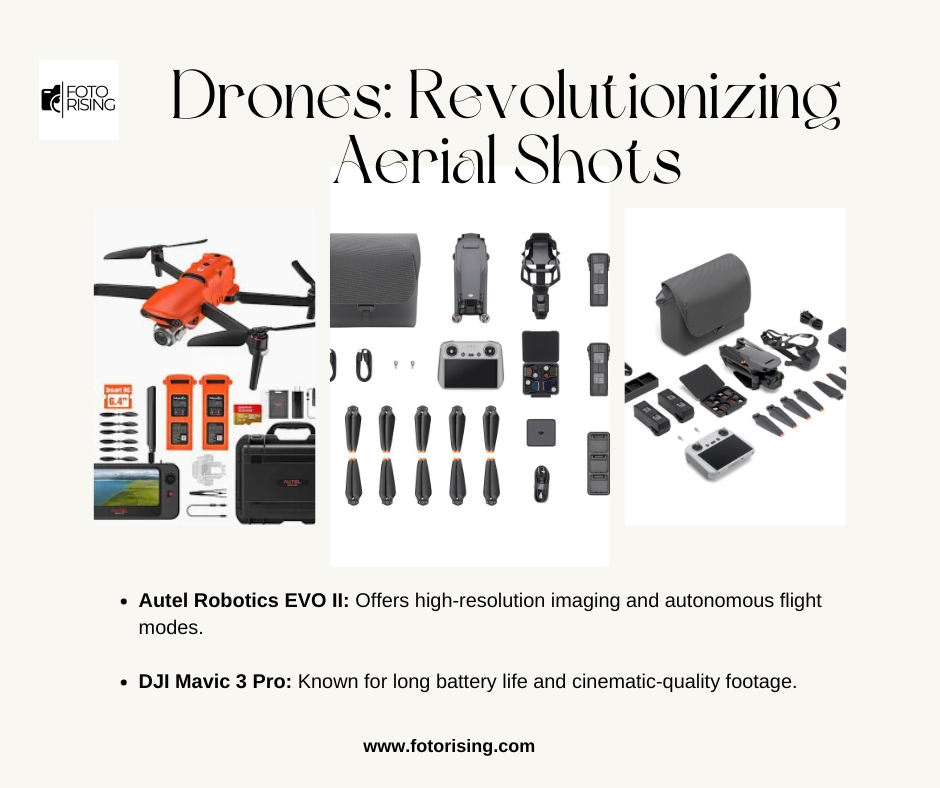
3. Drones: Revolutionizing Aerial Shots
Aerial photography is now a must-have for high-end properties. In 2025, drones are equipped with enhanced stabilization and 8K video capabilities.
- DJI Mavic 3 Pro: Known for long battery life and cinematic-quality footage.
- Autel Robotics EVO II: Offers high-resolution imaging and autonomous flight modes.
Drones are essential for capturing sprawling estates and showcasing neighborhood amenities from above.
4. Lighting Equipment: Portable and Powerful
Lighting is critical in real estate photography. Modern lighting solutions cater to versatility and efficiency.
- LED panels: Portable options like the Godox ML60 are popular for even and adjustable light.
- Flash systems: Profoto’s A10 provides consistent light for interior shots.
- Modifiers: Softboxes and reflectors ensure softer light and reduce shadows.
These tools help photographers adapt to challenging conditions such as dimly lit spaces.
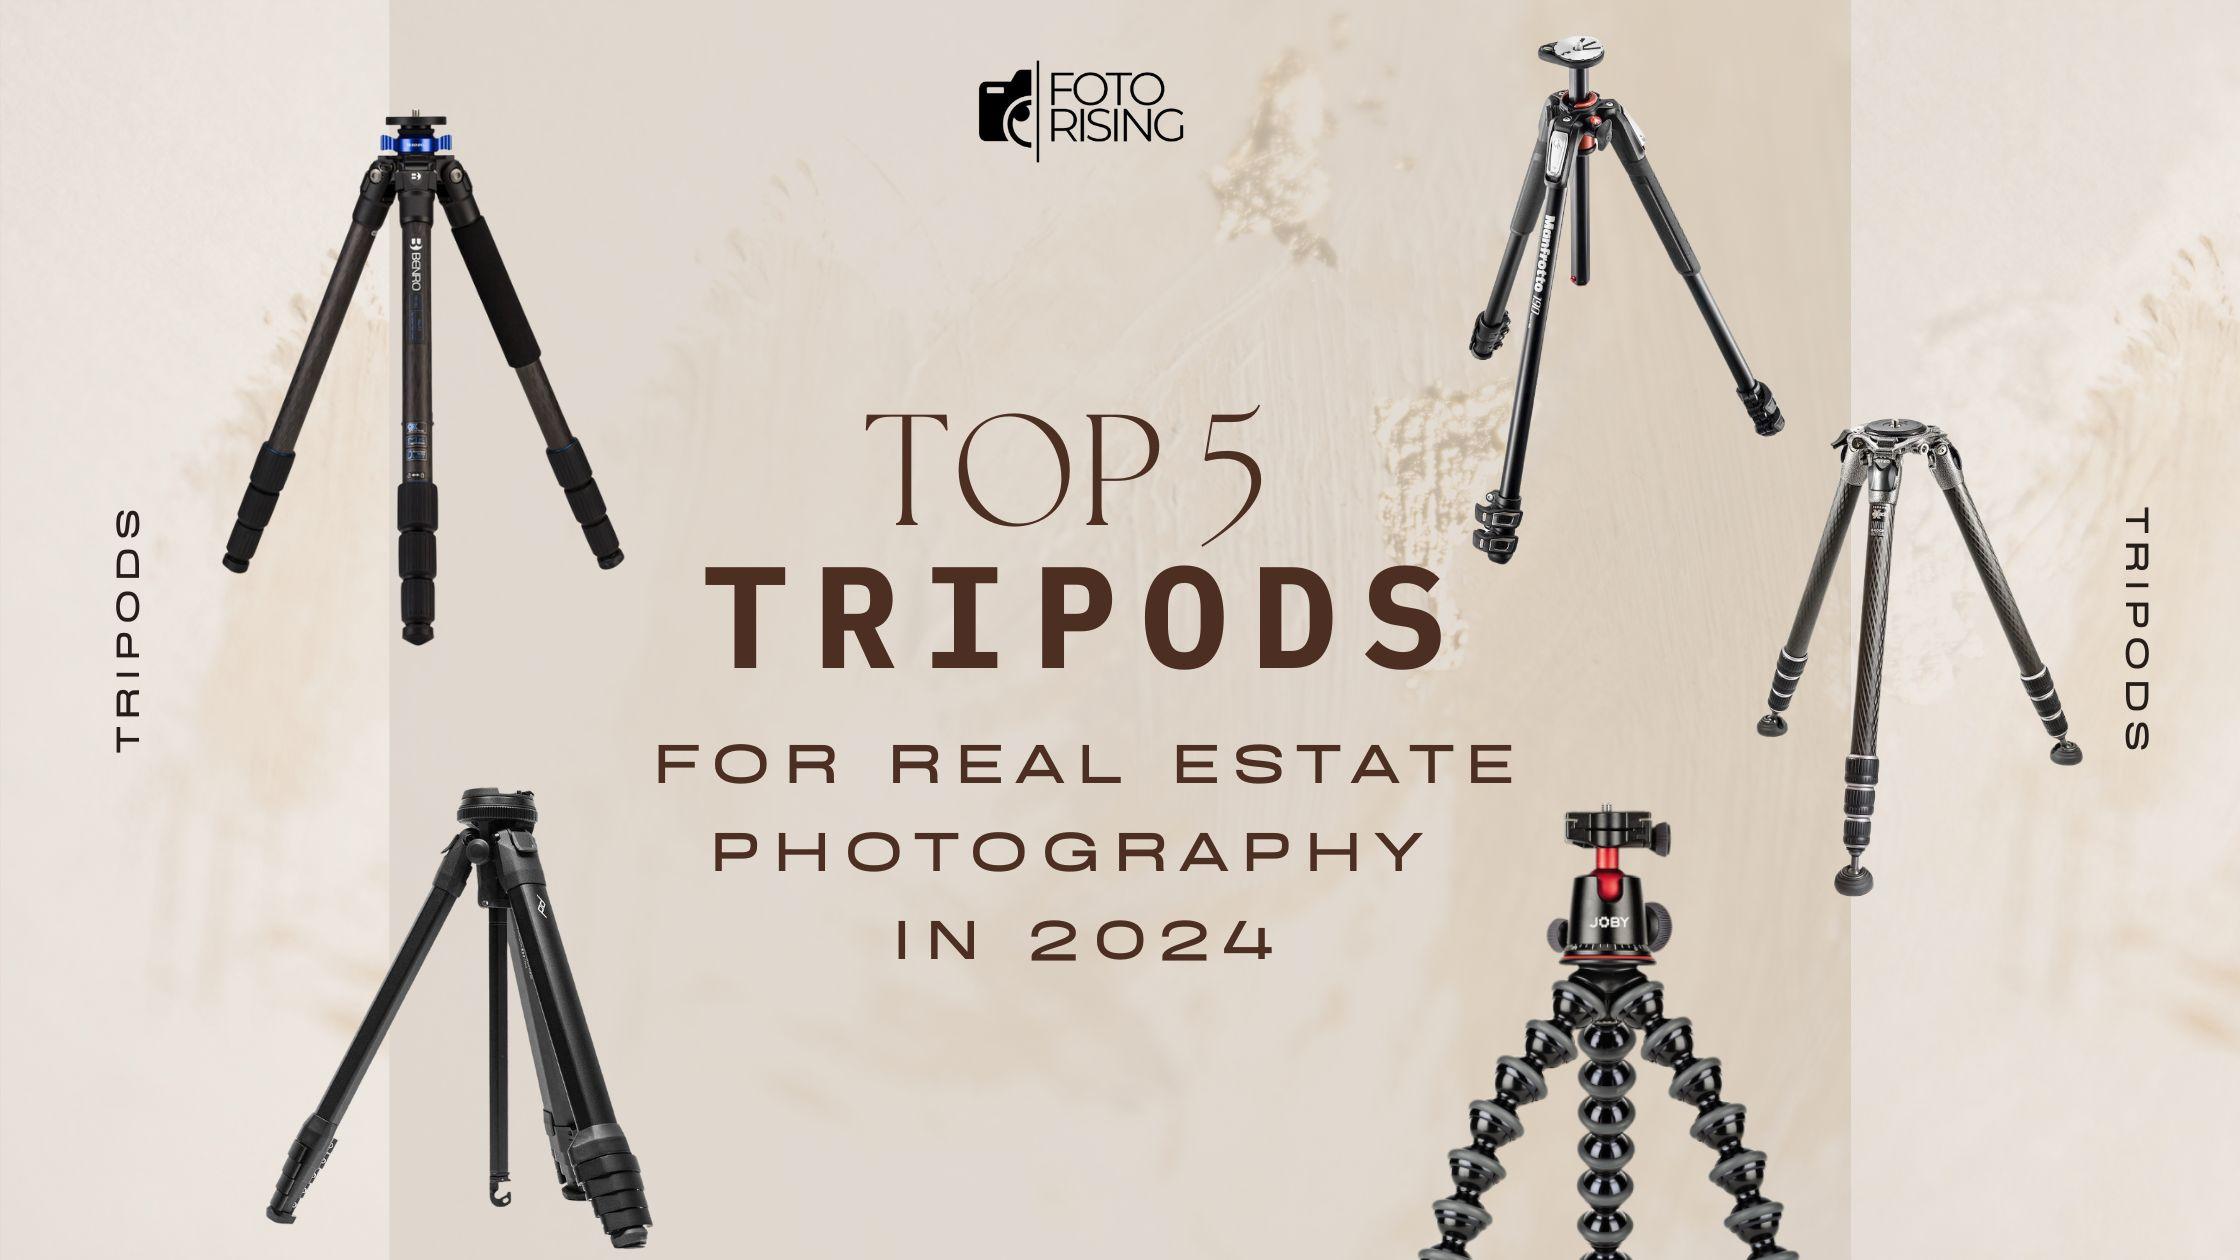
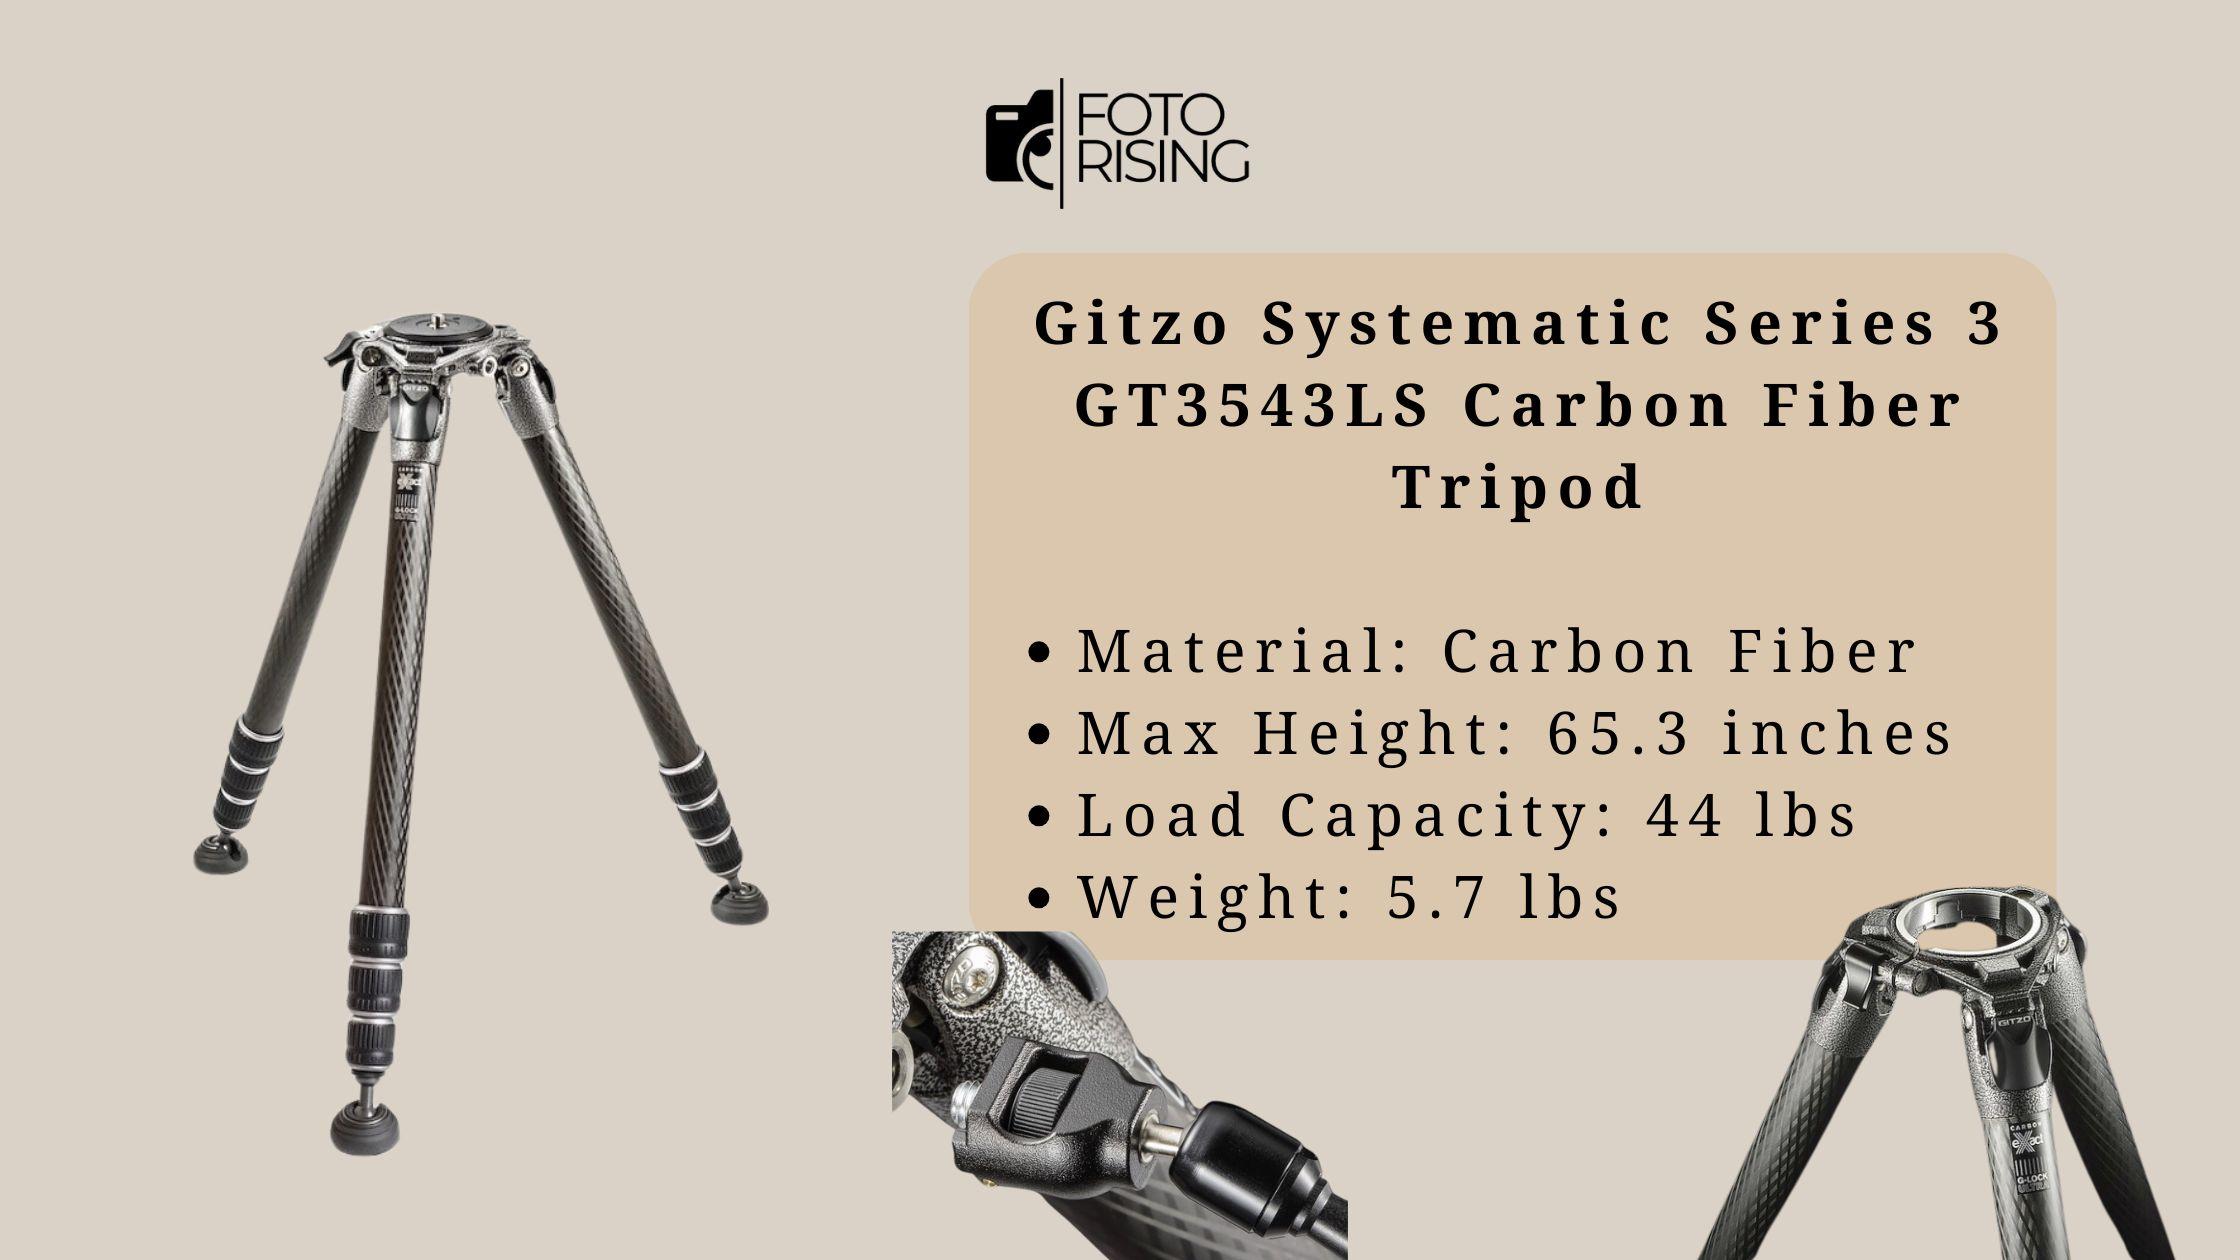
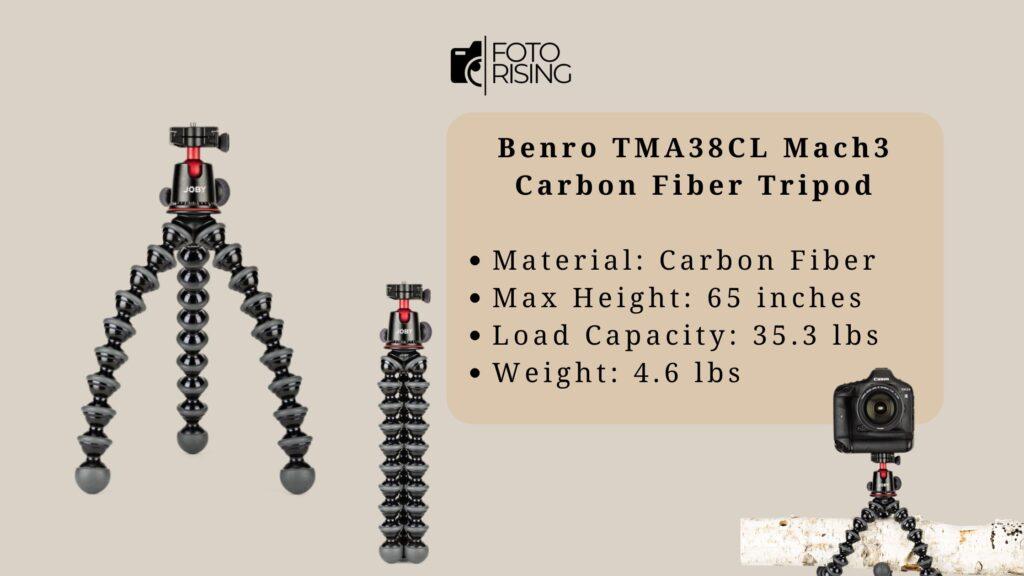
5. Tripods and Stabilizers: Precision and Stability
Stability is essential for sharp and professional photos. Modern tripods and stabilizers offer advanced features.
- Carbon-fiber tripods: Lightweight and durable, ideal for on-location shoots.
- Motorized stabilizers: Devices like the Zhiyun Crane M3 are excellent for real estate videography.
These tools ensure precision in framing and reduce post-production workload.
6. Editing Software: AI-Driven Enhancements
Editing is an integral part of real estate photography. In 2025, AI-driven software accelerates workflows and improves quality.
- Adobe Lightroom: New AI presets enhance colors and correct distortions automatically.
- Luminar Neo: Excels in sky replacements and automated object removal.
- Capture One: Offers unmatched control over color grading.
Using the latest software ensures consistent and professional-quality images.
7. Virtual Tour Tools: Immersive Experiences
Virtual tours have become a standard in real estate marketing. Photographers now use specialized tools to create immersive experiences.
- 360-degree cameras: Insta360 Pro 3 provides stunning image clarity and seamless stitching.
- Matterport technology: Enables quick scanning and 3D modeling of spaces.
These tools allow agents to engage potential buyers remotely, increasing their marketing reach.
8. Accessories: Enhancing Productivity
Small accessories make a significant difference in day-to-day operations.
- Remote triggers: Ensure vibration-free shots during long exposures.
- Portable storage devices: SSDs like the Samsung T7 safeguard your work during shoots.
- Color checkers: Help maintain color accuracy and consistency.
These tools enhance efficiency and ensure professional results.
Emerging Trends in 2025
The photography landscape evolves quickly. In 2025, two trends stand out:
- Sustainability: Gear manufacturers focus on eco-friendly materials and energy-efficient technologies.
- AI integration: Cameras and editing tools incorporate more AI for real-time adjustments and predictive settings.
Staying updated with these trends ensures that photographers remain competitive.

Conclusion
Success in real estate photography depends on the right gear and an understanding of emerging trends. In 2025, AI-powered cameras, drones, and virtual tour tools dominate the market. Photographers must adapt and invest in technology to meet client expectations and deliver outstanding results. By using the right equipment, you can elevate your photography and stay ahead in this fast-paced industry.
Read more:
Top Photography Shooting Tips for Beginners