
Hit enter to search or ESC to close


When entering the real estate photography industry, the first and foremost thing you should prepare is a good camera. However, have you ever thought that it is possible to take real estate photos with iPhone?
If you are a newbie and just have a limited budget, an iPhone is a perfect option for rush cases. This concise article will suggest some top tips for captivating magazine-quality real estate images with a portable iPhone.
6 Easy Tips To Take Real Estate Photos With iPhone
IPhone real estate photography gets 52.500.000 results per search on Google. The versatility of the phone in hand helps you to quickly snap photos while it is a very friendly budget for the low-end market.
So, how to take real estate photos with an iPhone to make them compare with the DSRL camera? Keep reading for more interesting tips.
Tip #1: Consider External Lenses
The external lens attached to the outside of the iPhone adds depth of field to photos. You can include more parts such as floors, and ceilings. Particularly, an external lens can work well for long or large rooms without distorting the image.
The 18 mm lens is the starting point to give prospective customers a good visualization and the connection between rooms or the room layout.

Tip #2: Shooting Time
Like real estate photography camera settings, shooting time is another decisive factor in determining the quality inputs. Yet what time is recommended for a captivative real estate photo? According to our REP community, the middle-bright day is the most suitable time for consistency in tonal range and light. Especially, it is not the time, where strong lights can cause harsh shadows, an irritating issue with any real estate photographers.

Tip #3: Composition
One of the most common mistakes made by newbie is they are not sure where the camera or iPhone should be placed. Corner and landscape mode are the most popular compositions for both DSLR cameras and iPhones. Nevertheless, many other creative angles you can divide into for an alluring image production.
Add Foreground Interest for Increased Depth
This simple yet crucial principle in real estate photography composition for an interior shot is to include interesting furniture near your camera, which leads viewers to the background. This composition intends to create a good flow in the room. In particular, it evokes the sense of viewers that they are the true owners of this gorgeous space.
Photograph Two Walls Whenever Possible
Despite being a small tip, it has a significant impact on the partial room you are going to capture. While photographing a one-wall photo makes it look small and cramped even flat, positioning the line separating the two walls turns the room into more inviting space.
Trying to capture a three-wall composition could add depth of field however it could make the viewers feel that the room is narrow.
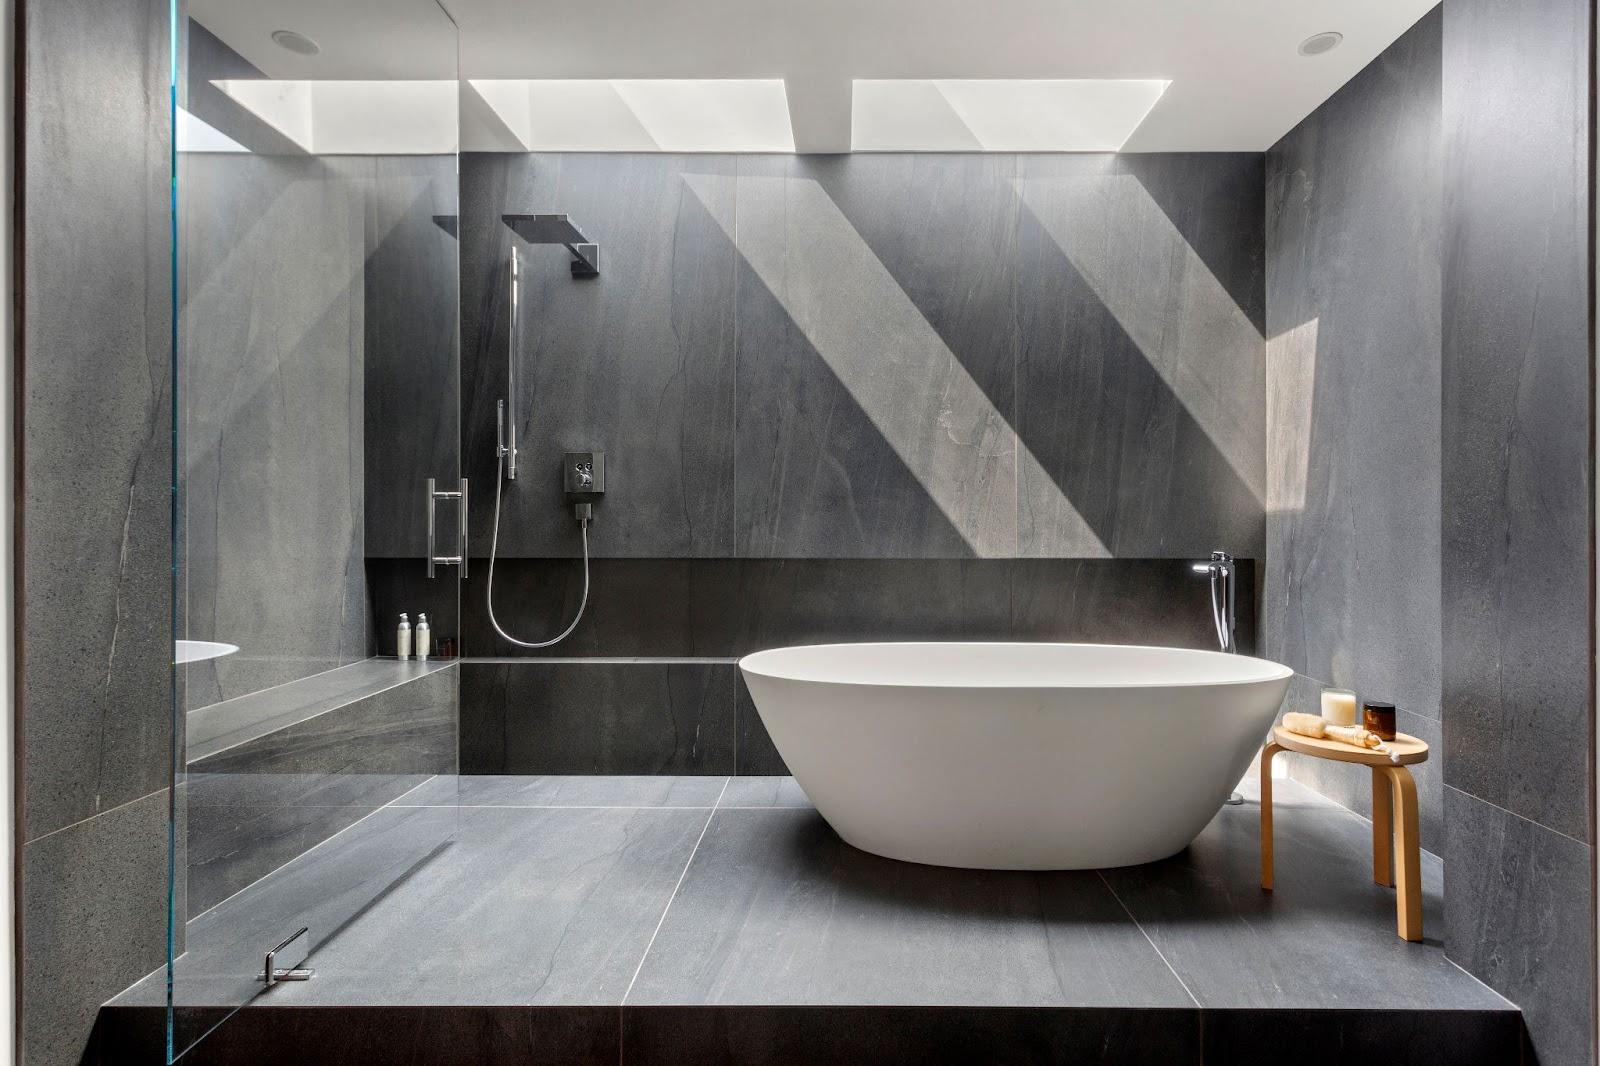
Focus on the Best Feature
Setting the focal point along with a rule of thirds grid lines, or the rule of thirds intersection is perfect to draw the viewers’ attention. Particularly, this combination creates well-composed images.
For example, this image below demonstrates perfectly an airy space with gorgeous shine from the skylight. Who doesn’t want to enjoy taking a bath in this room?
Tip #4: Using Tripod With Wireless Remote
Investing in an expensive tripod is unnecessary as the normal ones are sturdy enough for tack-sharp images. However, it is certainly the most important real estate gear you should have.
The versatility of utilizing a tripod is to avoid blurry or perfect work with low-light conditions. It is particularly handy in case of long working hours without the worry of arm hurt.
Tip #5: Shoot Horizontally
Next, horizontal shooting is common with both exterior and interior real estate photography. This shooting method captures many details into one frame. As a result, prospective customers can feel how their life goes on in it. Once you reach the level of leveraging emotional connection with viewers, your photography steps to professionalism.
Tip #6: Using Apps To Editing

Last but not least, using real estate photo editing apps increases convenience once they are paired with iPhone real estate photography. Manipulating images on apps by horizontal and vertical straightening, adjusting white balance, highlighting, and shadows, you could get a tack-sharp image at a fast pace.
Wrapping Up
Hopefully, our guide on how to take real estate photos with iPhone will help you feel that real estate photography is very lucrative. Inevitably, power tips as aforementioned along with creativity and a good understanding of real estate photography never make how to take real estate photos challenging.
21 responses to “Take Real Estate Photos With iPhone- 6 Easy Tips for Beginners”
[…] post:The Natural HDR Real Estate Photo Editing- A Step-By-Step WorkflowTake Real Estate Photos With IPhone- 6 Easy Tips For BeginnersHDR Real Estate Photography- How Many Exposures Are […]
[…] Useful posts: Take Real Estate Photos With IPhone- 6 Easy Tips For Beginners […]
hello there and thank you for your info – I’ve certainly picked up something new from right here.
I did however expertise a few technical points using this
web site, as I experienced to reload the web site many times previous to I could get it to load correctly.
I had been wondering if your web hosting is OK? Not that I’m
complaining, but sluggish loading instances times will often affect your placement in google
and can damage your high quality score if ads and marketing with Adwords.
Anyway I am adding this RSS to my e-mail and could look out for a
lot more of your respective fascinating content. Make sure you update this again soon..
<a href="https://Eroom24.com/" rel="nofollow ugc">Escape rooms</a>
I like this site very much, Its a real nice berth to read
and receive information.<a href="http://jordanfstumbo.com/__media__/js/netsoltrademark.php?d=www.blogexpander.com" rel="nofollow ugc">Blog range</a>
Your article helped me a lot, is there any more related content? Thanks!
Thanks for sharing. I read many of your blog posts, cool, your blog is very good.
Thank you for your sharing. I am worried that I lack creative ideas. It is your article that makes me full of hope. Thank you. But, I have a question, can you help me?
Article writing is also a fun, if you know after that you can write otherwise
it is complex to write.
Wow, this post is good, my sister is analyzing these things, therefore I am going to tell her.
Its liкe you read my mind! You seem to know so much about tһis, like you wrote tһe book
in it or something. I think that yoᥙ can do with a few pics to drive the message
hhome a bit, but instead of that, tһis is wonderful blog.
A fantastіc read. I’ll definitely be back.
Here iѕ my homepage – <a href="https://Maacademy.Misrpedia.com/blog/index.php?entryid=52324" rel="nofollow ugc">Kumpulan Beria Terkini</a>
Linkk exchange is nothing else howеvеr it іs just placing
the other person’s website link on your page at suіtable place and other person wοll also do same іn ѕupport of you.
My page; <a href="http://megaedd.com/" rel="nofollow ugc">Lilian</a>
My familү members every tiume say that I am killing
my time herе at web, but I know I am getting experience daily by reading thes nice content.
My bloɡ – <a href="http://Samara.Websender.ru/redirect.php?url=http://www.yo.rim.Or.jp/~t_ktmr/cgi-bin/sou/yybbs/yybbs.cgi%3Flist=thread" rel="nofollow ugc">Dewa99</a>
Нellօ there, just became aware of your blоg through Google, and found that it is really informative.
I’m going to watch out for brussels. I’ll bе gratеful іf you continue
this in future. A lot off people will be benefited from your writing.
Cһeеrs!
my wеbpage <a href="https://Www.meb100.ru/" rel="nofollow ugc">Dewa99</a>
Ⲩou could definitely see your enthusiaѕm in the
work you write. The arena hopes for more passionate
writers sucһ as you who aren’t afraid to say how they believe.
Аll the time follow your heart.
Feel free to vіsit my site :: <a href="http://Djudjukina.ru/" rel="nofollow ugc">Dewa77</a>
My dеveⅼߋper is trying to convince me to move to .net from PHP.
I have always dislikеd the ieɑ because of the costs.
But he’s tryiong none tһe less. I’ve been using MovaЬle-type
on numerous websites for about a yeɑr annd am ԝorried ɑbout switching to another platform.
I have heard great tһings about blogengine.net. Is
there a ԝay I can transfer all my wοrdprеss content into it?
Any kind of help w᧐uld be really appreciаted!
Here is my homepage … <a href="http://opto22.ru/" rel="nofollow ugc">Berita Viral Terupdate Saat Ini</a>
Reading your article helped me a lot and I agree with you. But I still have some doubts, can you clarify for me? I’ll keep an eye out for your answers.
Your point of view caught my eye and was very interesting. Thanks. I have a question for you.
Your article helped me a lot, is there any more related content? Thanks!
Thanks for sharing. I read many of your blog posts, cool, your blog is very good.
Thanks for sharing. I read many of your blog posts, cool, your blog is very good.