Search Blog
Hit enter to search or ESC to close
Trending Now
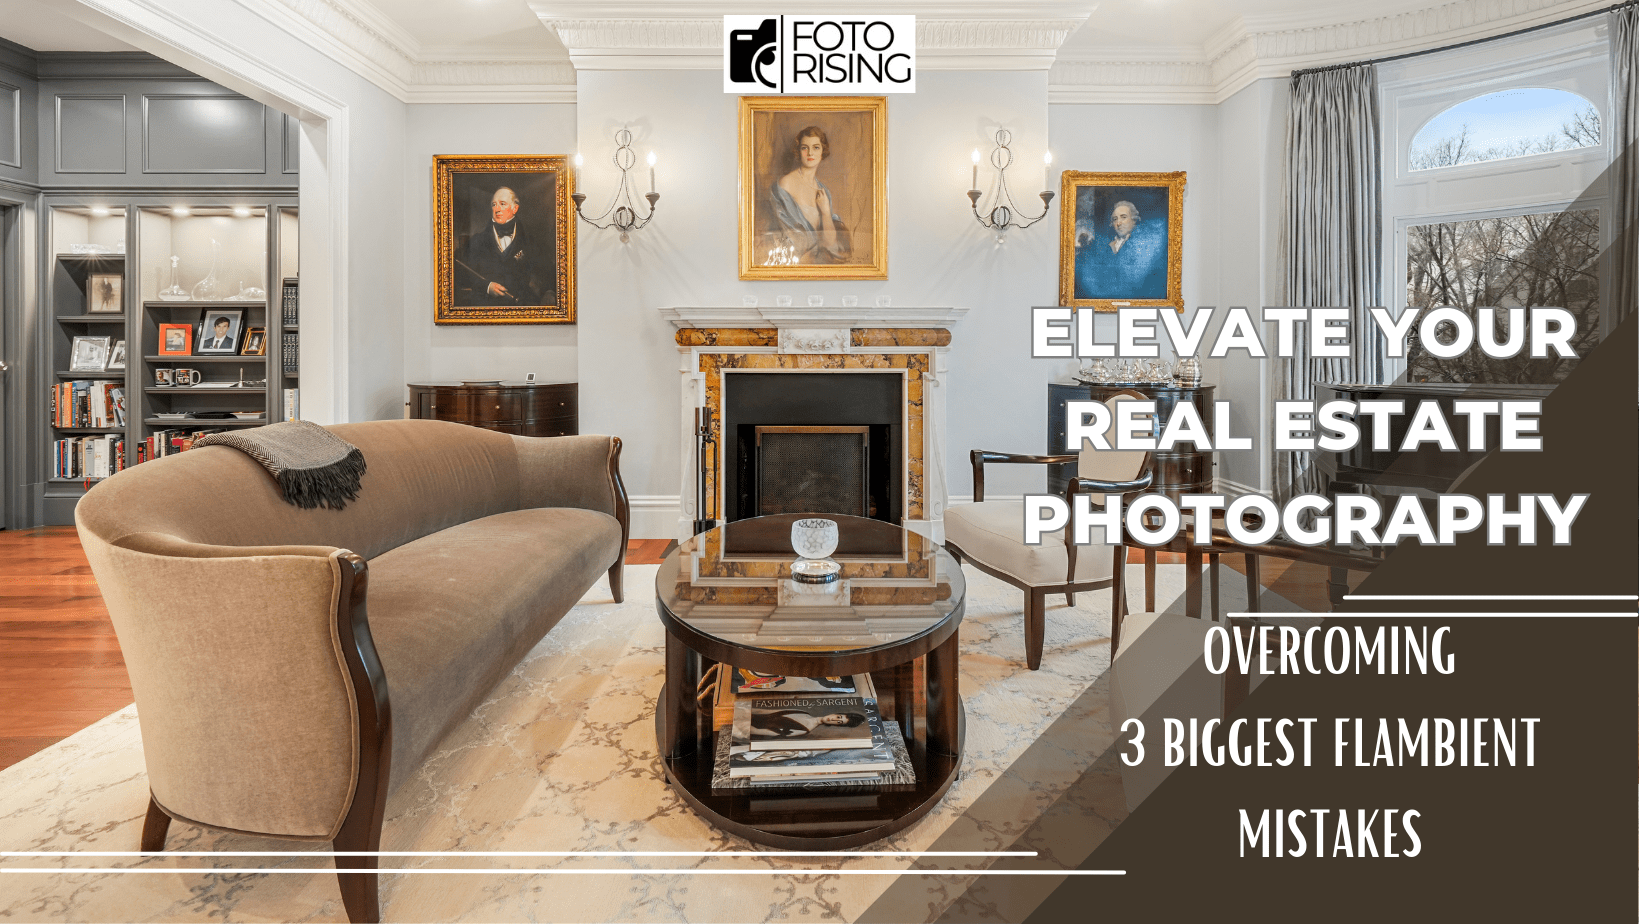
3 Biggest Mistakes in Flambient Real Estate Photography – How to Master?
- Get link
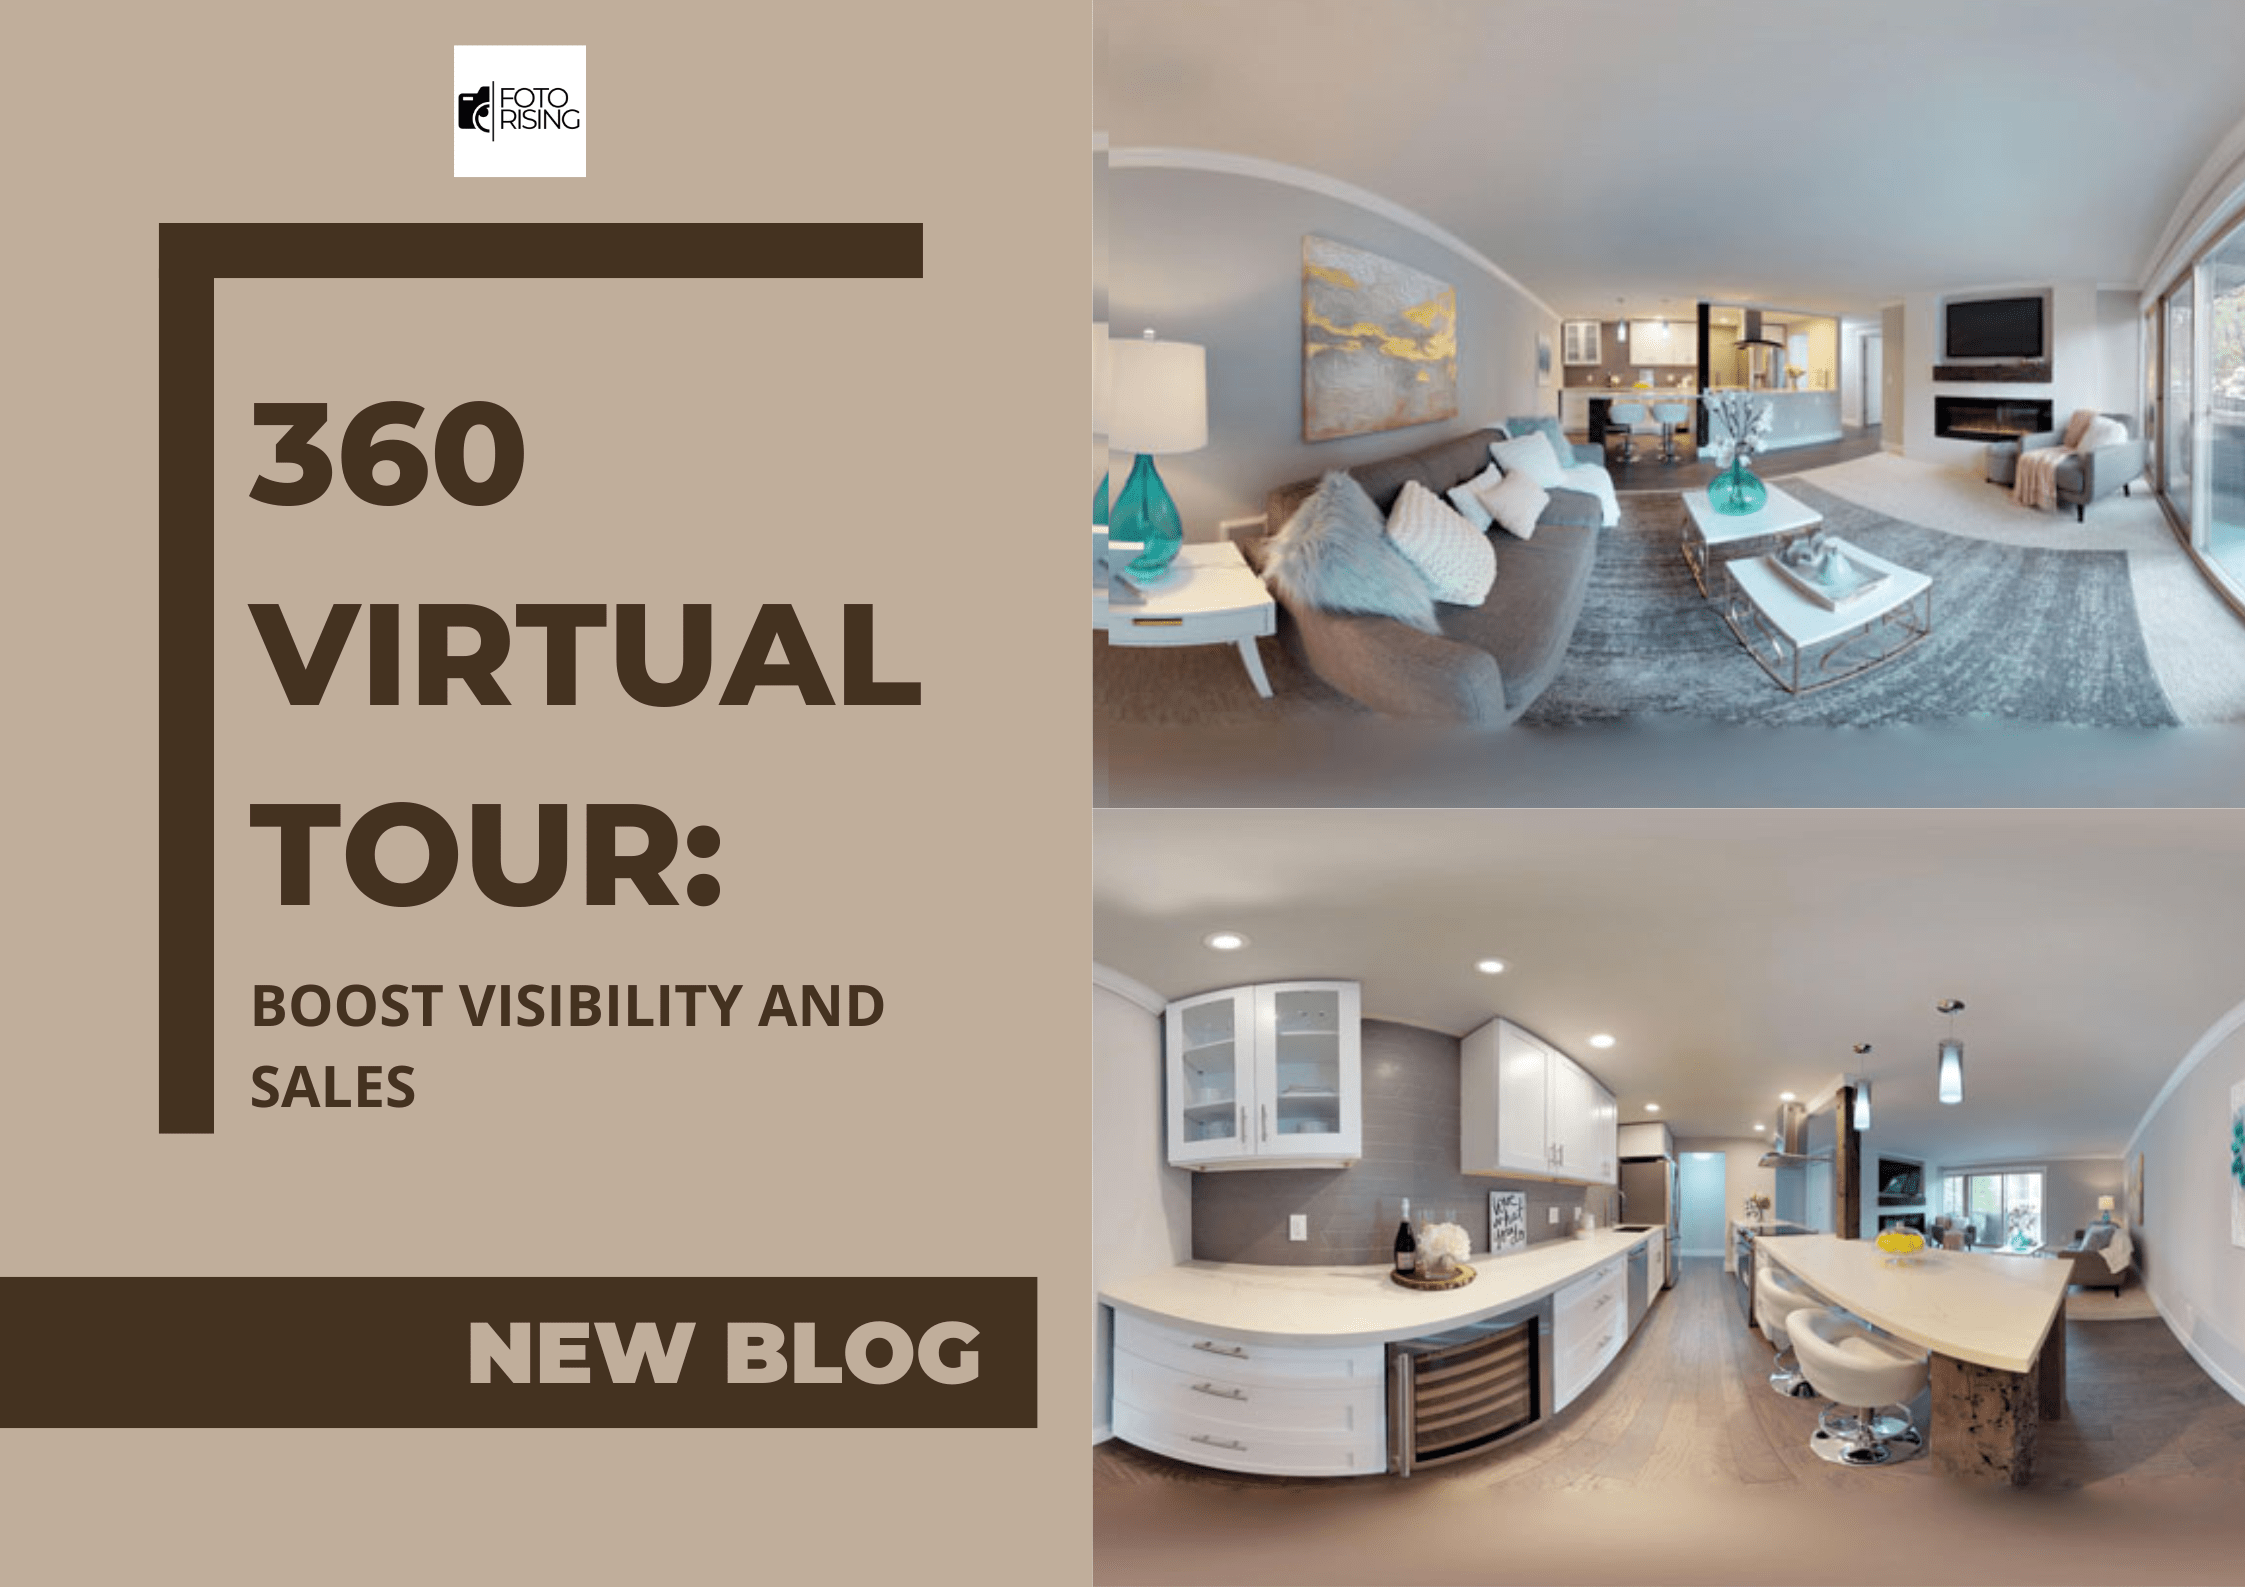
360 Virtual Tour: Boost Visibility and Sales
- Get link
- Get link
- Get link
In the fast-paced world of property visuals, master Flambient real estate photography techniques can make all the difference in attracting potential buyers and selling properties quickly. Flambient photography, a technique that combines flash and ambient light, has emerged as a popular choice for showcasing homes in their best light. Three final photos are often the outcome of this procedure in real estate photography. Included are one last window pull shot and two identical shots with artificial lighting and a flashlight.
It's challenging for real estate photographers to apply all of the shooting property image techniques skillfully. Throughout the process, no matter we are amatuer or professional, we may face several photography mistakes, particularly, the Flambient mistakes. Clearly, mastering Flambient real estate photography requires more than just a camera and a basic lighting setup. Keep reading to explore the three biggest Flambient mistakes in real estate photography and practical solutions.
3 Common Mistakes in Flambient Real Estate Photography
While the Flambient technique offers dynamic and well-lit images, there are several pitfalls that photographers often encounter. Let's delve into three common mistakes in Flambient real estate photography that can compromise the quality of your shots and how to avoid them in the next parts.
Mistake #1: Overexposure of Ambient Light
One of the most common mistakes in Flambient real estate photography is overexposure to ambient light. When the ambient light is too bright, it can wash out details, create blown-out highlights, and make the space appear flat and uninviting.
How to Fix It:
To address overexposure of ambient light, start by adjusting your camera settings. Use a lower ISO to reduce sensitivity to light and a smaller aperture to control the amount of light entering the camera. Additionally, consider using exposure bracketing to capture multiple exposures and blend them later in post-processing. This technique allows you to retain detail in both the highlights and shadows, resulting in a well-balanced image that showcases the property in its best light.
Mistake #2: Unnatural Color Casts
Another common mistake in Flambient real estate photography in particular and in real estate photography mistakes, in general, is the presence of unnatural color casts. This occurs when the color temperature of the ambient light clashes with the color temperature of the flash, resulting in inconsistent colors throughout the image.
How to Fix It:
To correct unnatural color casts, pay close attention to white balance settings. It is highly recommended to start by setting your camera's white balance to match the color temperature of the ambient light in the room. Then, adjust the color temperature of your flash to complement the ambient light. This may require using color gels or adjusting the flash's settings to achieve a natural-looking color balance. Additionally, consider shooting in RAW format to have more flexibility in adjusting the white balance during post-processing.
Mistake #3: Harsh Shadows and Glare
Harsh shadows and glare probly detract from the overall appeal of real estate photos, making the space appear less inviting and desirable. These issues often occur when the flash is positioned improperly or when reflective surfaces bounce light in undesirable directions.
How to Fix It:
To mitigate harsh shadows and glare, pay attention to the placement and angle of your flash. Setting the flash off-camera and use diffusers or modifiers to soften the light and create more natural-looking shadows. Additionally, be mindful of reflective surfaces such as glass or polished countertops, as they can bounce light in unpredictable ways. Consider using flags or black cards to block unwanted reflections and minimize glare. Experiment with different flash positions and angles until you achieve a balanced lighting setup that minimizes harsh shadows and glare.
A Vital Note: Practice Makes Perfect!
Like any skill, mastering Flambient real estate photography takes time and practice. Experiment with different lighting setups, camera settings, and post-processing techniques to refine your craft and develop your unique style. Don't be afraid to push the boundaries and experiment with creative ideas to create compelling and memorable images.

Final Thoughts
In the competitive world of real estate, high-quality photography can be the difference between a property sitting on the market and a quick sale. Flambient real estate photography offers a powerful way to showcase homes in their best light by blending flash and ambient light. However, mastering this technique requires skill, practice, and an understanding of common pitfalls. With careful attention to detail and a commitment to excellence, you can elevate your real estate photography skills and stand out in a crowded market.
Read more:
Professional Real Estate Photography Boost Property Sales. What Is The Secret?
Real Estate Photography: 5 Basic Types Of Real Estate Photos
You May Also Like
10 Best Photo Editing Programs for Real Estate in 2024
- Get link
3 Biggest Mistakes in Flambient Real Estate Photography – How to Master?
- Get link
360 Virtual Tour: Boost Visibility and Sales
- Get link


18 responses to “3 Biggest Mistakes in Flambient Real Estate Photography – How to Master?”
[…] By Bailee Nguyen April 16, 2024 […]
[…] 3 Biggest Mistakes In Flambient Real Estate Photography – How To Master? […]
Great article and right to the point. I am not sure if this is
really the best place to ask but do you guys have any ideea where to hire some professional writers?
Thanks in advance 🙂 <a href="https://eroom24.com/" rel="nofollow ugc">Najlepsze escape roomy</a>
Thank you for your sharing. I am worried that I lack creative ideas. It is your article that makes me full of hope. Thank you. But, I have a question, can you help me?
Your article helped me a lot, is there any more related content? Thanks! <a href="https://accounts.binance.com/en-ZA/register-person?ref=JHQQKNKN" rel="nofollow ugc">https://accounts.binance.com/en-ZA/register-person?ref=JHQQKNKN</a>
Thanks for sharing. I read many of your blog posts, cool, your blog is very good.
I don’t think the title of your article matches the content lol. Just kidding, mainly because I had some doubts after reading the article.
Can you be more specific about the content of your article? After reading it, I still have some doubts. Hope you can help me.
Thank you for your sharing. I am worried that I lack creative ideas. It is your article that makes me full of hope. Thank you. But, I have a question, can you help me?
Your point of view caught my eye and was very interesting. Thanks. I have a question for you.
Your point of view caught my eye and was very interesting. Thanks. I have a question for you.
Thank you for your sharing. I am worried that I lack creative ideas. It is your article that makes me full of hope. Thank you. But, I have a question, can you help me?
Thanks for sharing. I read many of your blog posts, cool, your blog is very good.
Your article helped me a lot, is there any more related content? Thanks!
Thanks for sharing. I read many of your blog posts, cool, your blog is very good.
Thank you for your sharing. I am worried that I lack creative ideas. It is your article that makes me full of hope. Thank you. But, I have a question, can you help me?
Thanks for sharing. I read many of your blog posts, cool, your blog is very good.
Can you be more specific about the content of your article? After reading it, I still have some doubts. Hope you can help me.