In today’s competitive photography industry, editing plays a crucial role in delivering high-quality images. Whether you are a real estate photographer, wedding photographer, or content creator, having access to the best editing websites for photographers can significantly improve your workflow and final results.
Professional editing platforms help photographers save time, maintain consistent quality, and focus more on shooting rather than spending hours in post-production. In this article, we will explore why editing websites are essential and how to choose the best one for your needs.
Why Photographers Use Editing Websites
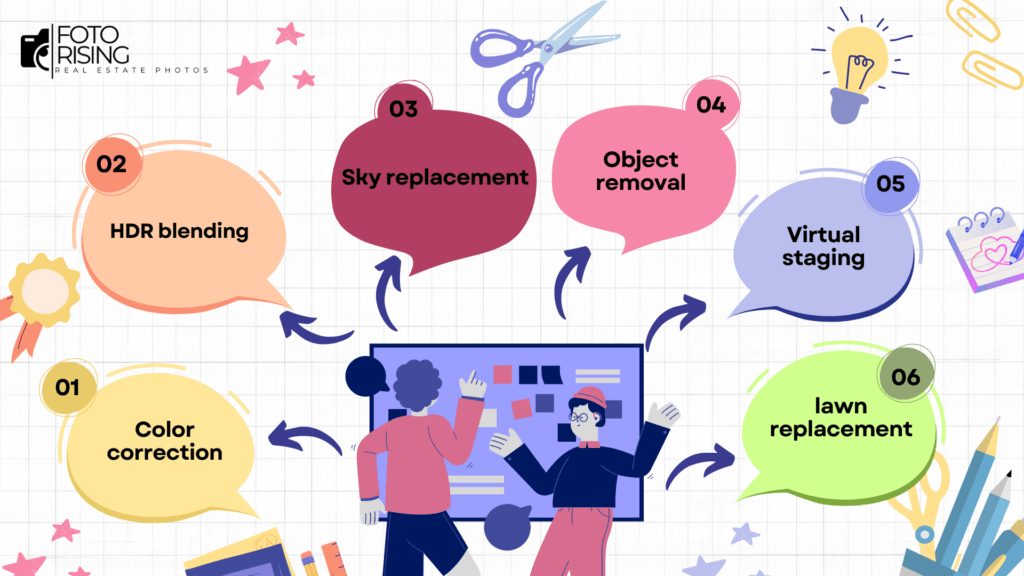
Editing is no longer just a simple adjustment of brightness or contrast. Modern photography requires advanced techniques such as color correction, sky replacement, object removal, and HDR blending.
That’s why many professionals rely on the best editing websites for photographers instead of doing everything themselves. These platforms allow photographers to outsource editing tasks to experienced editors or automated systems.
Some of the key benefits include:
Time-saving workflow
Photographers often deal with hundreds of images per shoot. Editing websites help process large batches quickly so you can deliver images faster to clients.
Professional quality results
Experienced editing teams understand lighting, colors, and composition. They ensure your photos look polished and market-ready.
Consistent style
For photographers who shoot regularly, consistency is essential. Editing services help maintain the same editing style across multiple projects.
Scalable for business growth
If your photography business is growing, outsourcing editing helps you handle more clients without increasing your workload.
Features to Look for in the Best Editing Websites for Photographers
Not all editing platforms offer the same services. When searching for the best editing websites for photographers, it’s important to evaluate several key factors.
1. Variety of Editing Services
A good editing website should provide multiple services such as:
Having access to these services in one place makes your workflow more efficient.
2. Fast Turnaround Time
Delivery speed is extremely important, especially for photographers working with real estate agents or marketing teams.
Many of the best editing websites for photographers offer turnaround times between 12 to 24 hours, allowing photographers to meet tight deadlines.
3. Affordable Pricing
Cost is always a factor when choosing editing services. The best platforms provide transparent pricing and flexible plans depending on the type of editing required.
Some websites even allow photographers to choose different editing packages such as basic edits, advanced edits, or premium retouching.
4. Easy Upload and Task Management
An intuitive system for uploading images and managing tasks can make a huge difference. This usually offer dashboards where you can upload photos, track progress, request revisions, and download finished images easily.
5. Reliable Customer Support
Professional editing websites understand the importance of communication. Good customer support ensures that any issues, revisions, or special instructions are handled quickly.
How Editing Websites Help Photographers Grow Their Business

Using the best editing websites for photographers doesn’t just improve image quality—it also helps photographers grow their businesses.
First, outsourcing editing gives photographers more time to focus on marketing, networking, and booking new clients.
Second, faster delivery times increase client satisfaction. Happy clients are more likely to recommend your services or hire you again for future projects.
Finally, professional editing enhances your portfolio. High-quality images make your website, social media, and marketing materials more attractive to potential clients.
Final Thoughts
Choosing the best editing websites for photographers can make a huge difference in your photography workflow and overall business success.
Instead of spending countless hours editing photos, photographers can rely on professional editing platforms to deliver high-quality results quickly and consistently.
By selecting a reliable editing website with professional services, fast turnaround times, and affordable pricing, photographers can focus on what they do best—capturing stunning images.
Readmore:
5 Blow-Mind Tips For Stunning Interior Real Estate Photos
Real Estate Photography: The Best Tips For Preparing For Shooting Real Estate Photos
Real Estate Photography: A Definition Of Real Estate Photos?