Sample Page

Real Estate Photography: Shortcut Techniques Of Real Estate Photos Editing For Beginners – Expert Advice

Real Estate Photos Editing For Beginners” is a popular keyword search for those who start their journey in real estate photography. In the competitive market, first impressions matter. The primary goal is to showcase a property in its best light, making it attractive and appealing to potential buyers. For beginners looking to dive into the REP realm, this essay will discover efficient shortcuts to mastering the basics.

Light – Practice To Understand Photo Structure

The ability to analyze light in real estate photography is very crucial. It is a prerequisite skill that affects the authenticity of the image. Without lighting analogic, even when the editors master photo editing in Photoshop, they will only create low-quality products, like using AI to edit real estate photos. Images edited by AI are aesthetically pleasing. But still, they annoy viewers because they add many illogical details. That is why comprehending the photography light is mandatory.

Camera Raw – A Smart Technique In Real Estate Photos Editing For Beginners 

Camera Raw (CR) in Photoshop is one of the best real estate photo editing apps. Photoshop also supports multiple complicated requests, which makes it confusing and difficult for new editors. With the help of CR, real estate photos editing for beginners becomes easier. CR generally supports solving all the fundamental problems in real estate photos, including color, contrast, highlights, shadow, clarity, vibrance, saturation, Geometry, and so forth. Although CR is a plugin for Photoshop, it can also function as a standalone image editor, providing a quick, harmonious way to process photos.

To open CR, press the keyboard combination Shift + Ctrl + A or select Filter > Camera Raw Filter. 

Interface Of Camera Raw In Photoshop

4 Basic Detail Adjustments – How To Edit Real Estate Photos For Beginners

However, CR does not allow access to small details in the image. Therefore, the editor should know how to edit small touches in real estate photos.

The steps to start is to duplicate the layer for security, and create a selection with the details that need more editing. 

But in the concise article, we only instruct two ways: 

1. Color Cast In Real Estate Photos

Color cast refers to an unwanted tint or bias of color in a photograph, typically caused by uneven lighting conditions. The color of interior objects frequently comes out untrue when the shooting is done. In editing real estate photos, clients find color cast as an eyesore and distracting. 

To address these concerns, identify and select the color-cast area on the object, changing the layer blend mode to color. Utilize a soft round brush while holding Alt to temporarily turn the brush into an eyedropper, selecting the closest color to the natural hue of the object. Adjust the layer opacity to around 60% and apply the correction. If certain areas need further attention, use the mask layer to selectively restore or conceal. For a more natural result, consider merging with the original duplicated layer for a seamless finish.

An Example Of Color Cast Result

2. Vertical & Horizontal Alignment In Real Estate Photography

This step ensures that vertical and horizontal lines appear straight, which is a crucial step in real estate photos editing for beginners. Photoshop users can also complete the action with the Geometry in Camera Raw tool. However, they can also use the Free Transform tool in the Develop Module of Photoshop. With this tool, editors can select the entire image and drag the corner of the image opposite to the leaning direction to straighten the photos.

3. Outdoor Sky Replacement In Exterior Real Estate Photography

Sky Replacement in photo editing real estate is crucial as it enhances visual appeal and adds vibrancy, which can change the viewers’ impression.

To replace the sky in Photoshop, editors should begin by duplicating the layer and navigating to the channel panel to duplicate it again. After that, open the Levels adjustment with Ctrl + L, adjust the sliders for optimal levels, then use the Lasso tool to select and delete unwanted areas, turning them black. 

An Example Of Sky Replacement Technique

Utilize the Dodge brush to brighten the sky. Add a mask to this layer, and position the new sky layer appropriately between the original and duplicated layers. Coming to this step is a good standard in real estate photos editing for beginners. But to better it, the final touch is adding a white gradient layer on top of the sky layer, placing the white part near the house and a translucent part on the top. In this way, editors can enhance realism.

4. Lens, Glare, and Object Removal In Real Estate Photos Editing

The process of removing unwanted objects involves two main actions: deletion and restoration. Once undesirable elements are deleted, editors need to reconstruct concealed details by incorporating similar elements from the image using tools like the Brush and Pencil Tool. This technique varies in complexity, with tasks ranging from straightforward to challenging. For instance, reinstating wooden elements in the editing house photo below is challenging in real estate photos editing for beginners. 

How-to-edit-real-estate-photos-for-beginners-fotor-revomal

An Example Of A Challenging Object Removal 

Instances, where seasoned photographers struggle to remove items, are frequent, emphasizing the importance of relying on skilled editors for such tasks.

In conclusion

Real estate photos editing for beginners only involves mastering basic editing techniques. By investing time in learning essential editing skills, beginners can effectively enhance property images and contribute to the successful marketing and sale of editing house photos. 

Related Post

Real Estate Photography: 5 Basic Types Of Real Estate Photos

REP: A Tutorial To Take Real Estate Photos For Beginners

REP: 4 Common Mistakes Of Shooting Real Estate Photos?

Real Estate Photography: The Best Tips For Preparing For Shooting Real Estate Photos

Whether you are a professional real estate photographer or a homeowner looking to sell your property, adequately preparing for shooting real estate photos can produce optimum efficiency in your work. 

There are many preparations needed, but this article will discuss the most helpful factors that can become a handbook of real estate photography tips for beginners.

1. Preparing For Shooting Real Estate Photos With A Shooting List

The first imperative preparation before taking real estate photography is discussing carefully the shooting list with the realtors or homeowners beforehand. Walking through the house, doing camera testing, and listing out the angles to shoot by yourself is, of course, paramount. Nevertheless, the sellers are likely to have different requests which helps them stand out from the competitors in terms of marketing. 

In attempting to strategically plan photography schedules, making sure to reach a consensus on the final shooting list with the sellers will reduce the working time, and leave a professional impression.

2. Creating A Real Estate Photography Checklist With The Realtors

Before diving into the actual shot, giving clear house-preparing instructions to the sellers or homeowners is a hacking choice. The instruction usually includes two steps: decluttering and staging.

2.1. Cleaning Up And Removing Objects.

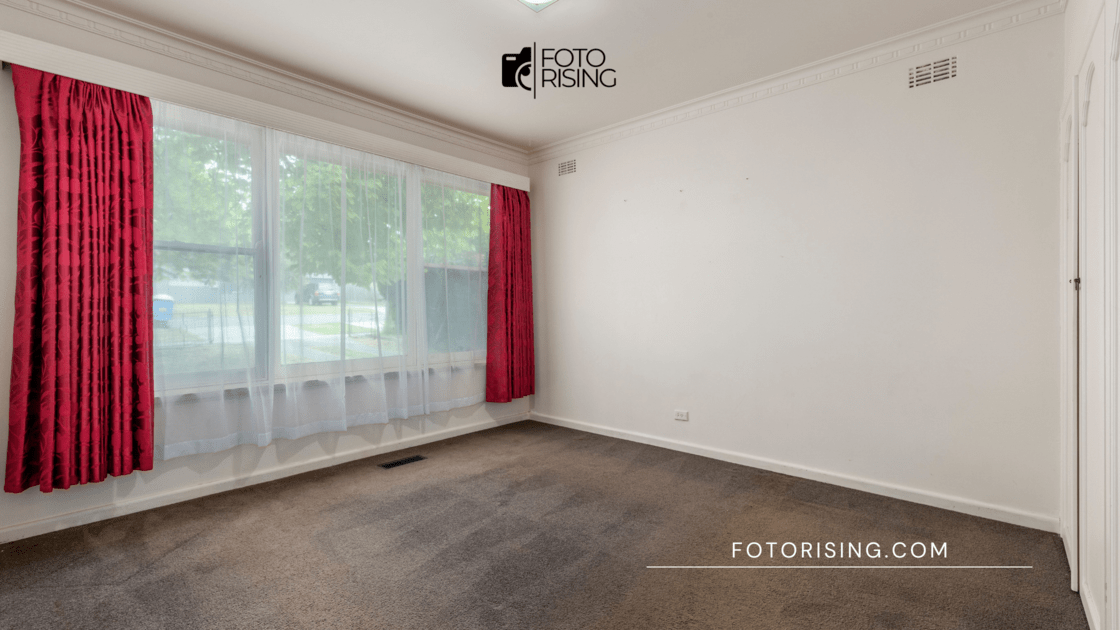
Cluttered and messy spaces can be off-putting to potential buyers, so it is important to create a clean and inviting atmosphere. There are three key real estate photography tips for sellers to declutter professionally.

  • Remove unnecessary details: rubbish, dust, etc. may hinder the appeal of the property.
  • Remove personal belongings: toothpaste, shoes, toiletries, personal collection, etc. These items deliver a secondhand feeling, typically devaluing the properties.
  • Remove moving objects from the shooting spot: pets, people, or electronic devices (fans, heaters, etc.). Real estate photography camera settings are adjusted to capture the unmoving furniture. The existence of things in motion will blur the shot, resulting in inflaming time and costs. In addition, moving objects can be potentially dangerous. For example, in small spaces such as bedrooms or toilets, small animals will get caught in the power lines of the camera, causing electric shock or fire. 

Here are some detailed suggestions:

preparing-for-shooting-real-estate-photos-forsing-checklist

A Real Estate Photography Basic Checklist With The Realtors

2.2. Staging Artistic Furniture.

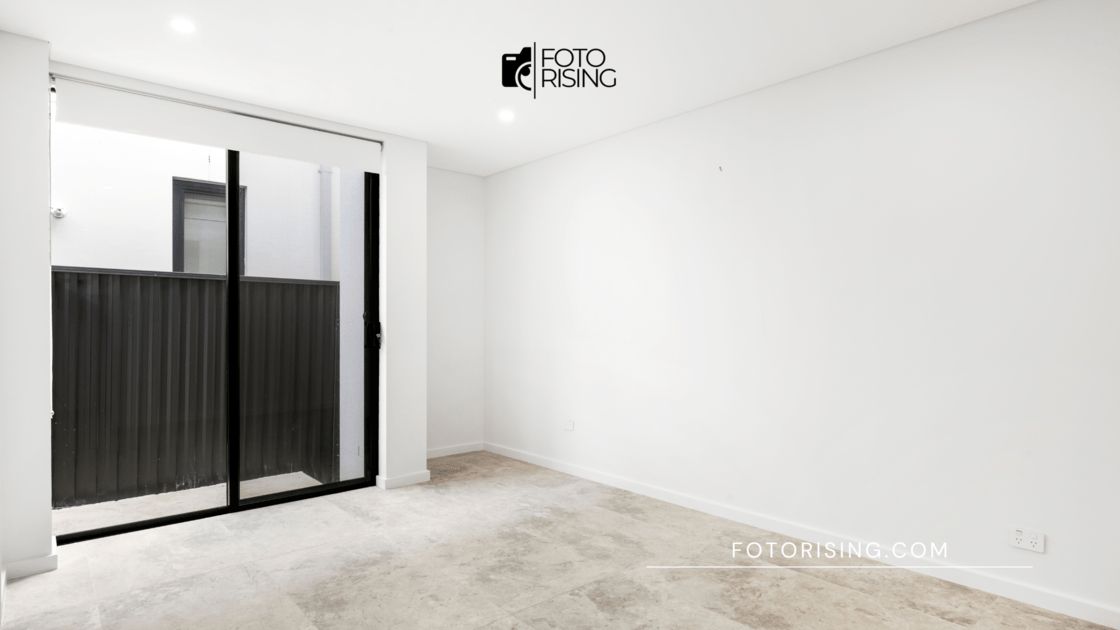
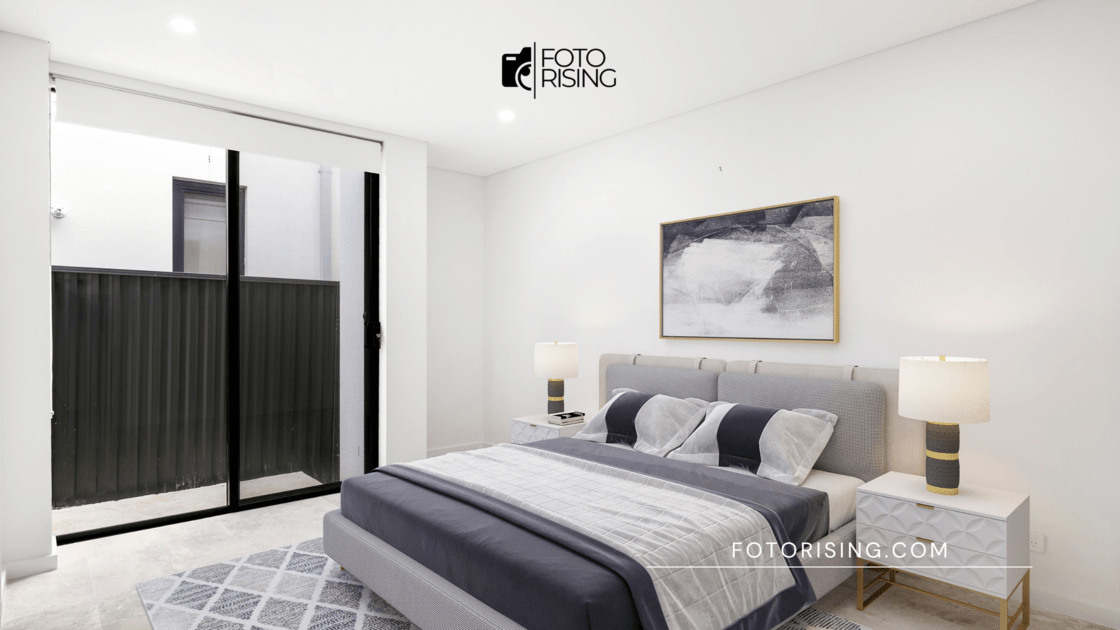
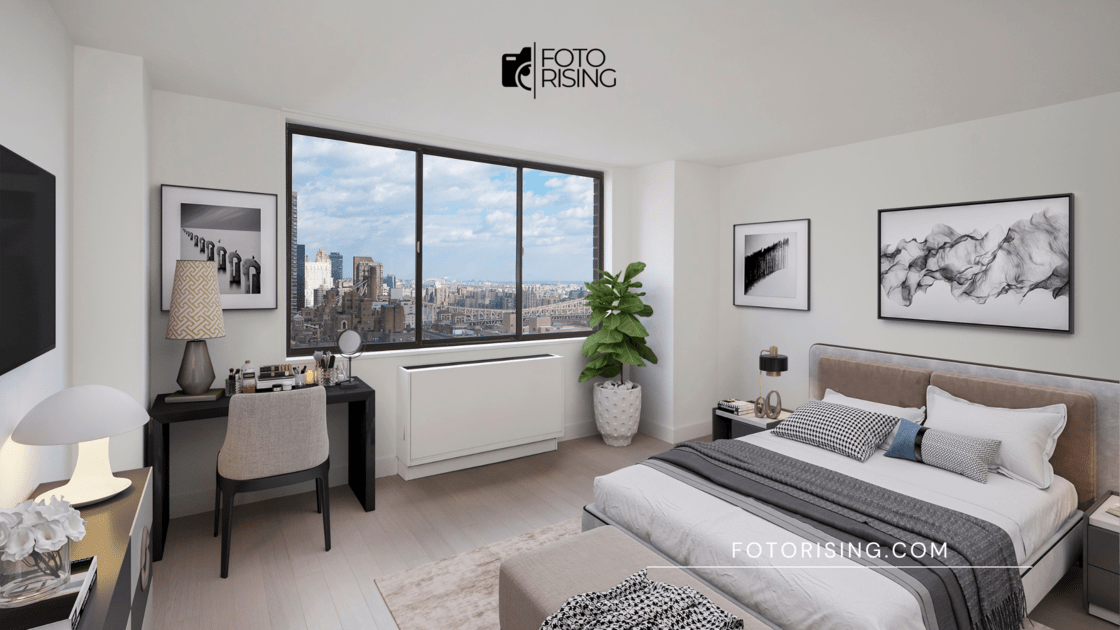
Another essential step in the realtor’s checklist is decoration. A good present of the furniture is very important in real estate photography. The way a property is presented influences potential buyers’ perceptions. Arranging furniture that maximizes the space and flow of each room, creating a welcoming ambiance is one privilege preparation for shooting real estate photos. Small touches such as fresh flowers, neatly arranged furnishings, and so forth can strategically generate a significant difference in the overall appearance of the property.

preparing-for-shooting-real-estate-photos-forsing-decoration

An Example For House Decoration

3. Preparing For Shooting Real Estate Photos With Proper Tools And Equipment

When it comes to REP, understanding the insights of supporting tools such as Tripod, Flash, Lens, and so on is essential. The comprehension here lies in mastering the techniques of using the camera, as well as the coordination of accompanying shooting devices. These tools serve as indispensable aids in overcoming challenges and elevating the quality of property images. Professional photographers who have a hundred tools may find it impossible to bring all of them to the shooting spots. That is the reason why picking the correct ones is a must. 

Moreover, be prepared with essential equipment such as extra batteries, memory cards, a tripod, and a remote shutter release. These items will help ensure every shot is effective without any hiccups or interruptions.

preparing-for-shooting-real-estate-photos-forsing-tools

An Example For Real Estate Photography Tools

4. Preparing For Shooting Real Estate Photos In Correct Time

Schedule your shooting time is a crucial aspect of real estate photography. In particular, light plays a crucial role in photographing. Choosing the golden hours, early morning or late afternoon, will ensure soft and flattering natural light, reducing harsh shadows and creating a balanced distribution of illumination, which helps capture the property in its best light.

However, photography jobs have a tight schedule, so the attempt to align photography jobs with the best shooting time does not always work out. Still, if nature does not support it, try real estate photography editing. This method helps buy some time. 

In Conclusion 

Preparing for shooting real estate photos involves several steps that contribute to the overall quality and appeal of a photography portfolio. Following these guidelines, photographers can create visually stunning photographs that effectively showcase properties and attract potential buyers.

Related Posts

Real Estate Photography: 5 Basic Types Of Real Estate Photos

REP: A Tutorial To Take Real Estate Photos For Beginners

REP: 4 Common Mistakes Of Shooting Real Estate Photos?

Real Estate Photography: 5 Basic Types of Real Estate Photos

Visual presentation plays a pivotal role in getting more traffic online for any real estate business and agent. For beginners, before knowing how to take property photos, you need to know five main types of real estate photos including residential, architectural,  interior, commercial and drone photography.

Let’s get started!

5 Main Categories of Real Estate Photos

A photo can be worth thousands of words. Take a look at these statistics below, you can see great power of using real estate photography in property selling:

So, you have already known how amazing the power of photography in real estate marketing is. In the next part, let’s discover 5 types of real estate photography every newbie should know.

Type 1. Residential Photography

The most popular kind of real estate photography is residential real estate photos based on the clients’ needs. Overally, a real estate photographer usually provides 20–30 edited photos from a residential assignment, ranging from condos and townhomes to single-family homes and occasionally multi-family complexes. The year 2021 witnessed a significant need for residential real estate photography, with 6.9 million properties sold in the United States.

Type 2. Interior Images

interior-real-estate-photography-staging-3D

Are there any home buyers going to not see the inside of a selling house? Definitely no! As its name implies, interior real estate photography is a specialized field within the broader realm of real estate photography that focuses on capturing the interiors of residential and commercial properties. The goal is to showcase the interior spaces in the most appealing and realistic manner possible, helping potential buyers or tenants envision themselves in the property. 

Type 3. Architectural Real Estate Photos

REP-Type-Architectural-Real-Estate-Photos

Architectural real estate photography is a specialized genre of photography that focuses on capturing the exterior of buildings, engineering firms, as well as the overall design and architecture of residential and commercial properties. This type of photography is essential in showcasing a property’s unique features, design elements, and aesthetic appeal.

Architectural real estate photography is instrumental in marketing properties, helping potential buyers or tenants appreciate the design, craftsmanship, and overall aesthetic of a building. High-quality architectural images contribute to a property’s marketability and can significantly impact a potential buyer’s perception. However, it requires a lot of skill to produce high-quality final images of architectural photography, which not all real estate photographers can do.

Type 4. Drone Real Estate Photos

-real-estate-images-list

Drone photography helps give a bird view for prospective homebuyers to see a house and its surrounding neighborhood as well as unique and compelling perspectives that standard real estate photos cannot provide. Drone real estate photography and videos has become increasingly popular in the real estate industry for its ability to provide a more comprehensive and engaging visual experience.

According to NARs, using drone photos in real estate listings will help sell your listings 68% faster than ones without.

Type 5. Commercial Real Estate Photos

Commercial real estate photography involves capturing high-quality images of commercial properties for marketing and promotional purposes. These photographs are used to showcase the features, architecture, and overall appeal of commercial real estate listings online. The quality and professionalism of the photographs can significantly impact the perception of the property and influence potential clients or investors.

This type of photography is often more expensive as high-quality imagery can help the business earn more money over the long term. Additionally, photographers specializing in commercial real estate photography may require more experience and equipment to capture well-lit, clear, and visually appealing images.

sample-commercial-real-estate-photography

Final Thoughts

Knowing basic types of real estate photography is a must if you want to get into this industry. As according to real estate experts, it is never a good idea to get on with taking real estate photos before learning its principle categories and fundamentals. Just like building a house, you need to build the basment before anything.

Follow Fotorising to not miss anything about Real Estate Photos!

REP: A Tutorial to Take Real Estate Photos for Beginners

We all know that high-quality real estate photography has a significant impact on real estate listing sales. However, most newbies are frustrated when starting the ball rolling to take the first shooting of a house. 

In this end-to-end guide, we’ll break down all you need to know to take real estate photos for beginners and how to show the best features of your real estate listing as well as attract potential buyers’ attention.

What Equipment Beginners Should Use to Take Real Estate Photos?

Last week’s article defined real estate photography as a type of “commercial photography in which a photographer takes professional photos of a home that is for sale.” To take such magic images, there are four basic necessary equipment for any real estate photographer 

1. Digital camera: The most important piece of equipment is your digital camera, so choose yours wisely. To attain the highest-quality images, consider using HDR or DSLR cameras is recommended.

2. Wide-angle lens: Consider a wide-angle lens especially when taking interior photos, which makes enclosed spaces look more spacious and increases the house’s attraction for buyers.

3. Tripod: A stable and sturdy tripod will ensure great control of your camera and image production.

4. Lighting: There is a built-in flash available in each camera, but to enhance any shadow elimination, you can consider buying a remote flashlight.

4 Tips on Preparing for a Shooting of Real Estate Photos

Before shooting, forget not preparation for the best real estate photos:

1. Compile a shot list. Always plan a list of interior and exterior shots you are going to take. Don’t mind asking about the homeowner’s or realtor’s expectations. Begin with exterior images and highlight any appealing features—like pools or patios—and capture at least five different angles of the front of the house. Work with the real estate agent to decide which rooms are most appealing, and capture at least three photos of each of those.

2. Prepare your equipment. A couple of days before your shoot, run down your checklist of equipment you will need for your shoot. If you have a new camera, make sure you can use the basic camera settings. Ensure that your camera batteries are fully charged and that there is enough room on your camera’s SD card or internal storage.

3. Ask for a clean space. If you’re shooting a house that is still being lived in, ask the owners to clean and declutter the space to make it camera-ready.

4. Choose the right time of day. Consider scheduling your shoot for a time of day when the light is soft enough to eliminate the threat of glare but bright enough to see the house’s features. Early morning and late afternoon—about an hour before sunset—have soft light that will prevent your photos from looking oversaturated. Avoid shooting on overcast days because there may not be enough light to make your photos sharp.

5 Tips for Taking Exceptional Real Estate Photos

Here are six tips for capturing quality photos if you’re considering becoming a real estate photographer.

Clear out any distracting items

Not all homeowners take care of cleaning their homes before shooting day. That is why some properties look very messy. Otherwise, some can miss several small obstructions like PC cords, wires, trash cans, or a pet. Make sure to eliminate any of those variables from your shot, which will enable your audience to imagine themselves in the home.

Consider the height of your tripod

Recommended shooting interiors from eye height is around 5.5 feet, which keeps the room looking proportional and makes it easier to keep vertical lines straight.

Use natural light.

Early morning or twilight is the best time for shooting the exterior when the light is softest. Meanwhile, for the interior, make sure to open the blinds and let in as much natural light as possible.

Showcase the highlight of the home.

Find a beautiful quality of the home—like a pool, new kitchen countertops, a living room fireplace, or large bright windows—and showcase these in your images.

Take multiple exposures and angles

The more photos you take, the more options you have. For each room, it’s highly appreciated if you can photograph a variety of angles and in different exposures. Thanks to that, you also can present various options for a real estate agent and get their expectation more easily. 

Level up your marketing strategy with Fotorising

Real estate photography can increase or decline your listing sale. You, therefore, should build a solid foundation with a comprehensive tutorial on shooting real estate photos. Only after that, you can compose exceptional real estate photography that not only tells a visual story that allows potential buyers to envision their lives in and on the property but also speaks to your professionalism and brand.

Follow us for more helpful advice for marketing your listings!