
Hit enter to search or ESC to close

There are two types of real estate photography which are exterior photography and interior photography. Each type has certain needs to be shown up at its best. Yet it is well acknowledged among photographers that interior photography requires more advanced techniques and skill.
In this article today, let’s dive into 5 advice to capture appealing interior shots!
1: Prepare Real Estate Photography Gear
How would you ever shoot a picture without photographic equipment? Therefore, purchasing the appropriate gear should be your priority.
Lens: It is recommended to use a wide-angle lens (24 mm equivalent or wider). Instead of only capturing a portion of one wall, a wide-angle lens allows you to capture the entire space.
Tripods: A tripod is a must-have for every real estate photographer in the war against blurred photos. The tripod lets you make long exposures so you can use small apertures for sharp focus and use slow ISOs for clean images.
Camera: As a newbie, if you're not sure which camera to acquire, it's preferable to start with an entry-level model to test first and then upgrade to a better one later on. Refer my recommend list as below:

2: Choose Enhancing Shooting Angles
Without a correct shooting angle, interior shots may fail to tell a story. Choosing unique perspectives is the greatest option if you want to add interest and drama to your real estate images. Spend some time moving about, observing angles that seem right, and trying to locate angels that can depict many rooms. Your photos will have depth and space as a result.
But keep in mind that your goal is to sell the house's essential components, not to flaunt your belongings or furnishings. When in doubt, choose for perspectives that highlight your home's architectural features rather than your furnishings.
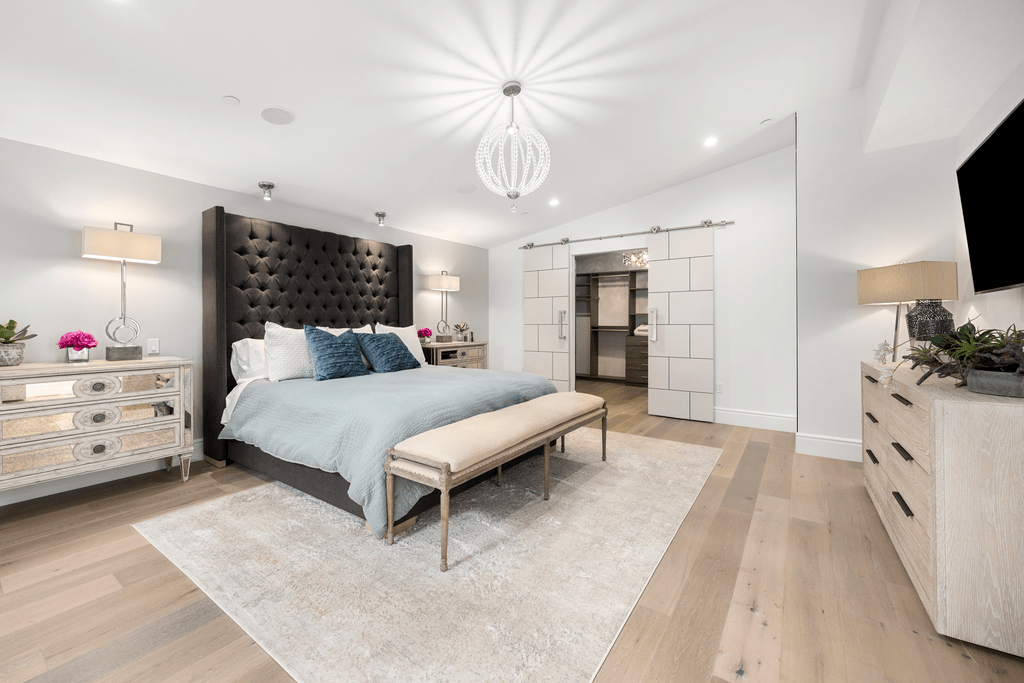
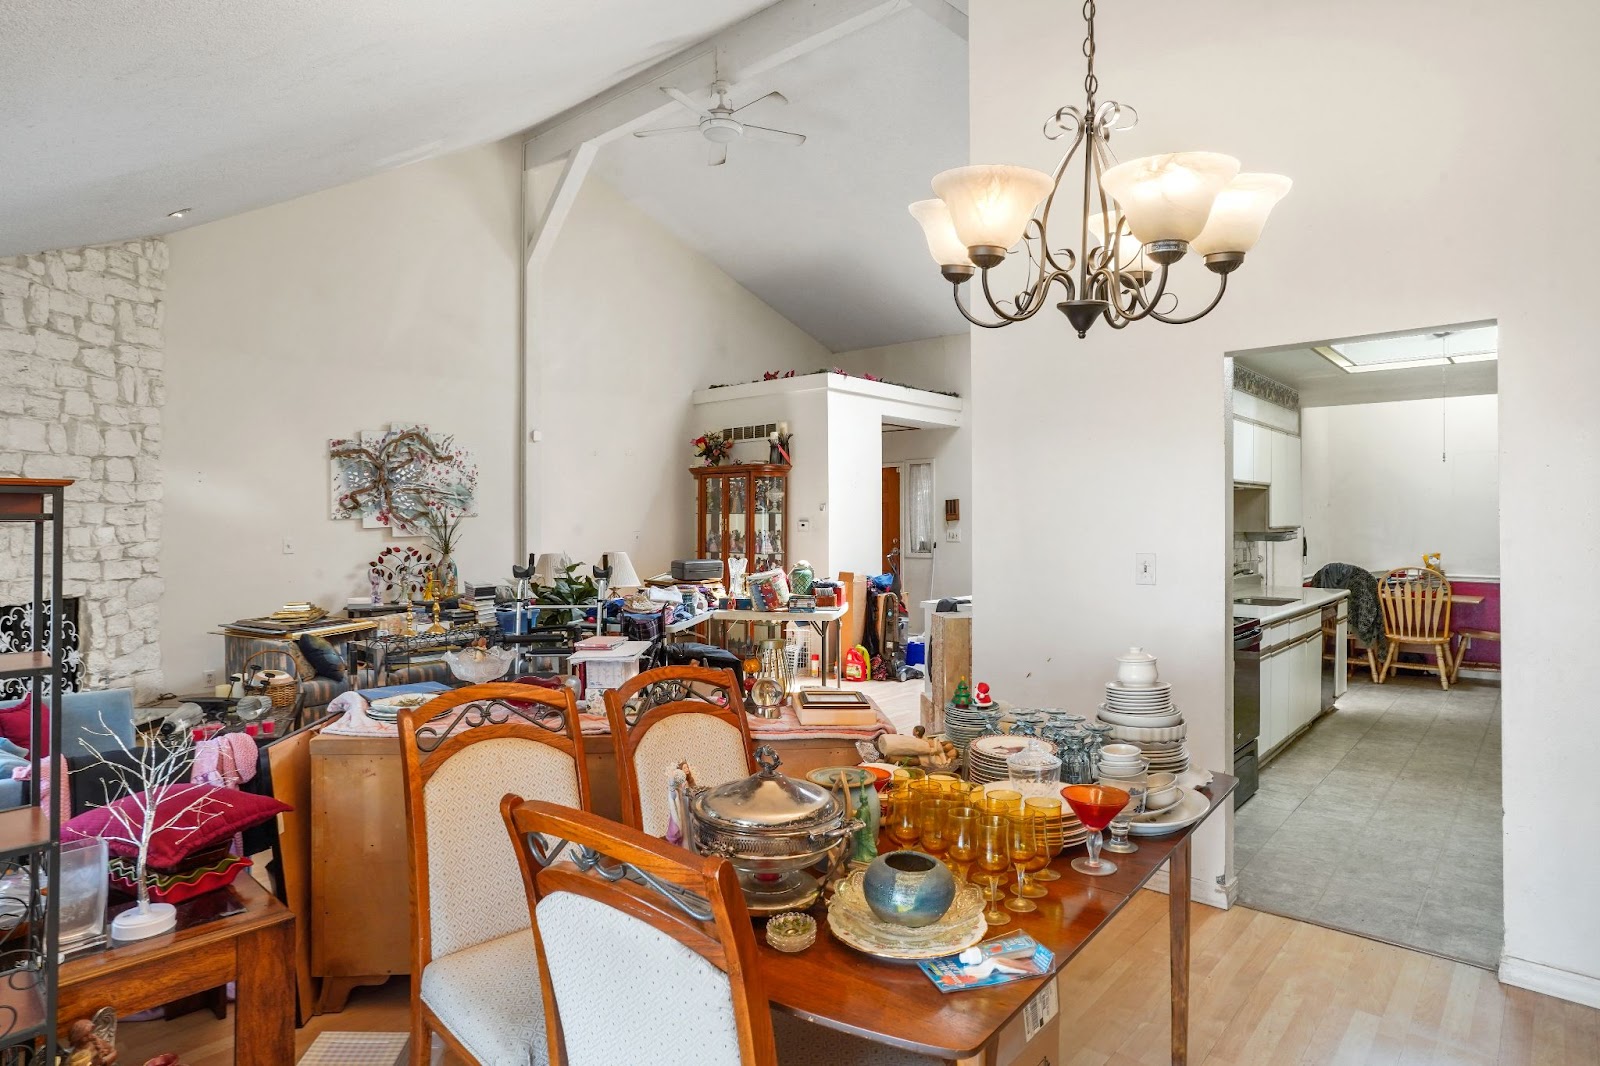
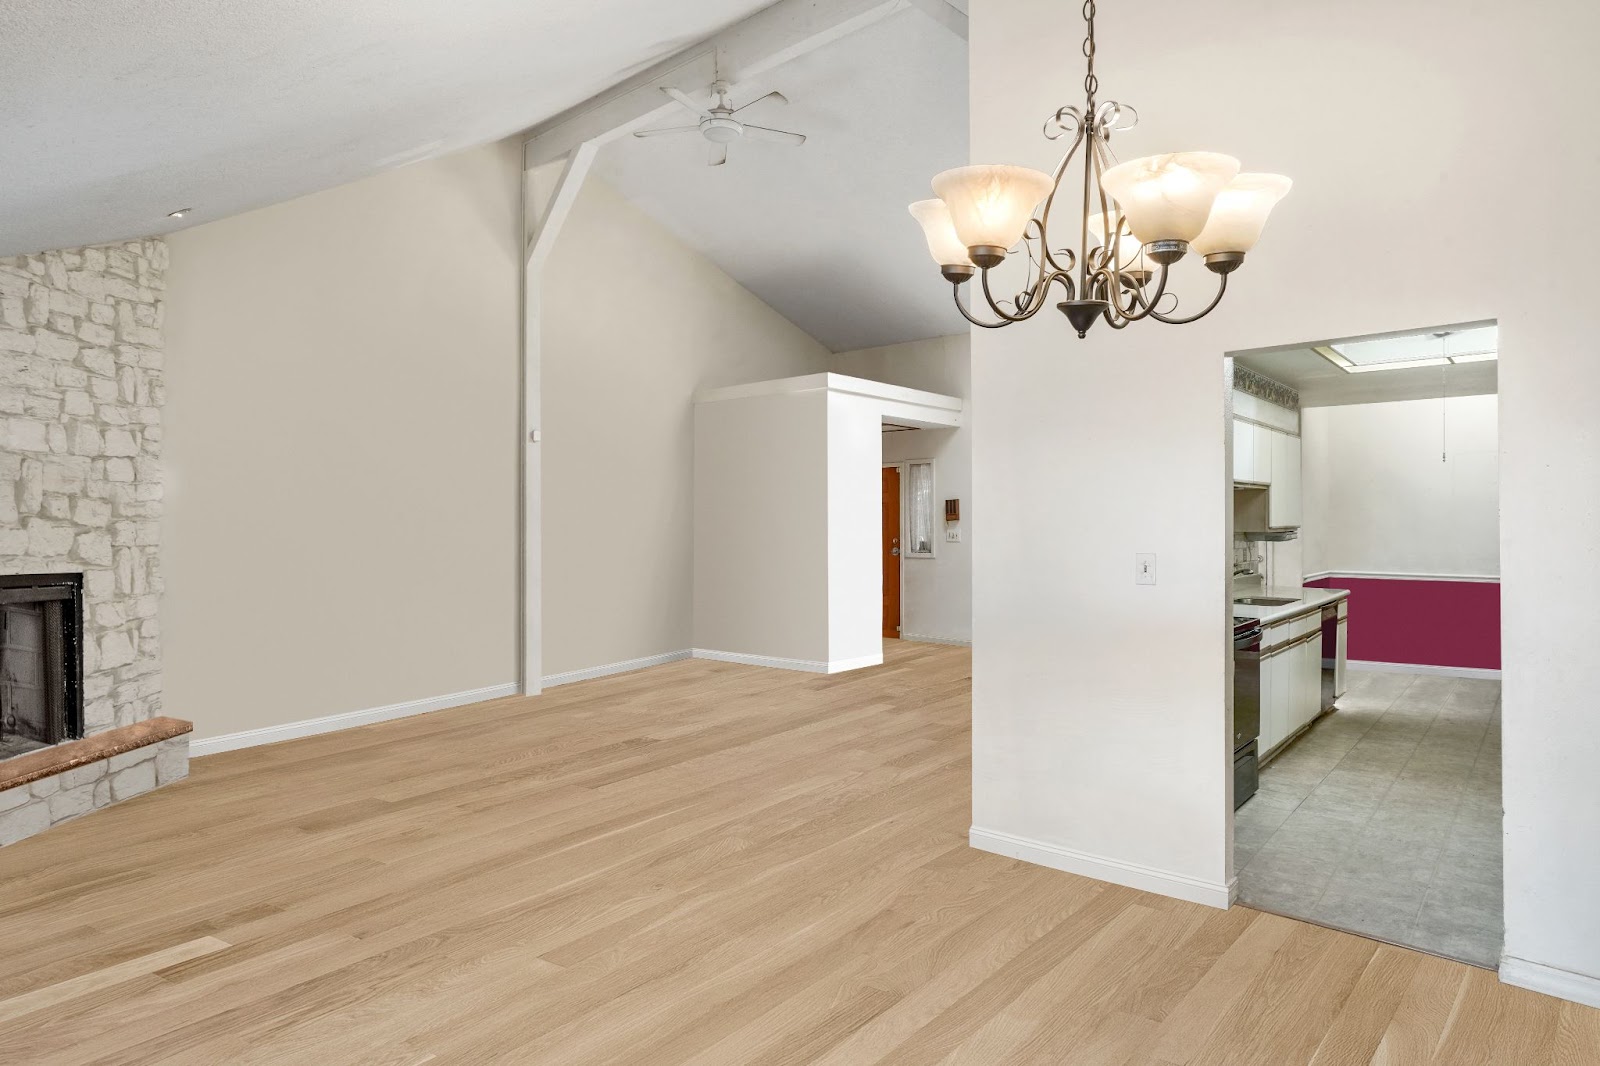
3: Clean Interior Rooms
Imagine you are looking for a house, will you choose a messy space or a clean room? The answer is obvious. Before the photographing day, spend some of your time checking all the rooms to make sure they look tidy and organized. Make sure desks, counters, and other flat surfaces are finished and free of debris. Anything which destroys the value of the house such as dirty dishes, repaired air-conditional should all be tucked away and out of sight. After doing some touch-ups, your home will be more appealing and clickable than before. Look at the below photographs to see how worth it is!
4: Focus on Lighting
For an interior photo, natural daylight will be the best lighting source. It can be a little challenging to determine when to acquire the greatest light for your needs, though. It will assist in creating a cozy, lived-in atmosphere in the morning.
On the other hand, think about evening hours if you want a comfortable, solemn, or romantic atmosphere. If the light is not as perfect as you had hoped, you can also attempt to use HDR photography by taking multiple images (usually three or more) at various exposures to get the darkest image (-2 EV), the correctly exposed image (EV), and the overexposed image (+2 EV). Photomatix Pro 5.0 can then be used to combine the three images into a single image. Once combined, the photos will produce a new image. Once combined, the photos will produce a new image that fully utilizes the dynamic range of the originals.
Finally, remember to use the light available indoors by turning on every light. Accent lighting and a cozy, lived-in atmosphere are produced by placing interior lights throughout the room, which will increase its appeal.
5: Take Care Perspective Correction
What most novice photographers have in common, though, is that they usually don't have verticals for their real estate and architecture photos. The truth is that verticals are not given as much consideration by photographers. Verticals must, however, line up with the left and right edges of the frame. Here's a quick tip for creating vertical lines for nice interior real estate photos:
- Make sure the camera is 100% level.
- A good tripod will have a bubble level.
- Shooting with a level camera will straighten the vertical lines in the frame and make the resulting photo more pleasing to look at.
Final Thoughts
To sum up, becoming a real estate photographer is a hard-won journey, not for a little while. I hope that our article today with simple tips is helpful and helps you get more beautiful interior real estate photos. In case you have any concerns and need our help, do not hesitate to contact us!
20 responses to “5 Mind-Blowing Tips for Stunning Interior Real Estate Photos”
[…] By Ngo Keila March 25, 2024 […]
[…] simple yet crucial principle in real estate photography composition for an interior shot is to include interesting furniture near your camera, which leads viewers to the background. This […]
[…] 5 Mind-Blowing Tips For Stunning Interior Real Estate Photos […]
Thank you for your sharing. I am worried that I lack creative ideas. It is your article that makes me full of hope. Thank you. But, I have a question, can you help me?
Your article helped me a lot, is there any more related content? Thanks!
I don’t think the title of your article matches the content lol. Just kidding, mainly because I had some doubts after reading the article.
Thank you for your sharing. I am worried that I lack creative ideas. It is your article that makes me full of hope. Thank you. But, I have a question, can you help me?
Thanks for sharing. I read many of your blog posts, cool, your blog is very good.
Thanks for sharing. I read many of your blog posts, cool, your blog is very good.
Thank you for your sharing. I am worried that I lack creative ideas. It is your article that makes me full of hope. Thank you. But, I have a question, can you help me?
Thanks for shening. I read many of your blog posts, cool, your blog is very good.
I don’t think the title of your article matches the content lol. Just kidding, mainly because I had some doubts after reading the article.
Thank you for your sharing. I am worried that I lack creative ideas. It is your article that makes me full of hope. Thank you. But, I have a question, can you help me? <a href="https://accounts.binance.com/bn/register?ref=UM6SMJM3" rel="nofollow ugc">https://accounts.binance.com/bn/register?ref=UM6SMJM3</a>
Your article helped me a lot, is there any more related content? Thanks!
Thanks for sharing. I read many of your blog posts, cool, your blog is very good.
Thank you for your sharing. I am worried that I lack creative ideas. It is your article that makes me full of hope. Thank you. But, I have a question, can you help me?
Thank you for your sharing. I am worried that I lack creative ideas. It is your article that makes me full of hope. Thank you. But, I have a question, can you help me?
This article provides very practical advice on capturing stunning real estate photos. I like how it highlights the differences between exterior and interior photography. The tips for interior shots are especially useful for photographers who want to improve their skills. For more resources, visit: <a href="https://phephotos.com/" rel="nofollow ugc">https://phephotos.com/</a>
Thanks for sharing. I read many of your blog posts, cool, your blog is very good.
Can you be more specific about the content of your article? After reading it, I still have some doubts. Hope you can help me. <a href="https://www.binance.com/de-CH/register?ref=UM6SMJM3" rel="nofollow ugc">https://www.binance.com/de-CH/register?ref=UM6SMJM3</a>