Digital experiences are changing how customers interact with spaces. A 360 virtual tour offers a fresh, immersive way to showcase real environments.
It helps customers see before they visit, and that matters now more than ever.
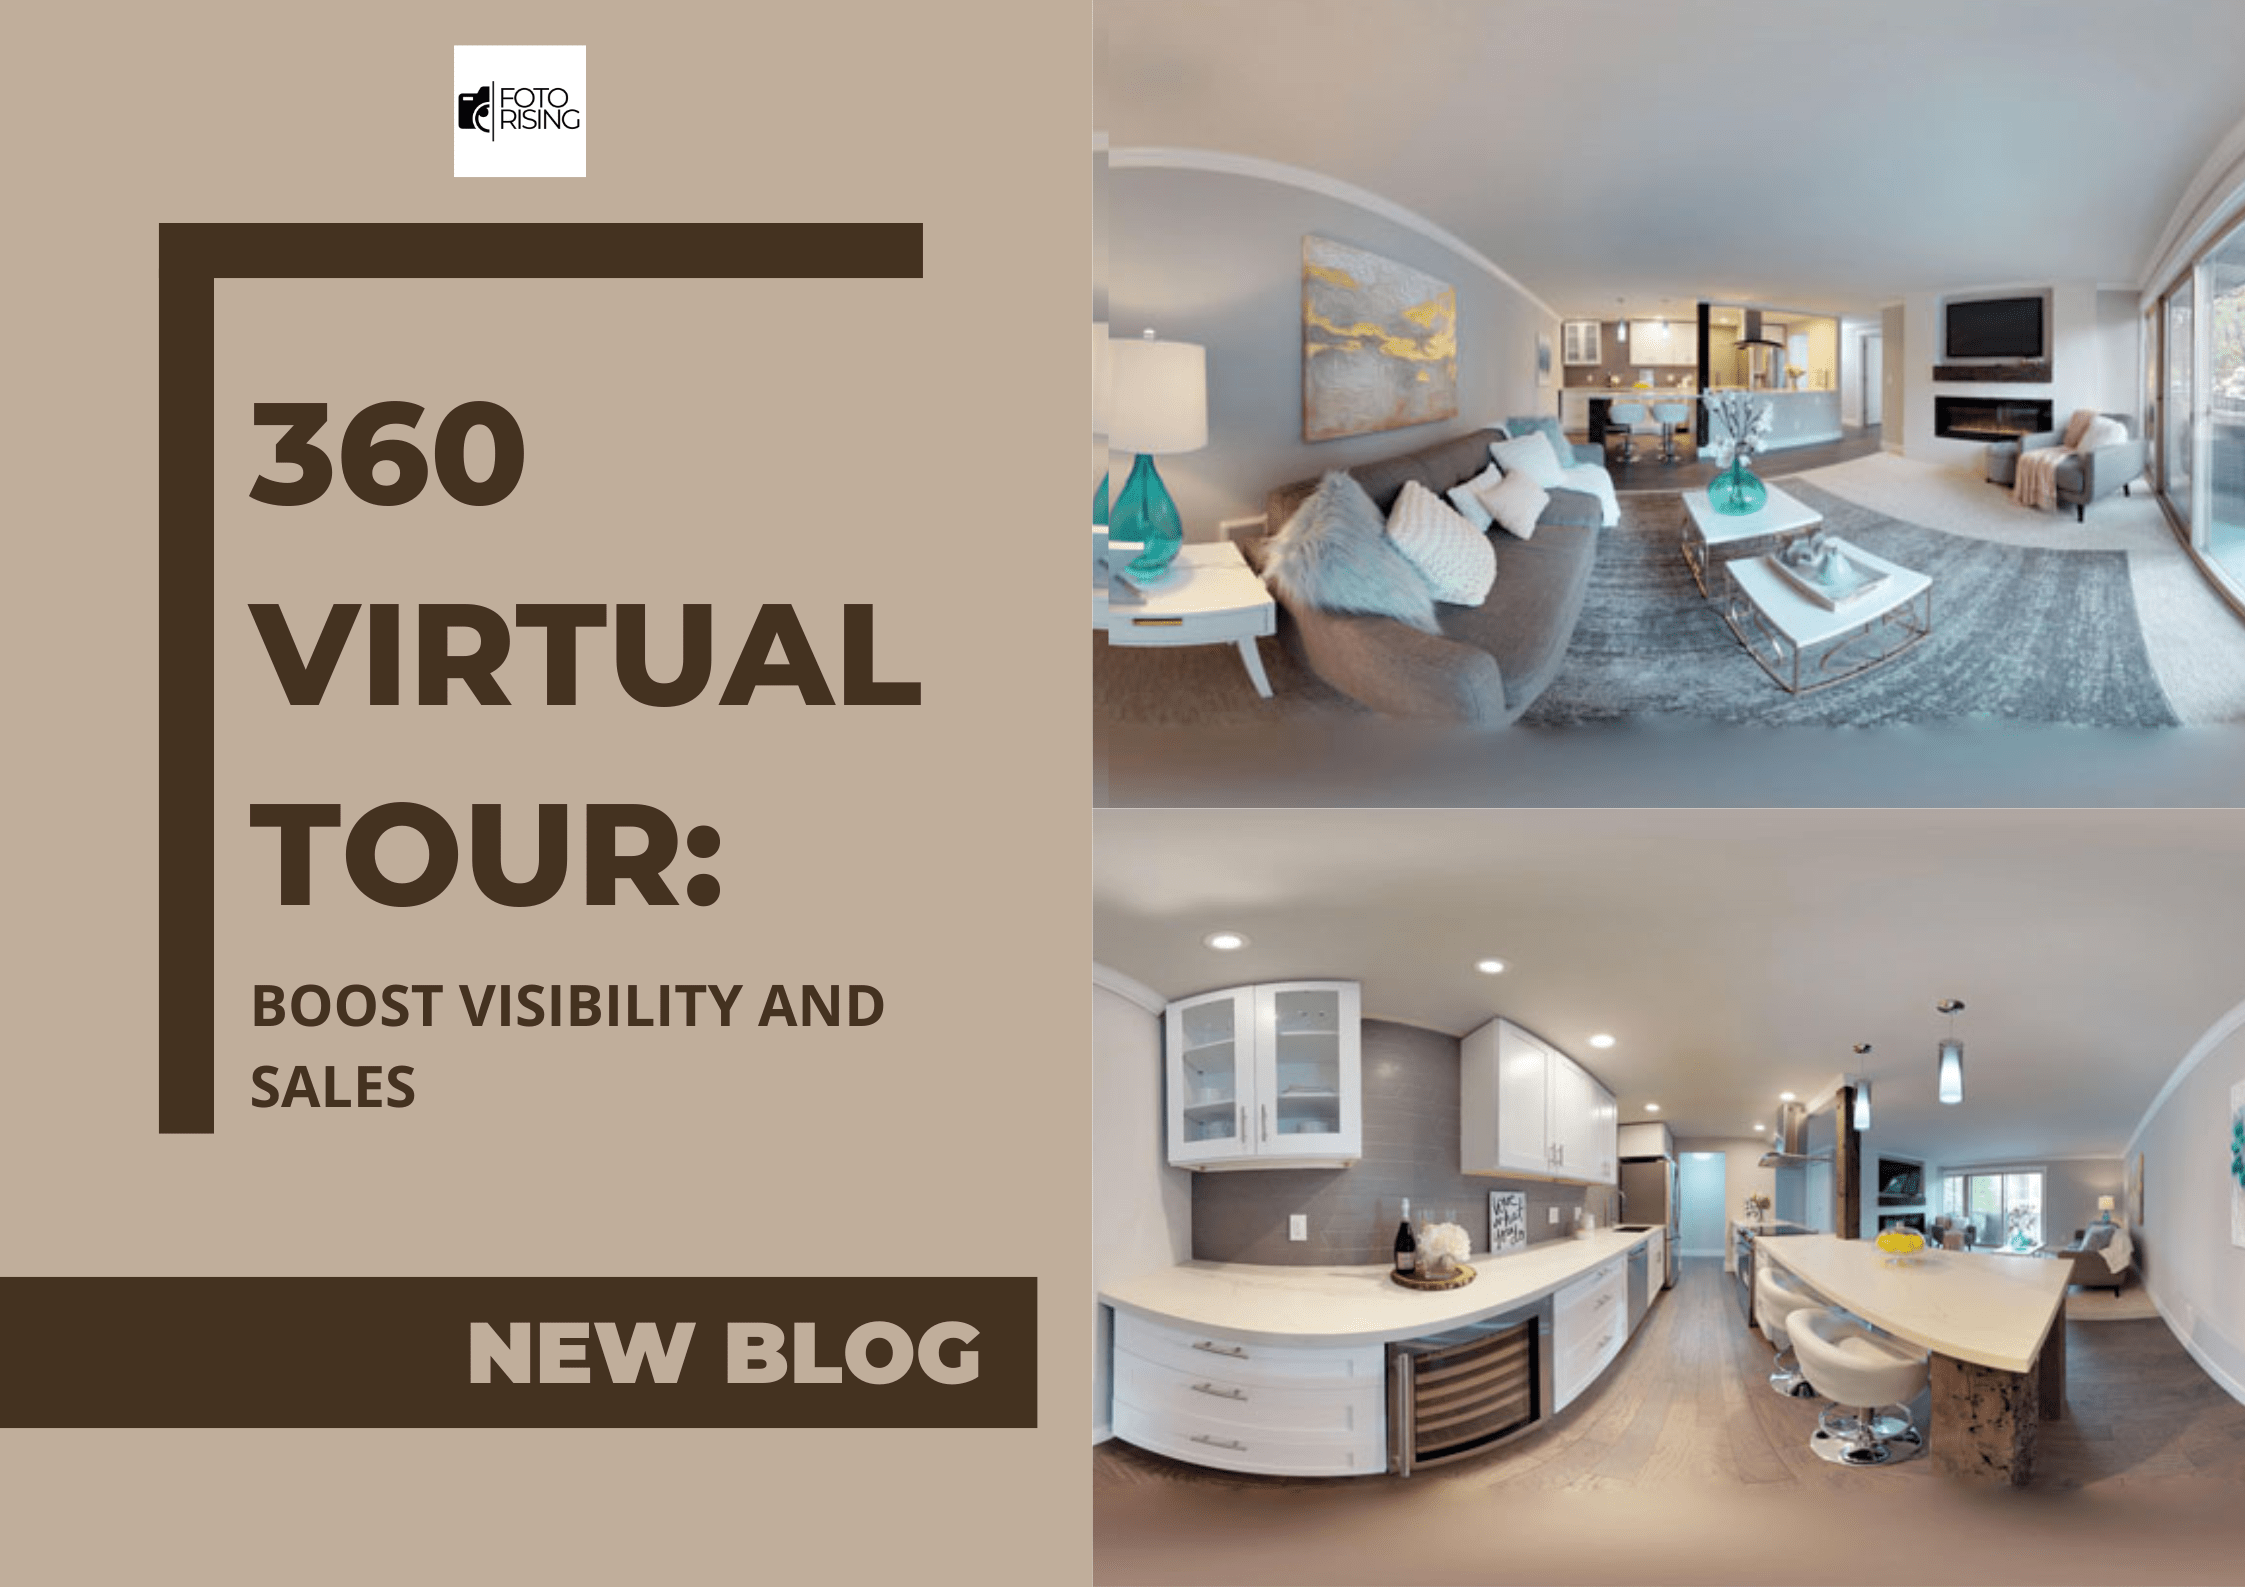
What is a 360 Virtual Tour?
A 360 virtual tour is an interactive walkthrough of a physical space. It uses panoramic photography and software to create a seamless experience. Users can explore rooms, zoom in, and move around naturally. Unlike videos, they control what they see and where they go.

Why Does It Matter in 2025?
Consumer behavior has shifted. People want remote experiences that feel real. According to Grand View Research (2024), this market reached $11.06 billion. It’s expected to grow by 34.3% annually through 2030. Clearly, demand is accelerating.
Industries Are Responding Fast
Real estate, hospitality, education, and retail lead the way. These sectors benefit the most from immersive visual experiences. Let’s break down why.
Real Estate: Faster Decisions, Higher Offers
Listings with 360 virtual tours get more attention. Realtor.com reports 87% more views for homes with virtual tours. They also receive 95% more calls from buyers. That’s not a small edge—it’s a game-changer. Plus, properties sell 31% faster and for 9% more. In a competitive market, that’s gold.

Hospitality: Try Before You Book
Hotels with 360 tours boost bookings. Travelers want to explore rooms, pools, and lounges before choosing. A 2025 survey by Skift found that 68% of travelers prefer virtual previews. This builds trust and reduces booking hesitation.
Education: Global Campus Access
Universities use virtual tours to recruit international students. Walking through dorms and libraries remotely influences decisions. It makes distant campuses feel closer. This is crucial when travel is limited or expensive.
Retail: Experience Drives Purchases
In e-commerce, showing products is no longer enough. Retailers are using virtual showrooms to increase engagement. According to Shopify, stores with interactive tours see 48% more add-to-cart actions. Customers love exploring before committing.
The Technology Behind the Experience
Several tools help build high-quality 360 tours. Popular options include Matterport, Kuula, and 3DVista. These platforms support 3D mapping, floor plans, and mobile optimization. New AI tools can also create smart tours that adapt to user behavior. That means smarter, more engaging experiences.
Benefits That Go Beyond Visuals
Why do virtual tours work so well? Because they offer clarity, control, and connection.
- Clarity: Customers see real spaces in real dimensions.
- Control: Users move at their own pace, focusing on what matters.
- Connection: It creates emotional engagement without being in the space.
This combination boosts trust and reduces uncertainty. And that leads directly to more confident decisions.

Data-Driven Impact in 2025
Let’s look at what the numbers show:
- Sites with 360 tours hold attention 5–10x longer.
- Virtual content increases email click-through rates by 27%.
- Businesses using 360 tours see 41% more search engine traffic.
- Google Maps listings with virtual tours generate twice the interest.
These stats show that virtual tours improve both experience and visibility.
Adapting to Mobile and VR
Modern virtual tours must work across devices. Over 70% of users view virtual tours on mobile phones. So responsive design is critical. Some tours also support VR headsets for deeper immersion.
With Meta and Apple investing in spatial computing, expect more VR demand soon.
Tips for Effective 360 Virtual Tours
Want your 360 virtual tour to shine?
Here’s what to focus on:
- High-Resolution Imagery – Clarity builds credibility.
- Smooth Navigation – Avoid lag or confusing controls.
- Storytelling Flow – Guide the viewer naturally through the space.
- Strategic Labels – Use tags or hotspots for added context.
- Mobile Optimization – Ensure the experience works flawlessly on smartphones.
A poorly executed tour can hurt more than help. Make sure it’s done professionally or with proven tools.
SEO Advantages You Can’t Ignore
Yes, virtual tours are also great for SEO. They reduce bounce rate and increase time on site. Both metrics signal relevance to Google. And the more engaging your content, the more likely it earn backlinks. That’s a recipe for better rankings.
What’s Next?
As technology evolves, so will 360 virtual tours. Expect AI to auto-generate even more intuitive experiences. Personalization will make each tour feel tailor-made. And integration with booking or purchase systems will become seamless. The bottom line: virtual tours are no longer optional. They are fast becoming essential for modern marketing.
Final Thoughts
Whether you’re selling homes, hotel stays, or retail goods, a 360 virtual tour can transform your strategy. It offers a real feel in a digital world—something today’s consumers crave. Invest in quality, keep it user-friendly, and your audience will stay longer, engage more, and convert faster.
Read more:
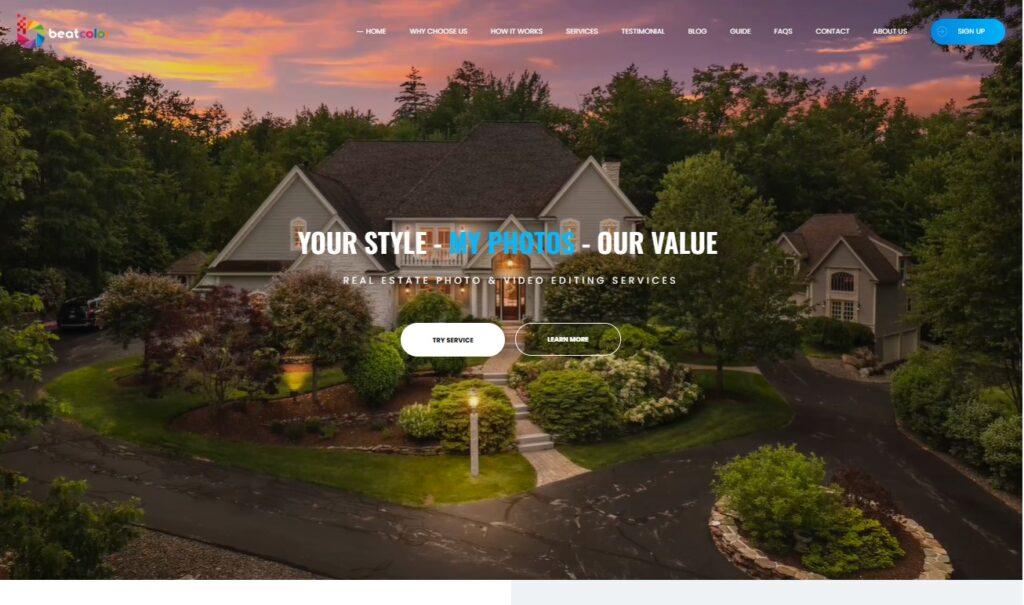
The Importance of High-Resolution Real Estate Images in 2025
Canva Picture Editor: A Powerful Tool for Efficient Image Editing