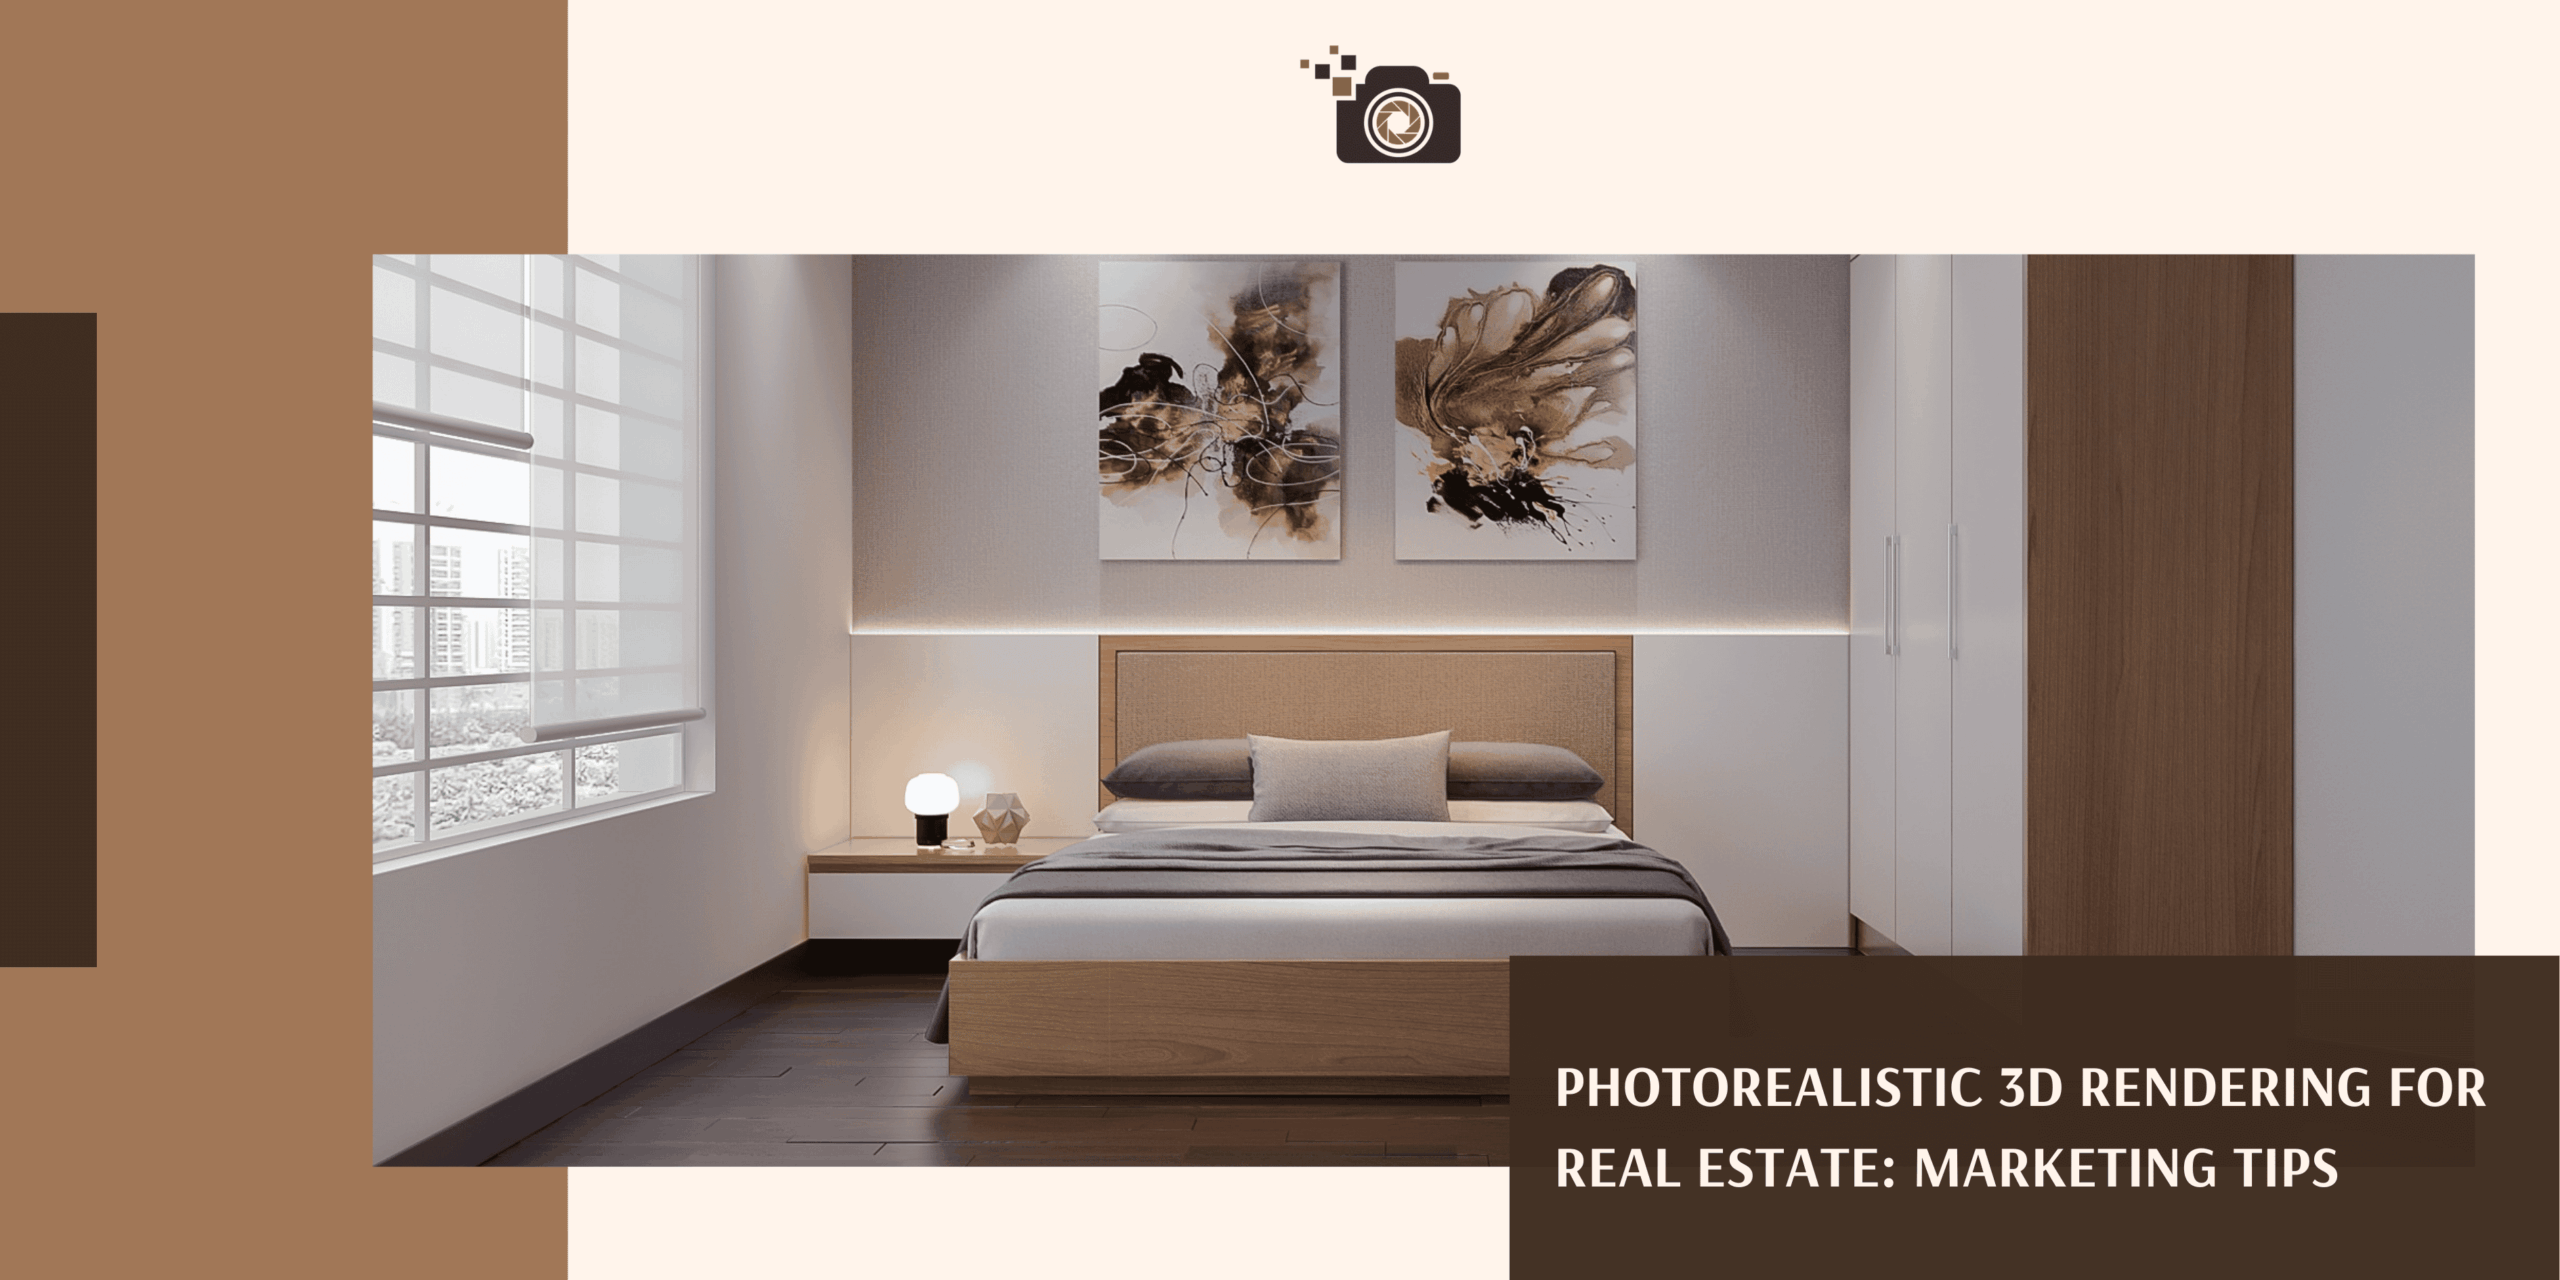
In today’s competitive property market, visuals play a crucial role in attracting buyers and investors. Photorealistic 3D rendering for real estate has become one of the most powerful tools to showcase properties in a realistic, compelling, and cost-effective way.
This article will help you understand what photorealistic 3D rendering is, why it matters, and how it can transform your marketing strategy.
I. What Is Photorealistic 3D Rendering for Real Estate?
This is the process of creating ultra-realistic 3D images that look almost identical to real photographs. These visuals are generated from architectural plans, CAD drawings, or basic concepts and are commonly used to present properties before or after construction.
Unlike traditional 3D graphics, photorealistic rendering focuses on:
- Realistic lighting and shadows
- Accurate textures and materials
- True-to-life colors and reflections
- Natural proportions and perspectives
The result is an image that helps viewers visualize the property as if it already exists.
II. Why Photorealistic 3D Rendering Is Important for Real Estate
1. Helps Buyers Visualize the Property
High-quality photorealistic 3D renders allow buyers to clearly imagine the space, layout, and atmosphere of a property — especially for projects that are not yet built.
2. Boosts Marketing Performance
Listings with realistic 3D visuals often receive more clicks, longer viewing times, and higher engagement than listings with standard photos or empty spaces.
3. Cost-Effective Compared to Traditional Photography
For unbuilt or unfurnished properties, photorealistic 3D rendering eliminates the need for expensive staging, reshoots, or construction delays.
4. Enhances Brand Credibility
Using professional 3D property visualization positions developers, agents, and brokers as modern, trustworthy, and detail-oriented.
III. Common Uses of Photorealistic 3D Rendering in Real Estate
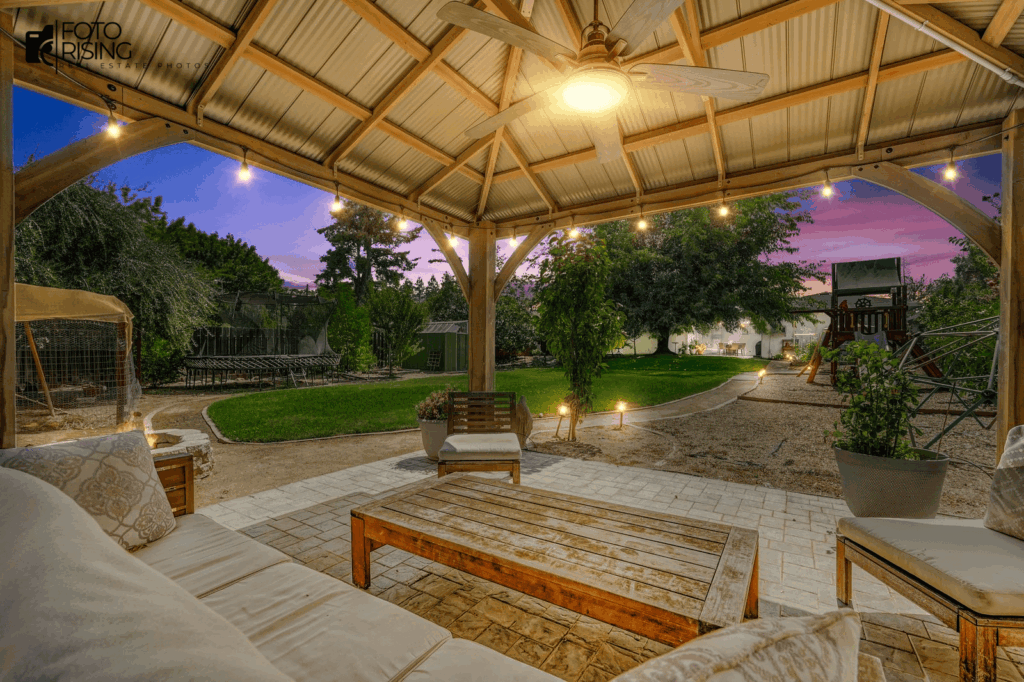
Exterior 3D Rendering
Used to showcase building facades, landscaping, lighting, and surrounding environments with realistic outdoor visuals, helping buyers quickly understand the overall design and curb appeal of the property.
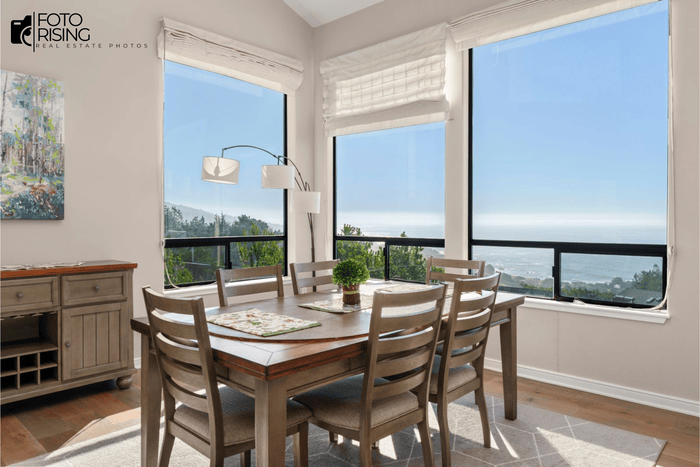
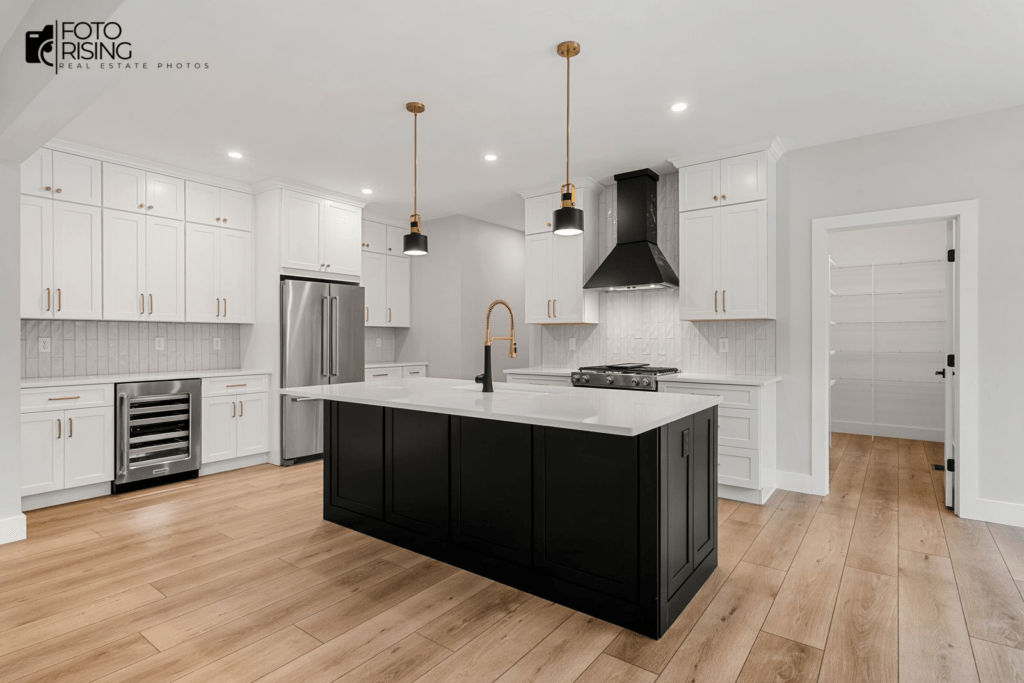
Interior 3D Rendering
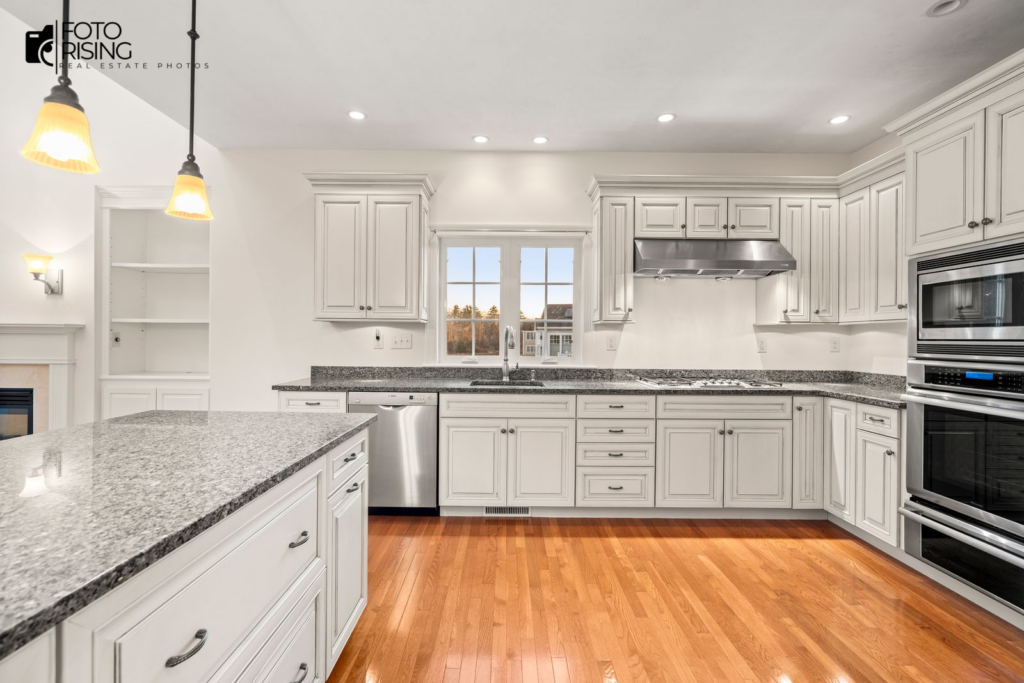
Displays key interior spaces such as living rooms, bedrooms, kitchens, and bathrooms with natural lighting and realistic materials, allowing buyers to better imagine the look and feel of the space.
Virtual Staging
Adds virtual furniture and décor to empty rooms to match the target market and property style, making spaces more attractive and easier for buyers to visualize.
3D Floor Plans
Provides a clear and engaging overview of the property layout, helping buyers understand room sizes, layout flow, and spatial relationships more easily than traditional 2D plans.
3D Walkthroughs & Animations
Creates immersive video experiences that guide viewers through the property, offering a realistic sense of space, layout, and movement.
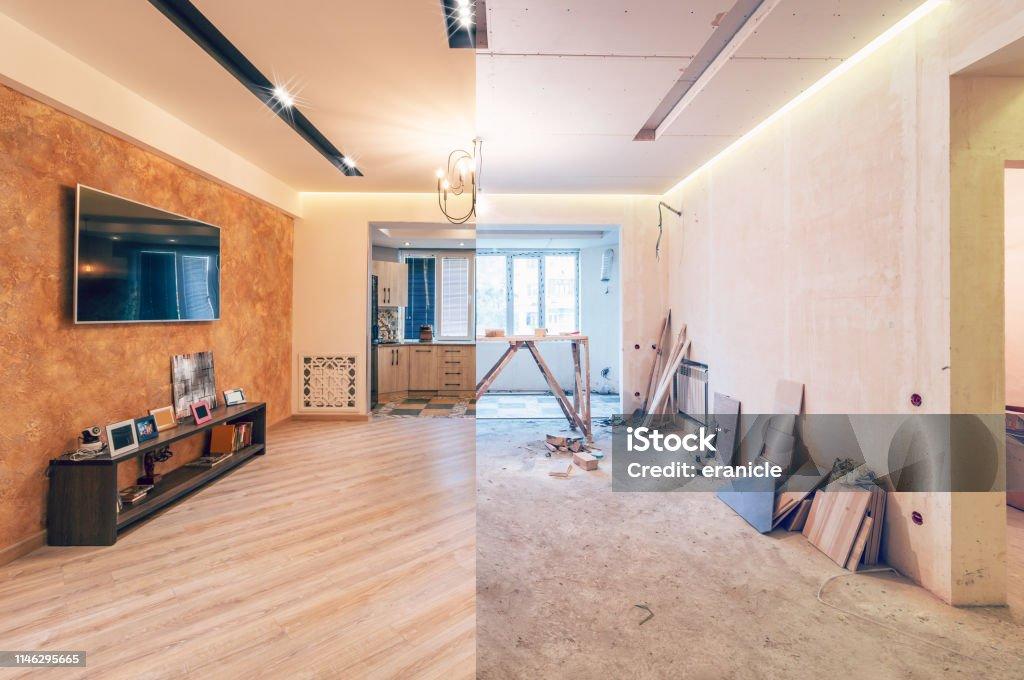
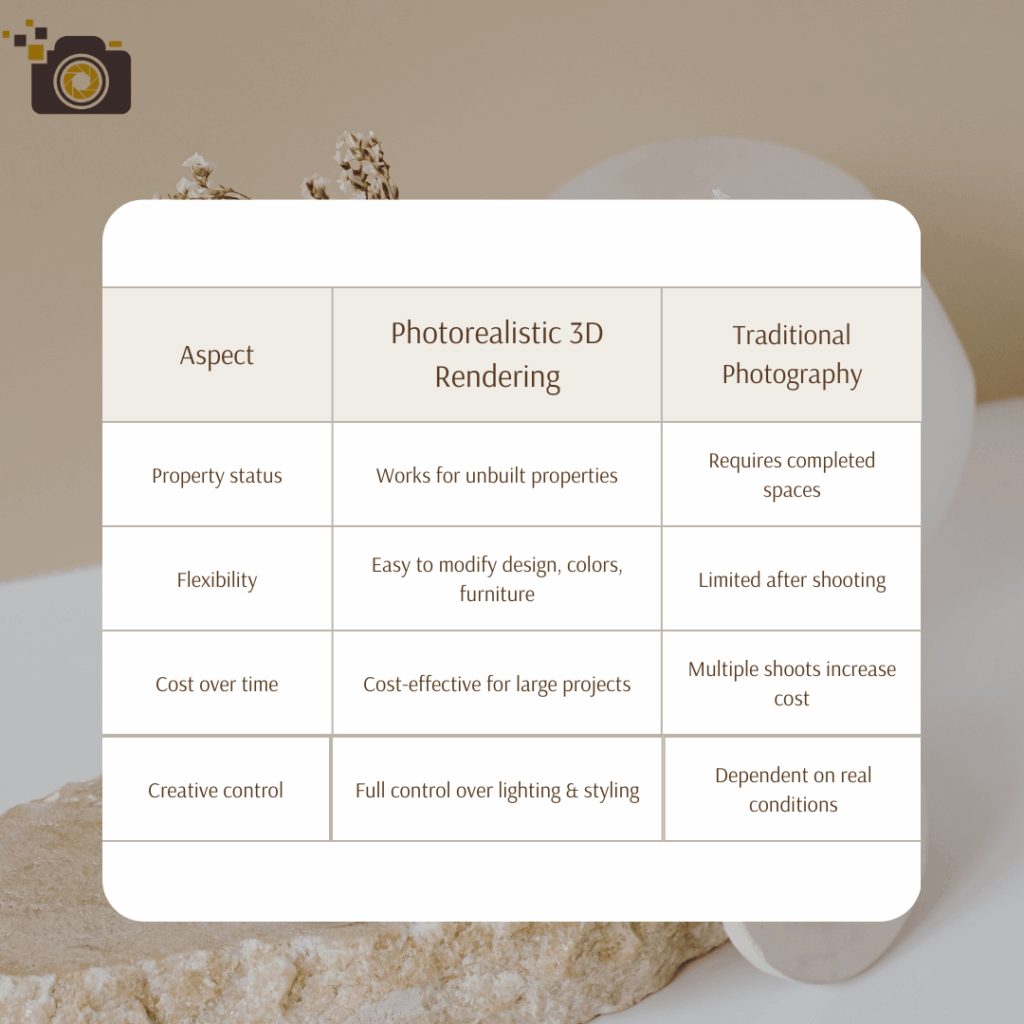
IV. Photorealistic 3D Rendering vs Traditional Photography
V. Who Can Benefit from This Technique?
- Real estate developers
- Property investors
- Real estate agents & brokers
- Architects & interior designers
- Marketing agencies in the property sector
If you are selling off-plan projects, luxury properties, or large developments, photorealistic 3D rendering is almost essential.
VI. Final Thoughts
Photorealistic 3D rendering for real estate is no longer a luxury — it’s a necessity in modern property marketing. With realistic visuals, flexible design options, and strong buyer appeal, it helps properties stand out, sell faster, and communicate value more effectively.
If you want to elevate your real estate listings and create a lasting impression, investing in high-quality photorealistic 3D rendering is a smart move.
Read more:
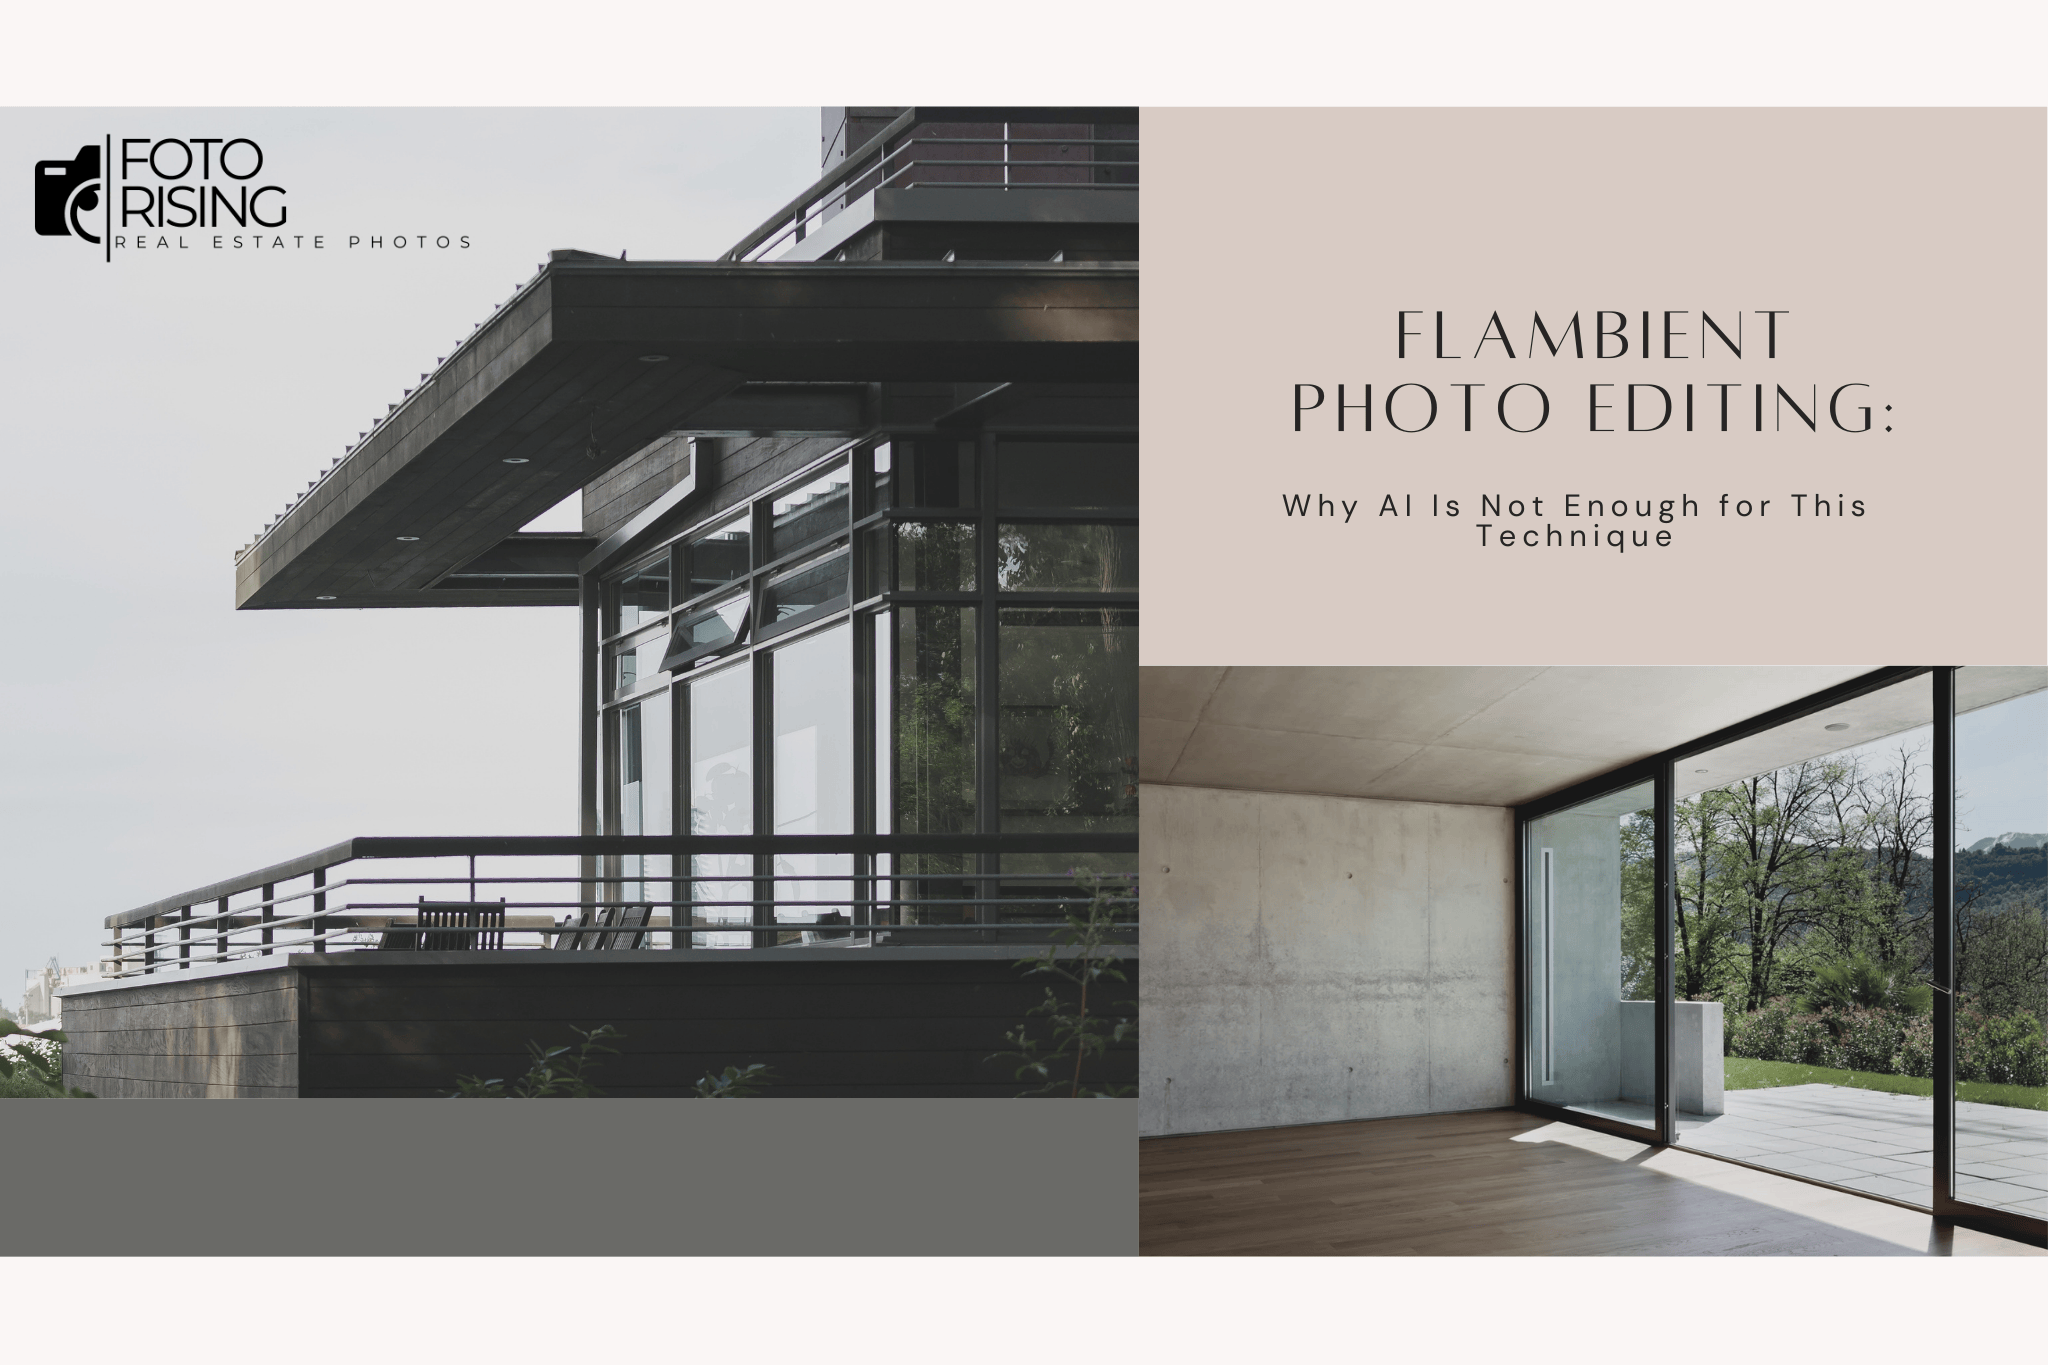
Flambient Photo Editing: Why AI Is Not Enough for This Technique
How Long Does It Take to Be a Professional Photography Editor?
What is The Power of Real Estate Photography?