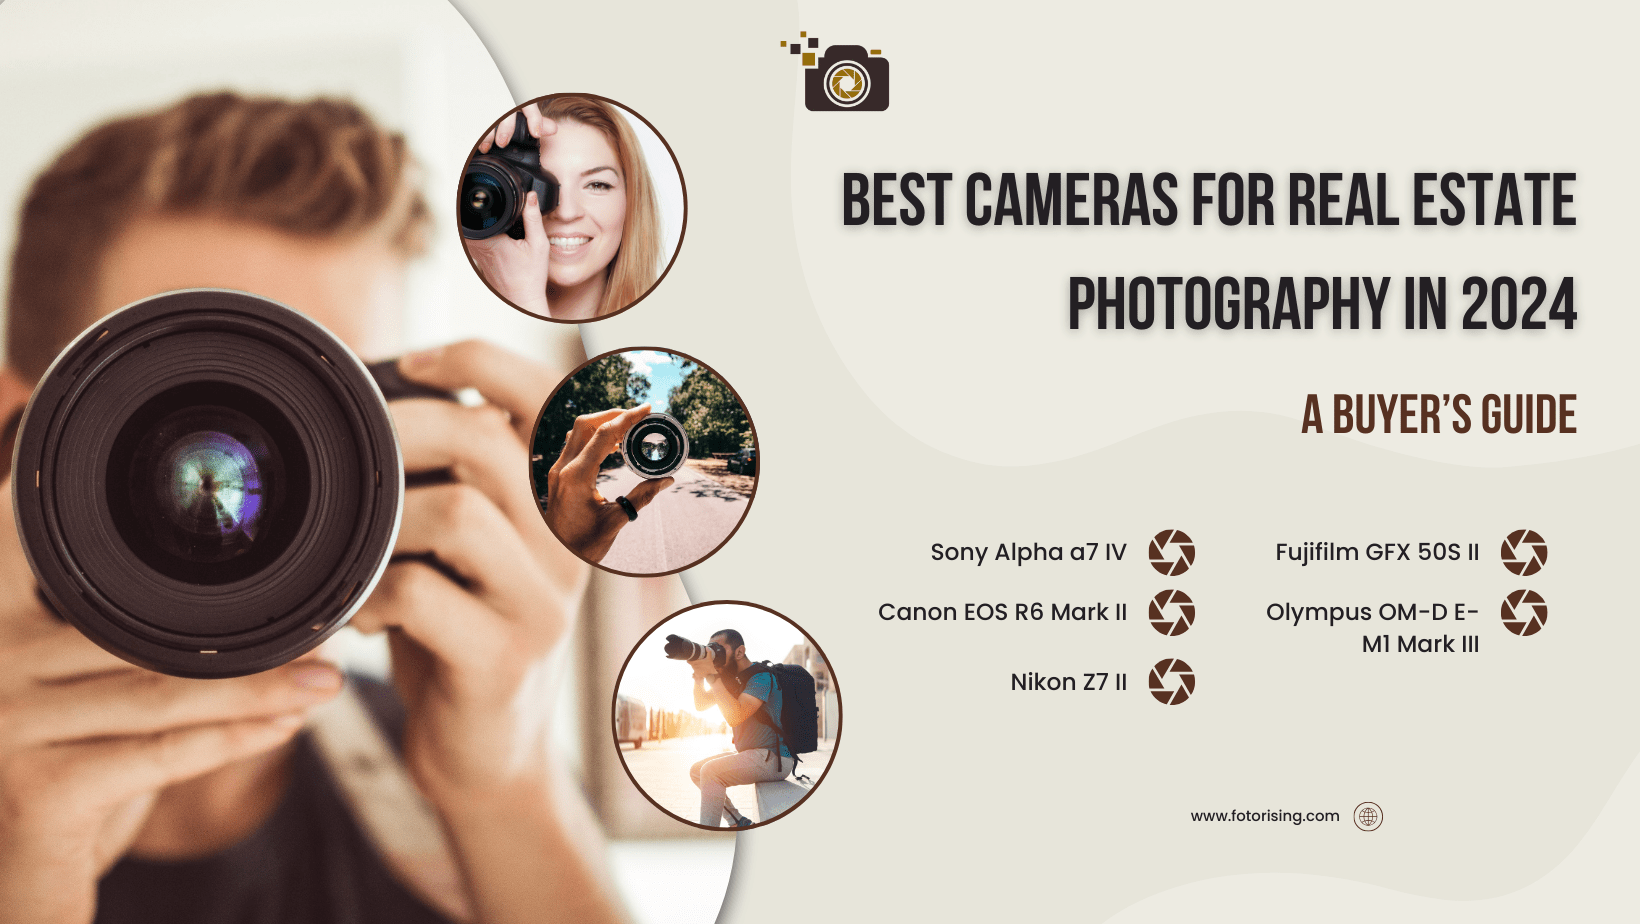
Choosing the right camera for real estate photography can make or break your portfolio. Whether you’re a seasoned pro or just starting, the quality of your images is crucial in attracting potential buyers. With advancements in technology, real estate photographers have access to a range of camera options that enhance image clarity, depth, and color. This guide explores the best cameras for real estate photography in 2024, offering the latest information and tips on making the right investment for your needs.
Why the Right Camera Matters
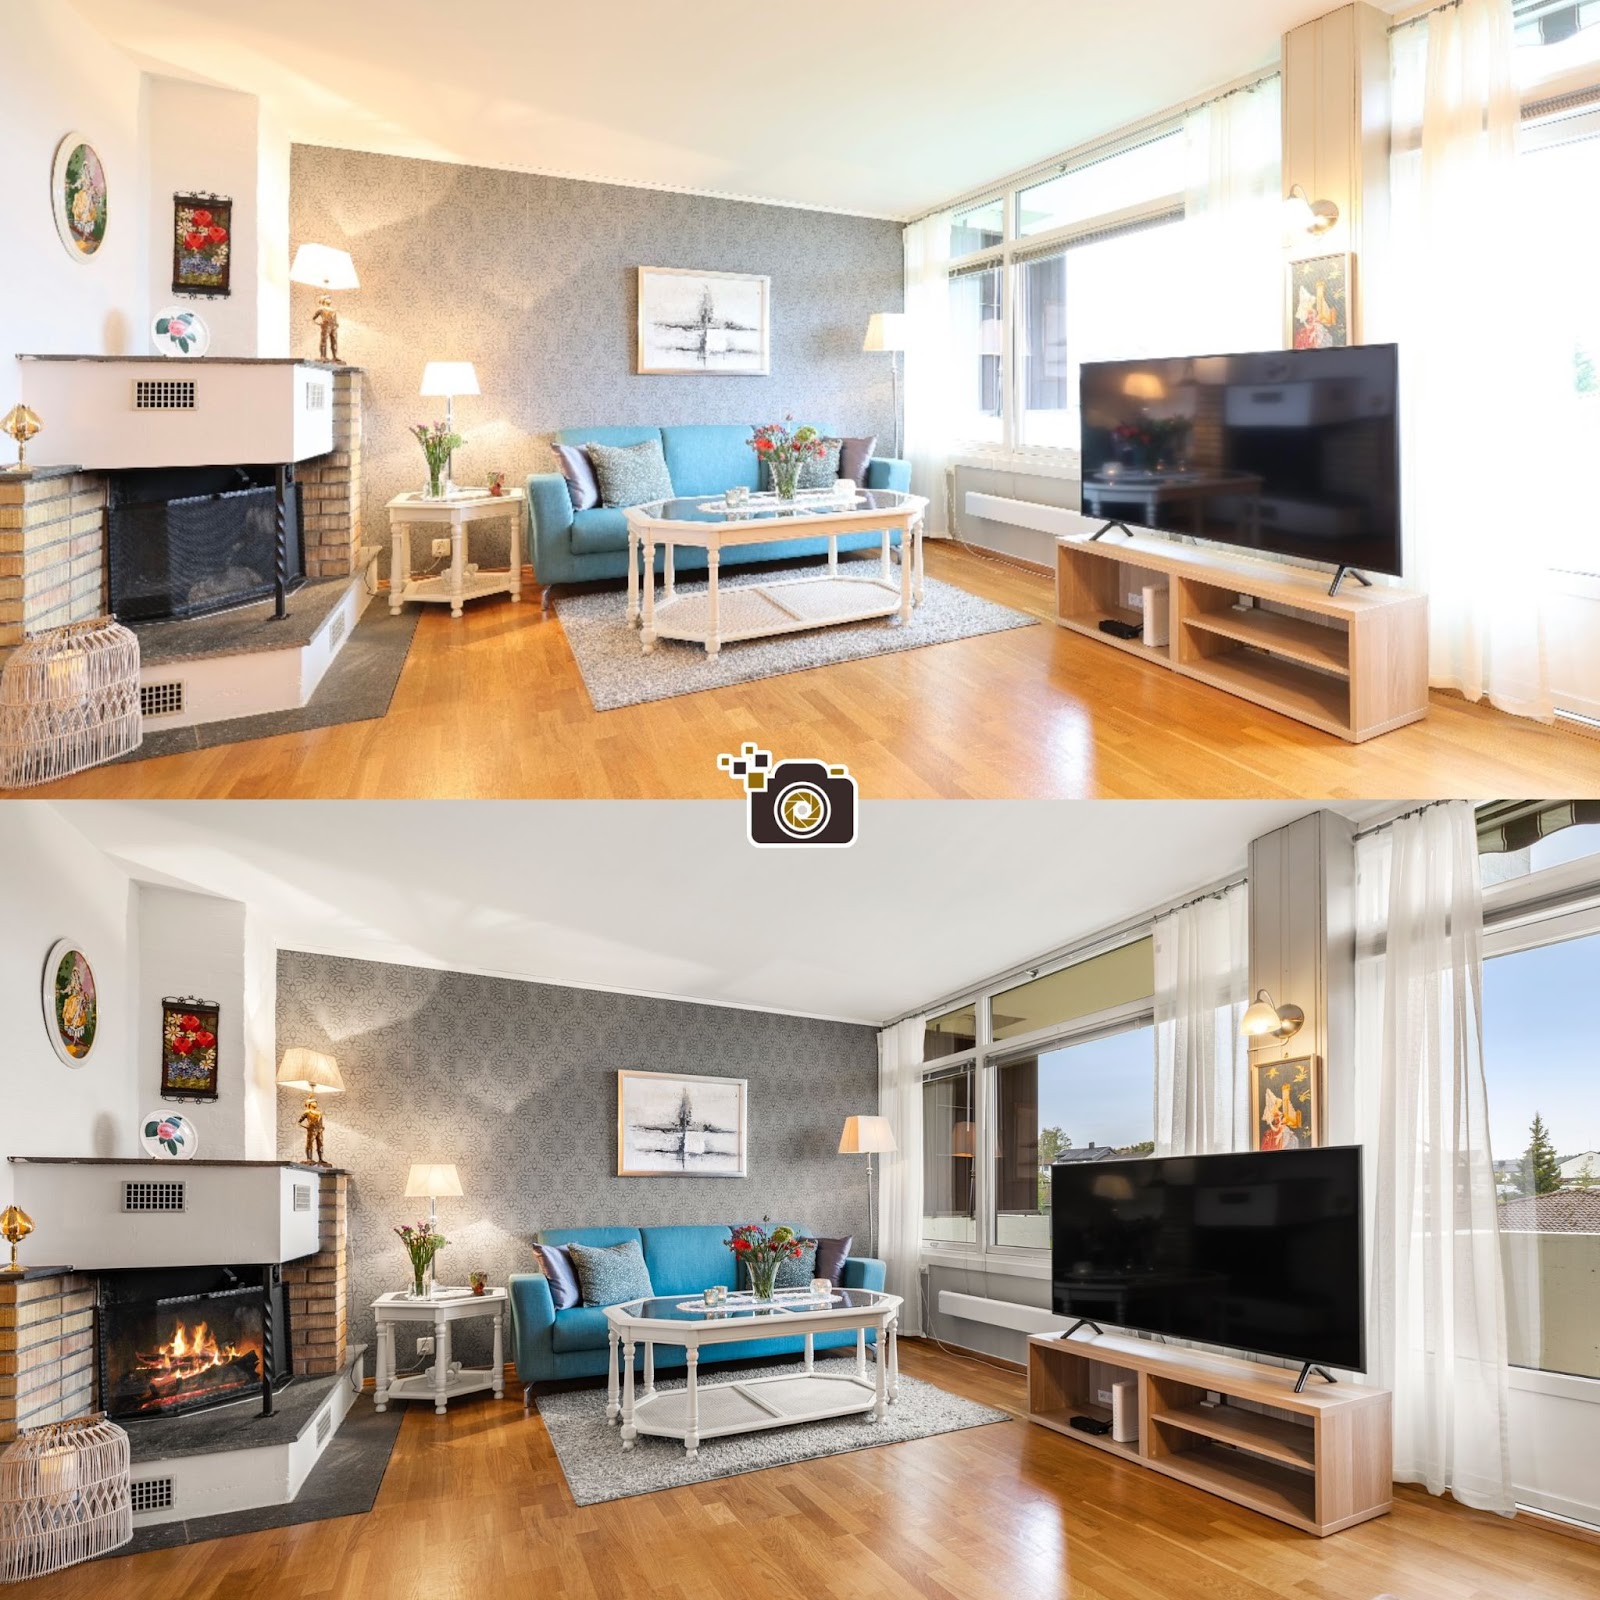
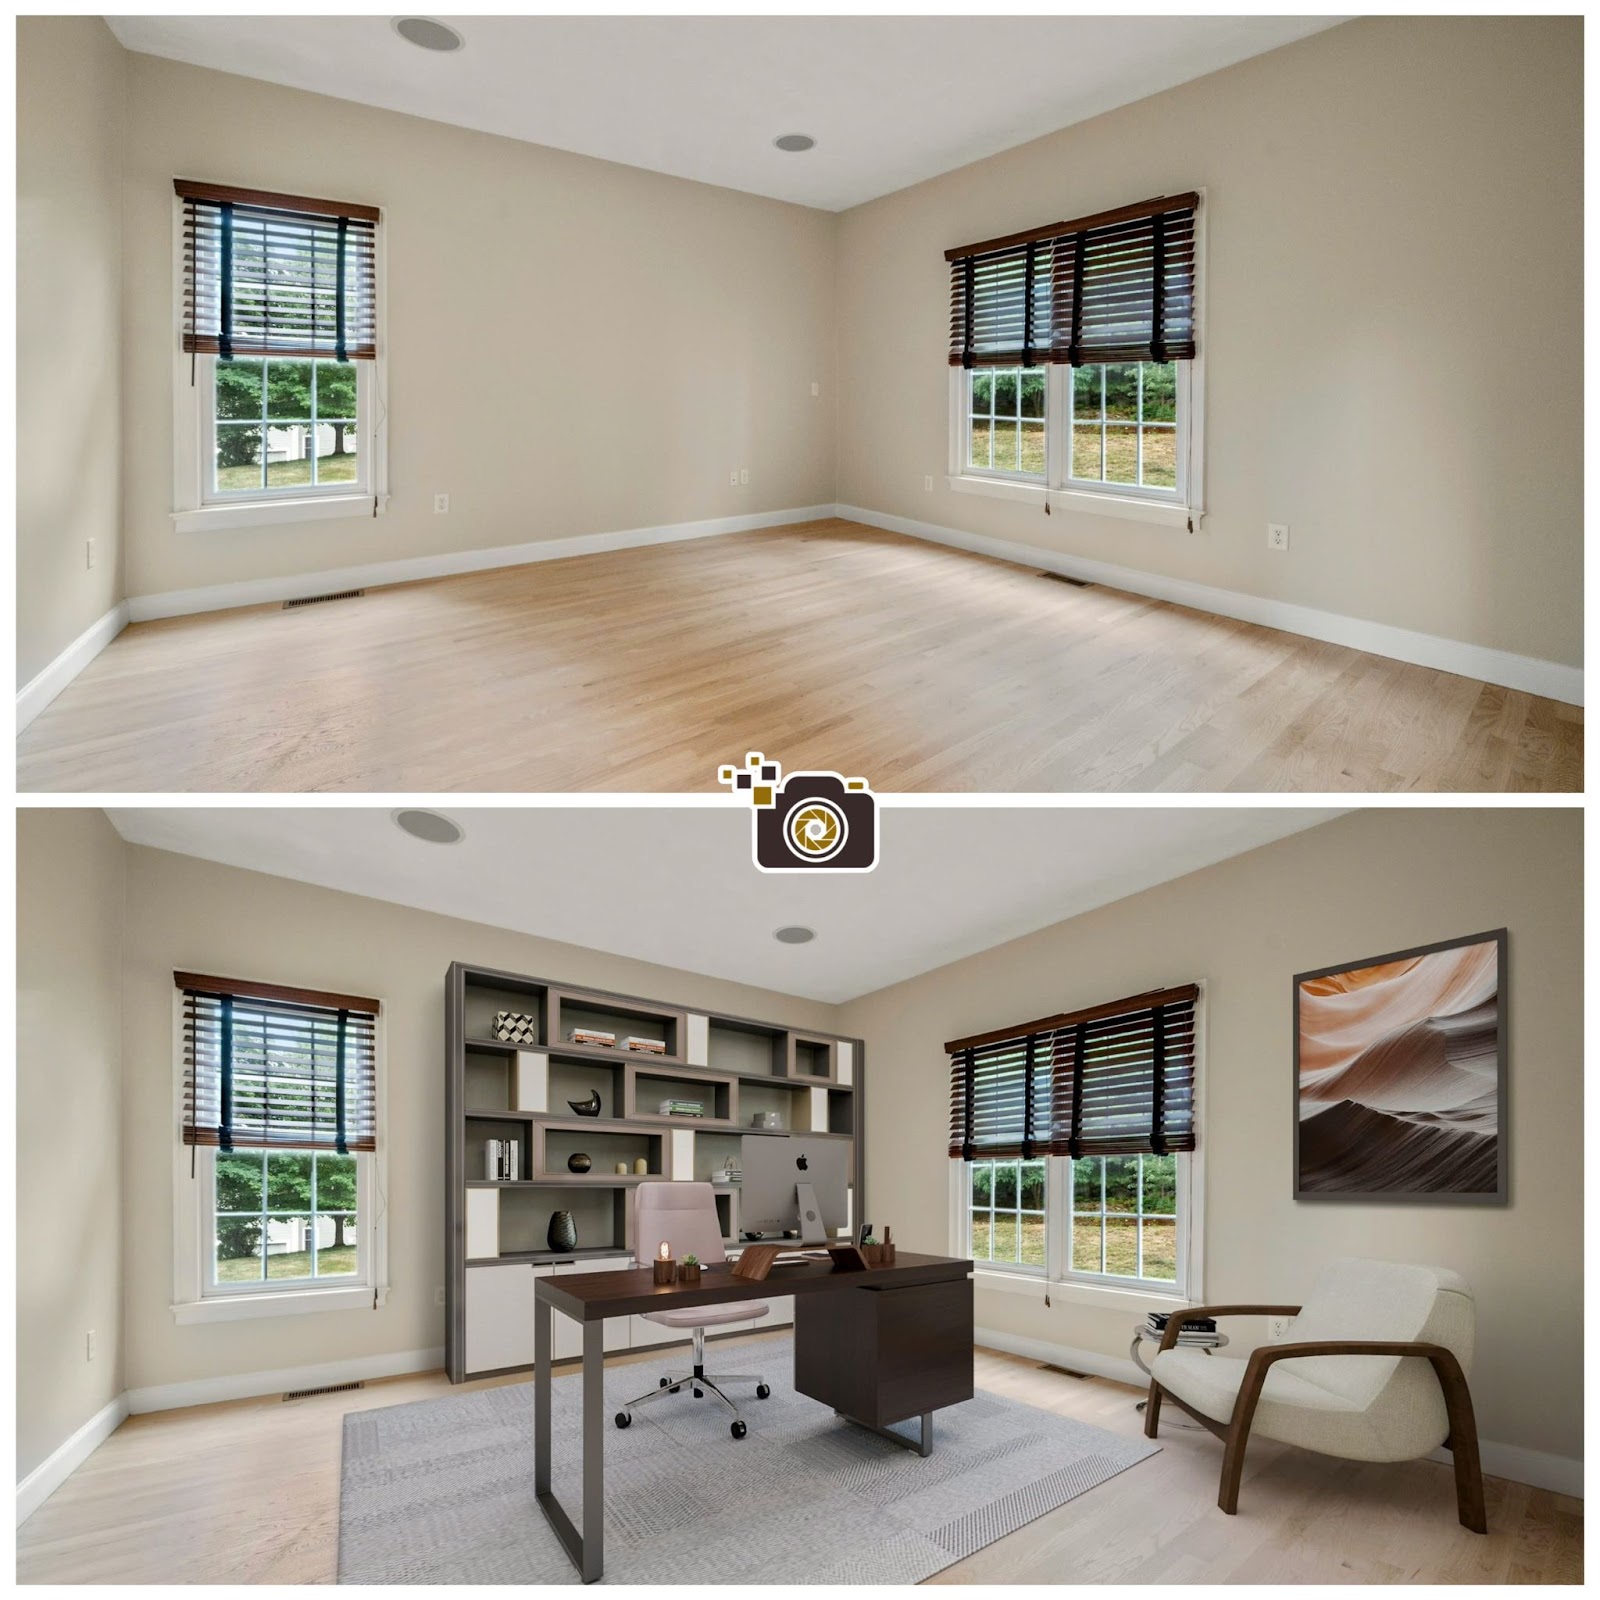
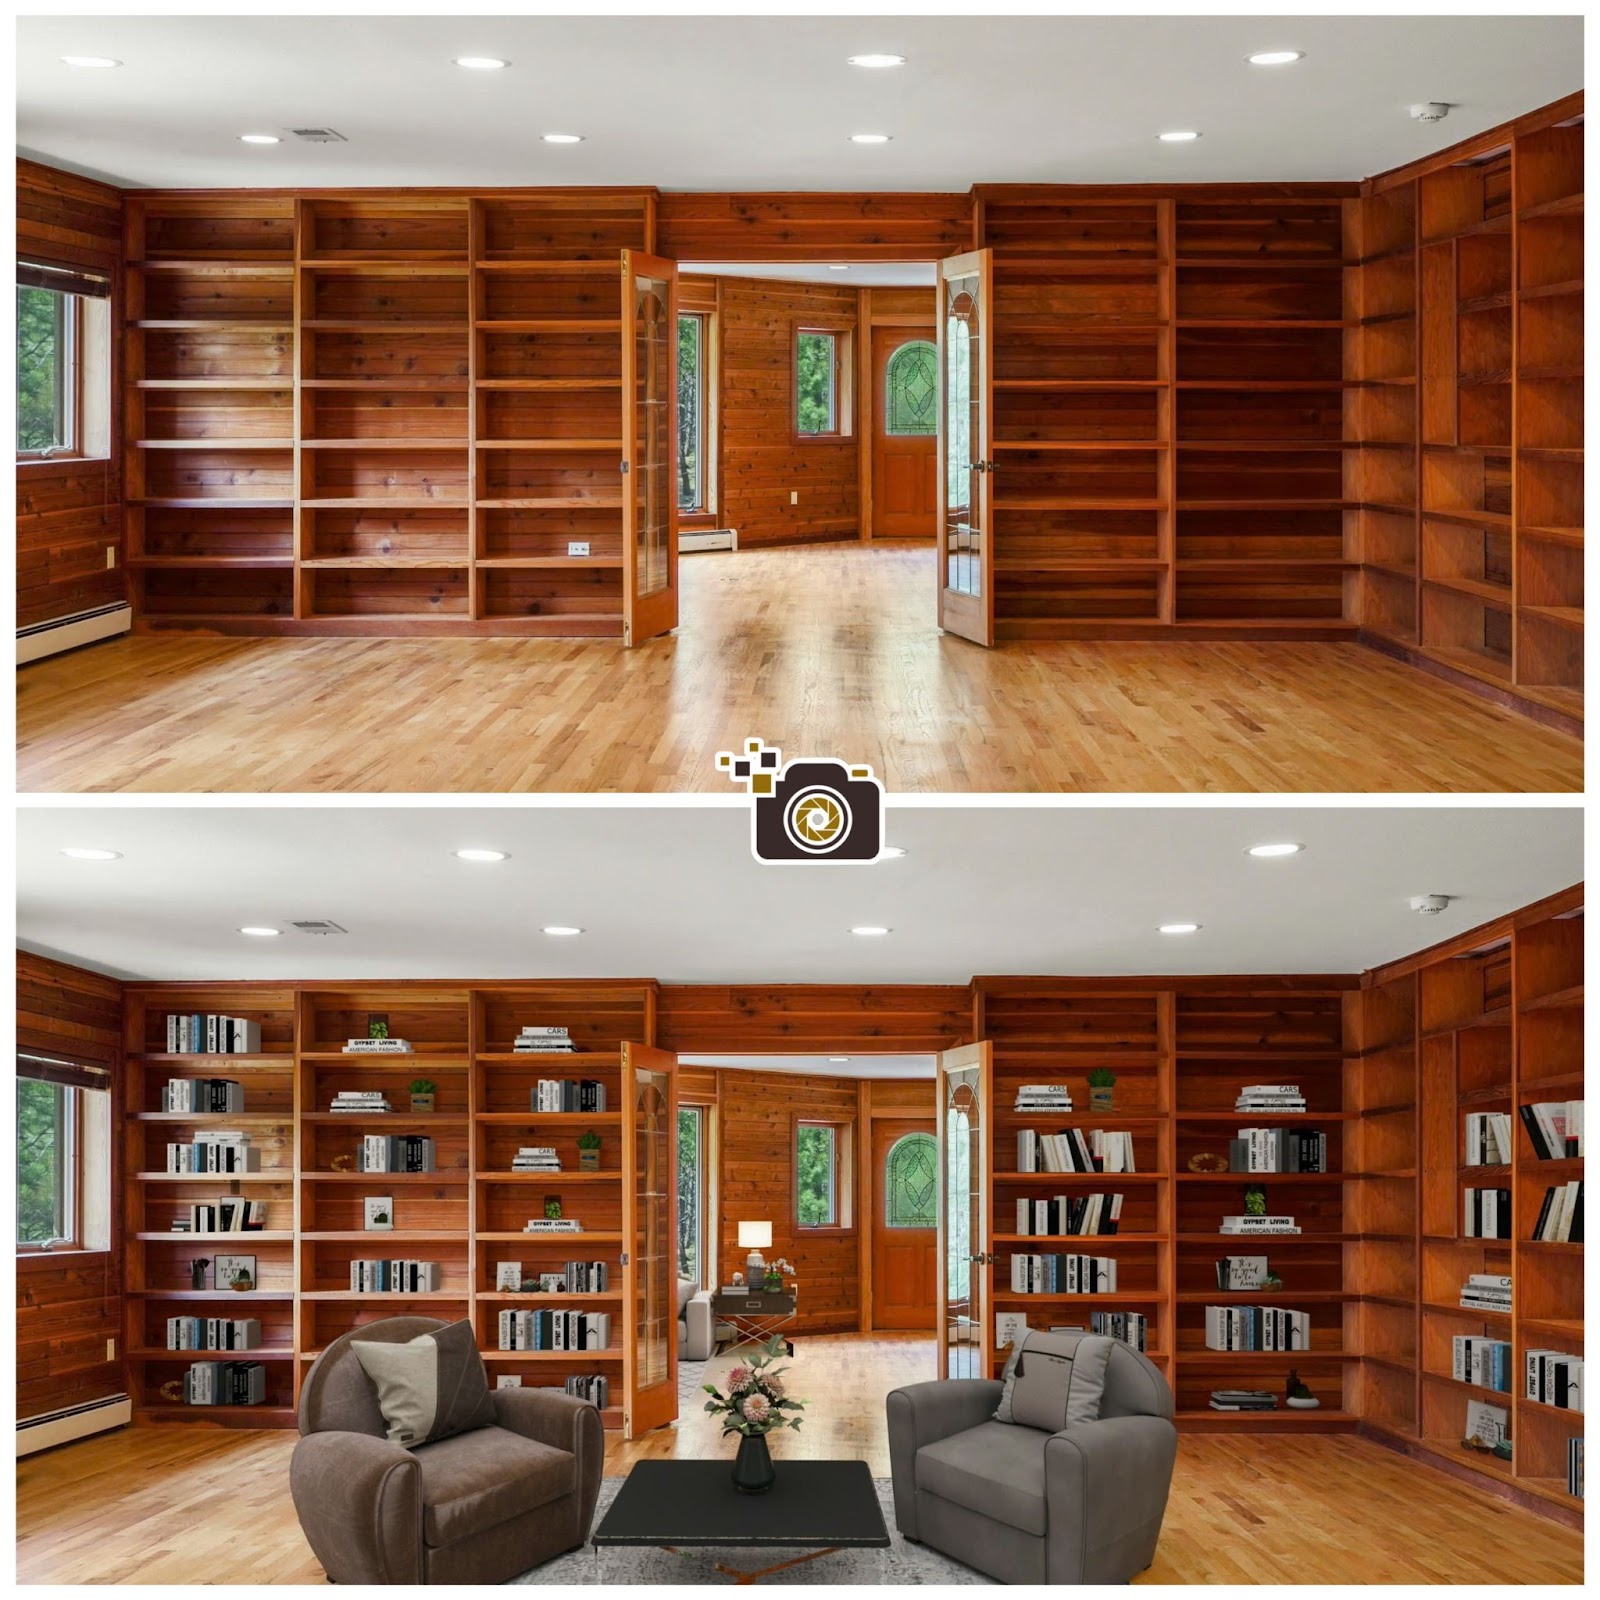
In real estate photography, first impressions are everything. Buyers form opinions based on online listings, so high-quality images can give your property the edge. Sharp, vibrant, and well-lit photos highlight a property’s best features, while poor-quality images might cause potential buyers to overlook a listing. The right camera, combined with proper lighting and composition, can create the perfect balance of aesthetic appeal and accuracy.
Top Features to Consider in a Real Estate Photography Camera
When selecting a camera for real estate photography, focus on these essential features:
- Wide-Angle Lens Compatibility
A wide-angle lens is vital for capturing spacious interiors. It makes rooms appear larger and allows more of the environment to be included in the frame. - High Dynamic Range (HDR)
HDR helps in balancing light, making it essential for properties with large windows. It ensures both indoor and outdoor areas are exposed correctly. - Image Stabilization
With image stabilization, you can avoid blurry images, especially when shooting handheld in low-light conditions. - Resolution and Image Quality
The higher the resolution, the sharper the photos. Cameras with at least 24 megapixels ensure crystal-clear images, even when zoomed in or cropped. - Low-Light Performance
Not all real estate shoots happen during perfect daylight. A camera with good low-light capabilities ensures great shots even in dimly lit spaces.
Top Camera Picks for Real Estate Photography in 2024
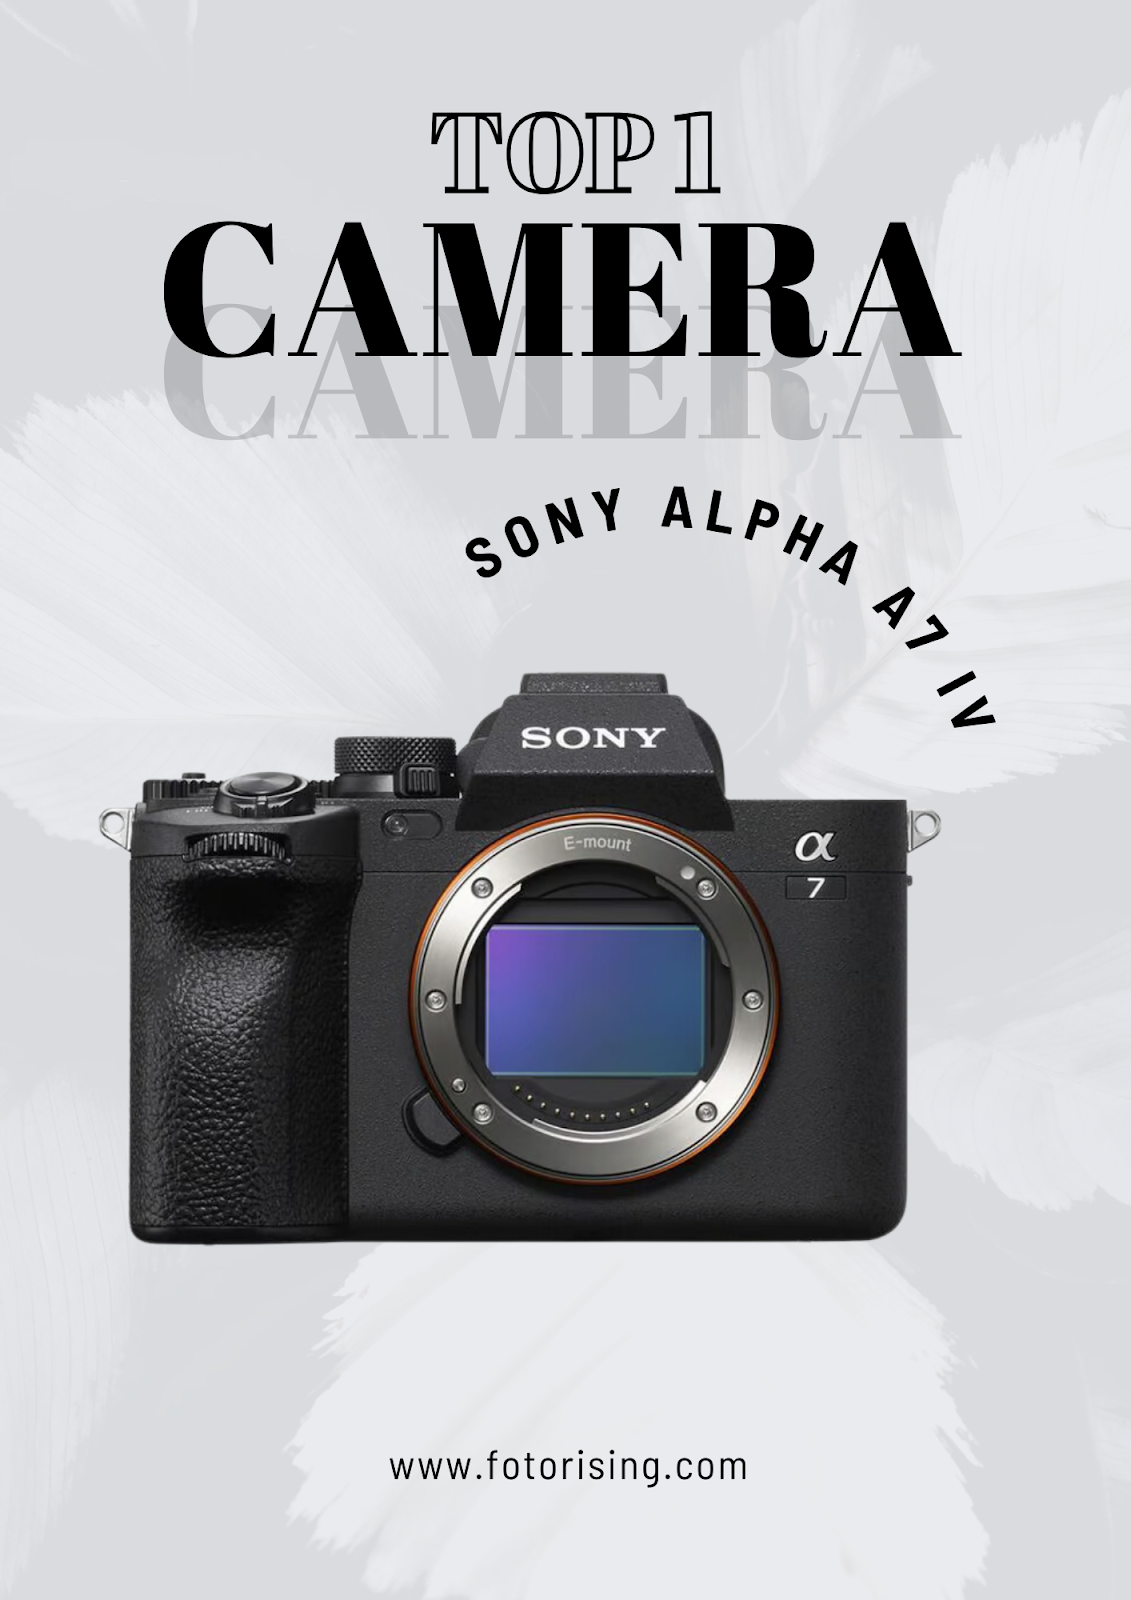
- Sony Alpha a7 IV
The Sony Alpha a7 IV is a full-frame mirrorless camera that has become a favorite among real estate photographers. Its 33MP sensor provides excellent detail, and its incredible low-light performance makes it perfect for properties with challenging lighting. The built-in image stabilization further enhances the clarity of your photos.
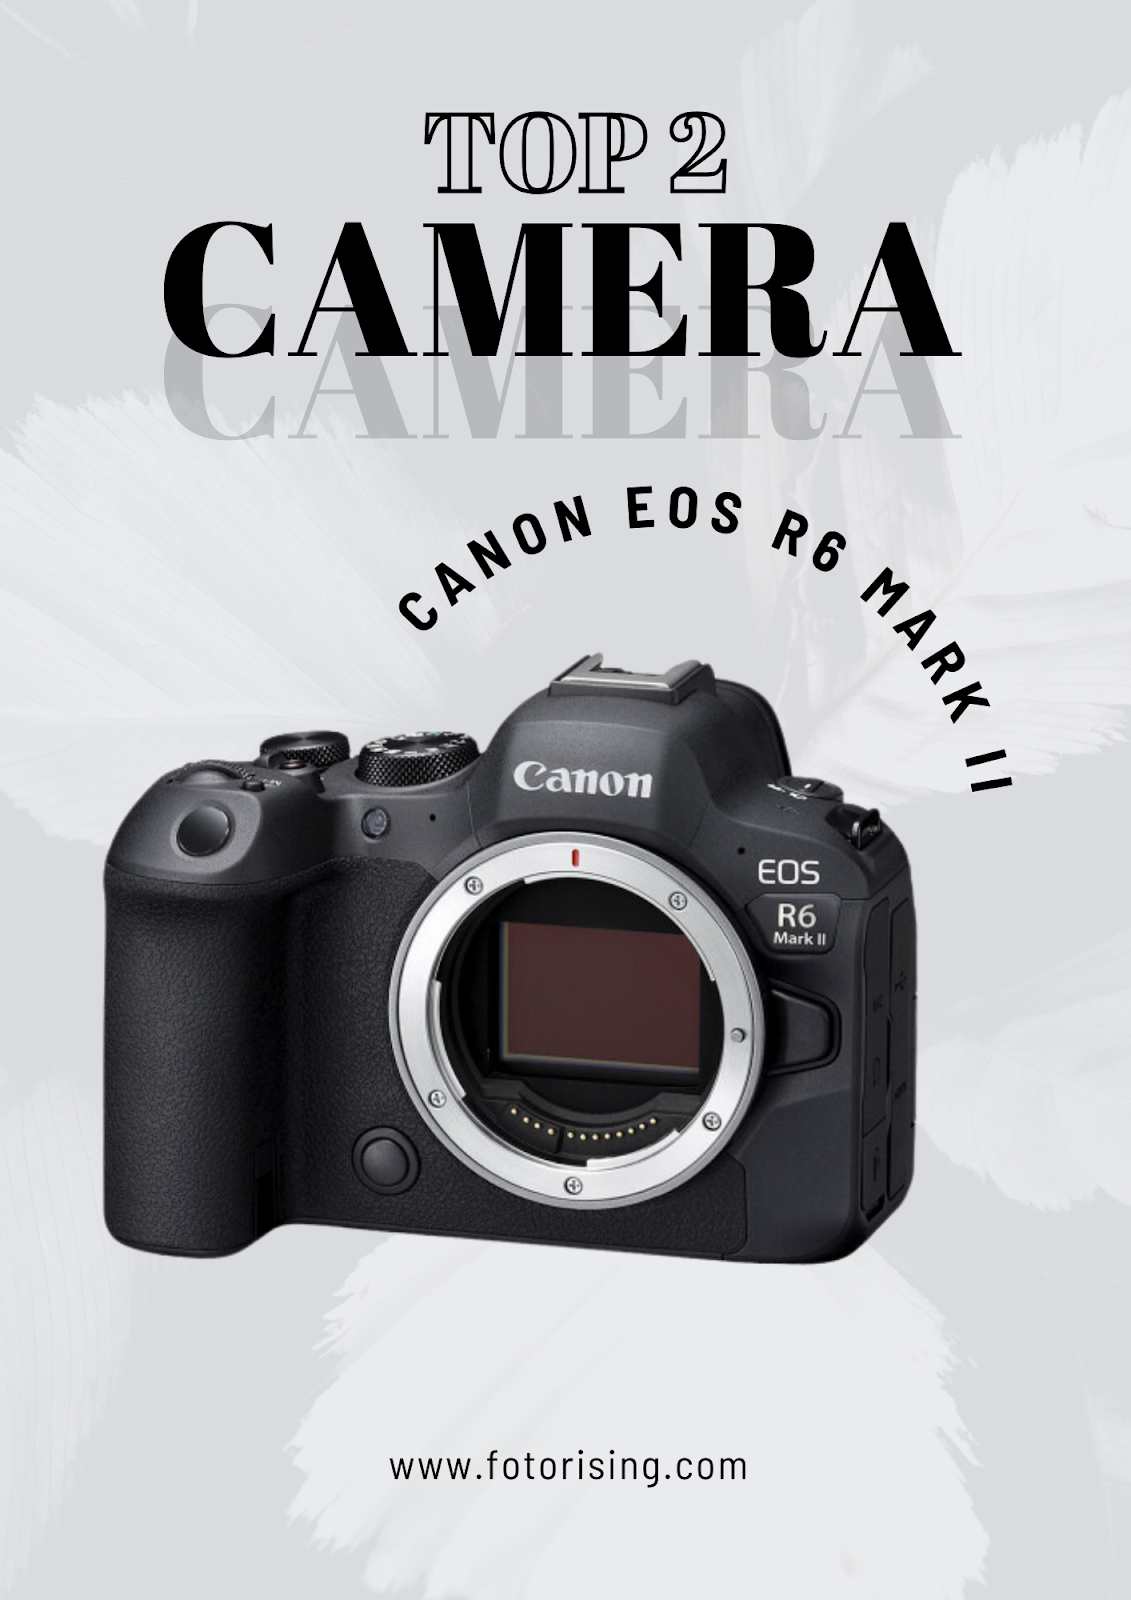
- Canon EOS R6 Mark II
With its 20MP sensor and impressive dynamic range, the Canon EOS R6 Mark II is another top choice for real estate photography. It handles high-contrast scenes, such as bright windows against dark interiors, with ease. Its fast autofocus and stabilization make it ideal for quick, high-quality shoots.
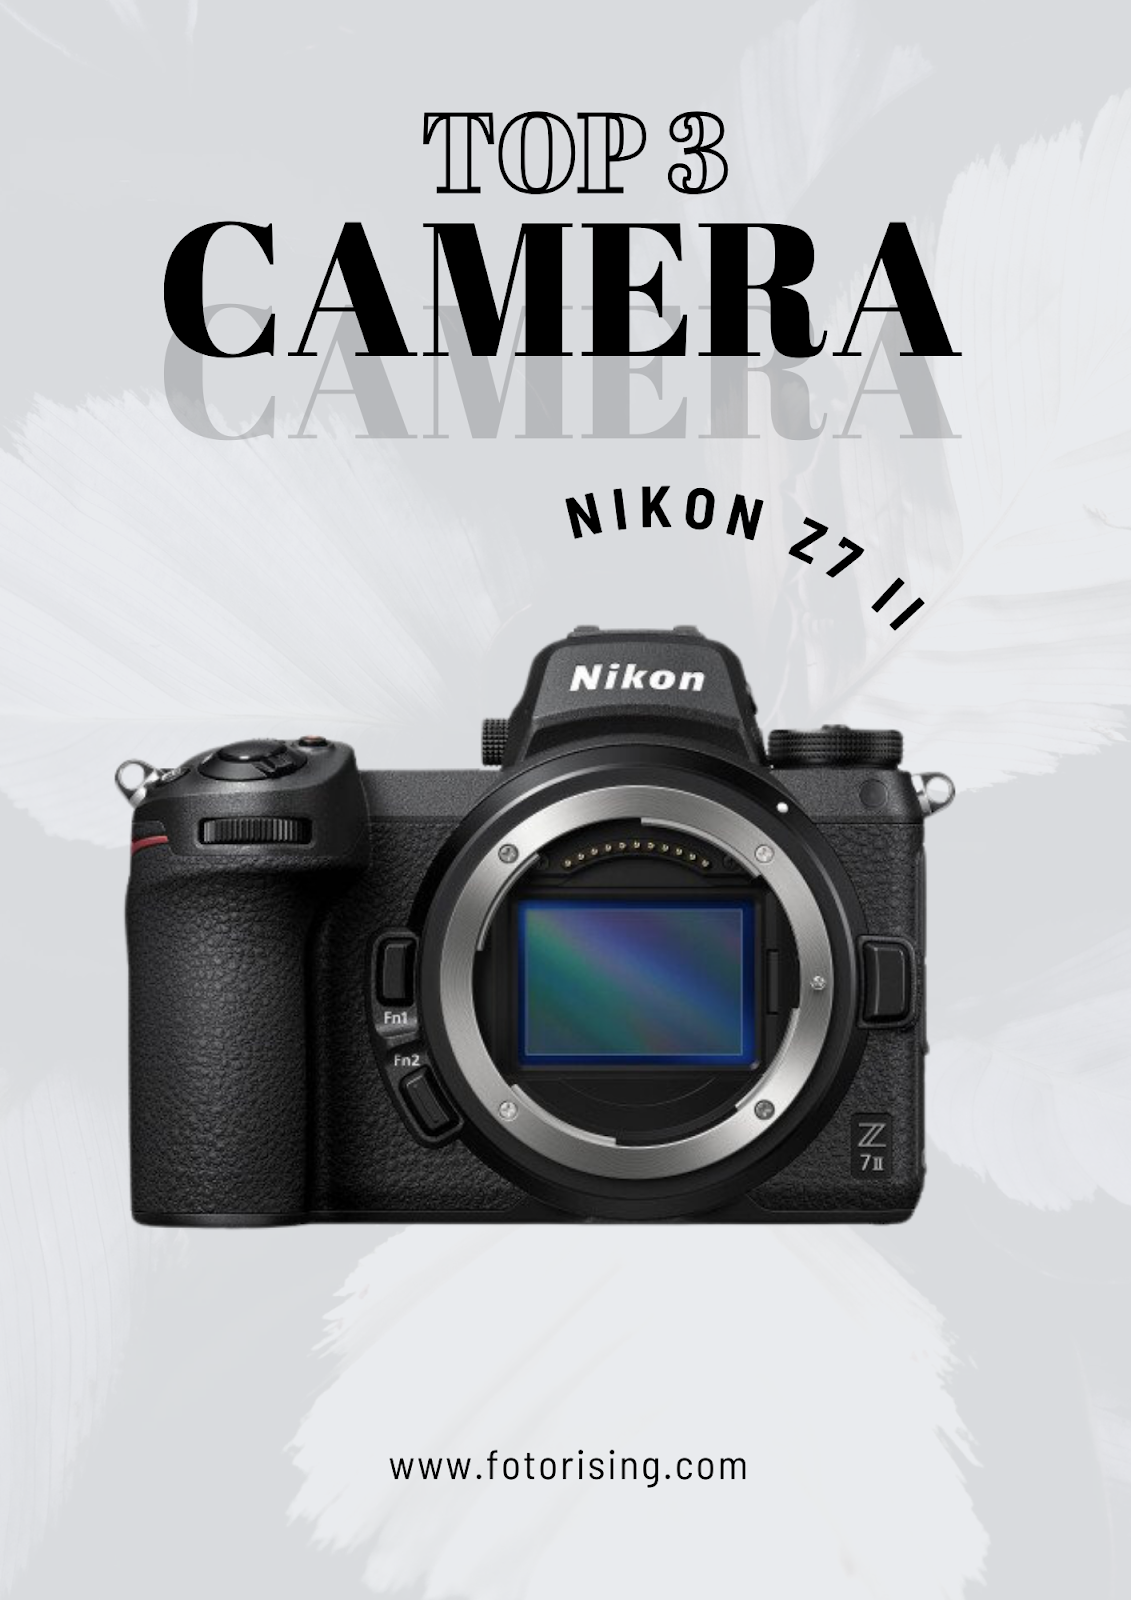
- Nikon Z7 II
For those who prioritize resolution, the Nikon Z7 II is hard to beat. This 45.7MP full-frame camera delivers stunning detail, ensuring every corner of a room is captured with precision. Its wide-angle lens options and excellent color reproduction make it a fantastic choice for architectural and real estate photography.
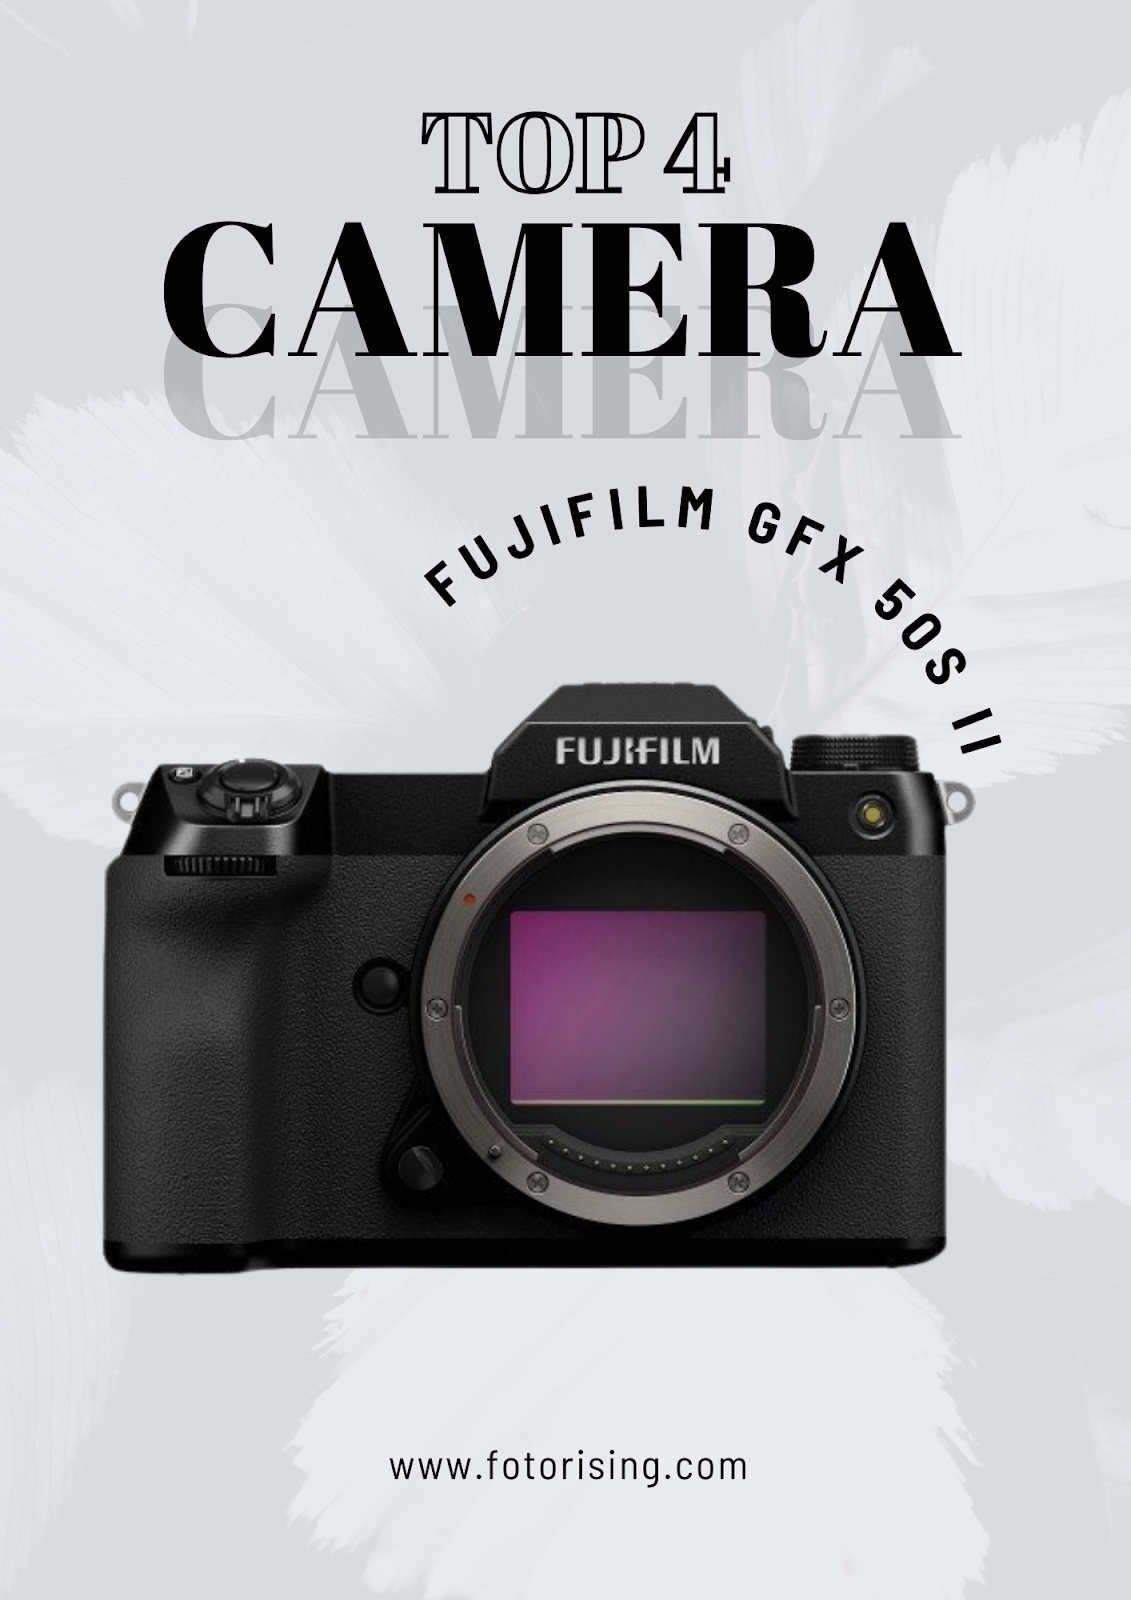
- Fujifilm GFX 50S II
The Fujifilm GFX 50S II is a medium-format camera, known for its exceptional image quality. With a 51.4MP sensor, this camera is ideal for high-end real estate photography, where every detail needs to stand out. Its dynamic range and low-light performance make it a powerful tool for photographers who want to deliver luxury-quality images.
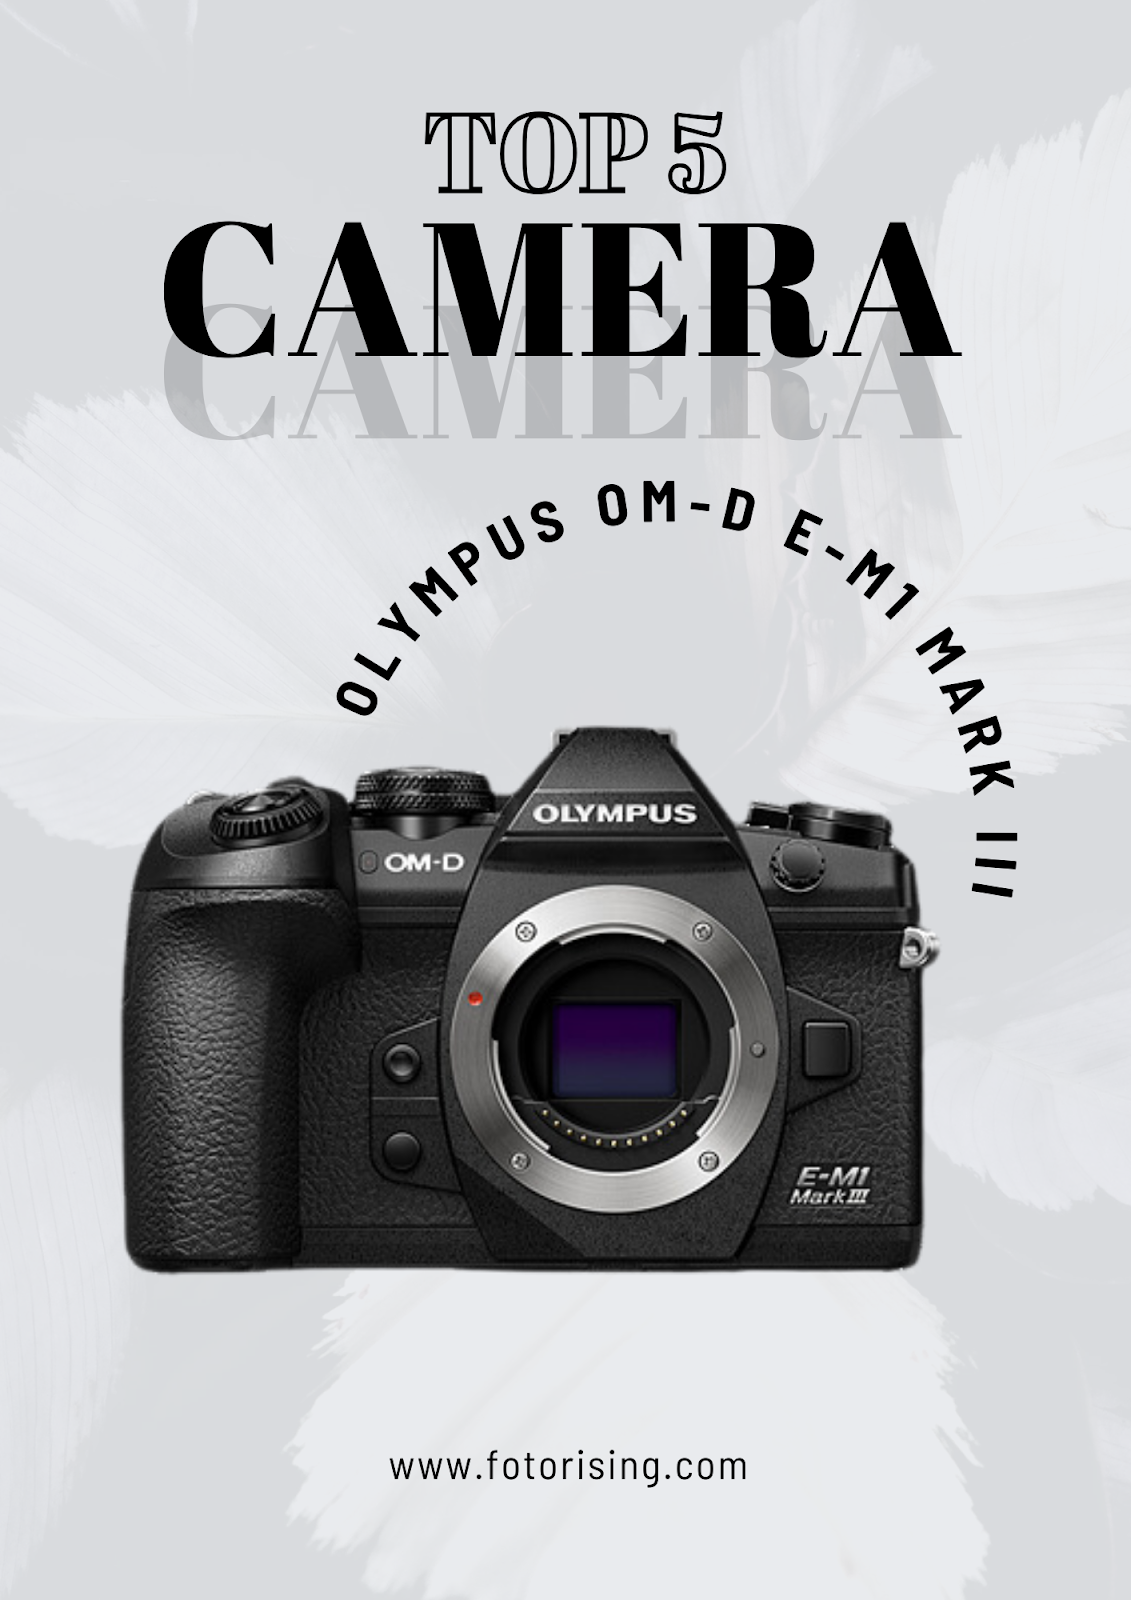
- Olympus OM-D E-M1 Mark III
For photographers looking for a lightweight yet powerful option, the Olympus OM-D E-M1 Mark III offers great portability without sacrificing quality. Its 20MP sensor and 5-axis image stabilization are perfect for handheld shooting, and its compact size makes it easy to maneuver in tight spaces like small apartments.
2024 Camera Trends in Real Estate Photography
Camera technology is continuously evolving, and real estate photographers are benefiting from several trends:
- AI-Powered Autofocus
Cameras like the Canon EOS R6 Mark II come with AI-powered autofocus that tracks and maintains sharpness on specific objects. This helps capture interiors with precise focus, even in challenging environments. - Wireless Connectivity
Many cameras now offer wireless options for instantly transferring images to a smartphone or tablet. This allows real estate agents to quickly upload high-quality images to listings without needing a laptop or desktop computer. - 4K and 8K Video Capabilities
Video tours are becoming more popular in real estate marketing. Cameras with 4K or 8K video capabilities, like the Sony Alpha a7 IV, are in high demand as they allow agents to create high-quality video content alongside still images.
Final Thoughts: Which Camera Is Right for You?
The best camera for real estate photography depends on your specific needs and budget. If you’re looking for top-tier quality, the Nikon Z7 II or Fujifilm GFX 50S II might be your best bet. If you want something more affordable but still professional, the Canon EOS R6 Mark II or Sony Alpha a7 IV are excellent choices. Regardless of which camera you choose, remember that lighting, lens quality, and post-processing play just as crucial a role as the camera itself.
In 2024, the real estate photography industry continues to evolve, and the cameras mentioned above are among the best tools to keep you ahead of the curve. Investing in the right camera now will help ensure your photos stand out in an increasingly competitive market.
Read more:
How Do Walk-through Videos Affect the Real Estate Business?
Become a Real Estate Photographer – Is it Worth?
Take Real Estate Photos With iPhone- 6 Easy Tips for Beginners