Virtual staging has quietly become one of the most effective tools in real estate marketing. An empty room photographs flat, cold, and hard to connect with, but the same room, digitally furnished, suddenly feels like a home someone could actually picture themselves living in.
In this article, we’ll look at real before-and-after transformations, discover why these transformations matter, learn the benefits of virtual staging, and find out how to choose the right virtual staging service for your business.
What Is Virtual Staging?
Virtual staging is the process of digitally adding furniture, décor, and finishing touches to photos of empty or underfurnished rooms without moving a single physical piece of furniture into the property. Instead of renting couches, tables, and artwork for a traditional staging setup, a designer or software tool edits the photo itself, placing realistic digital furnishings directly into the image.
The process typically starts with a clean, well-lit photo of a space. From there, an editor selects furniture and décor that fit the room’s proportions, lighting, and style, then blends them into the photo so they look like they were there all along, matching shadows, perspective, and scale. The best results are nearly indistinguishable from a professionally staged, physically furnished room.
Why Before-and-After Comparisons Matter
Most buyers struggle to mentally furnish an empty room. Odd angles, unclear room dimensions, and blank walls make it hard to judge whether a space actually fits their needs, which is exactly why staged homes tend to perform better on the market than vacant ones.
This isn’t just anecdotal. Industry data consistently shows that listing photos are the single biggest factor buyers use when deciding which homes to visit, and staged properties tend to spend less time on the market than unstaged ones. Seeing a room transform from bare walls to a fully furnished, styled space isn’t just a nice visual; it directly changes how buyers perceive the value and livability of a property.
Real Before-and-After Transformations
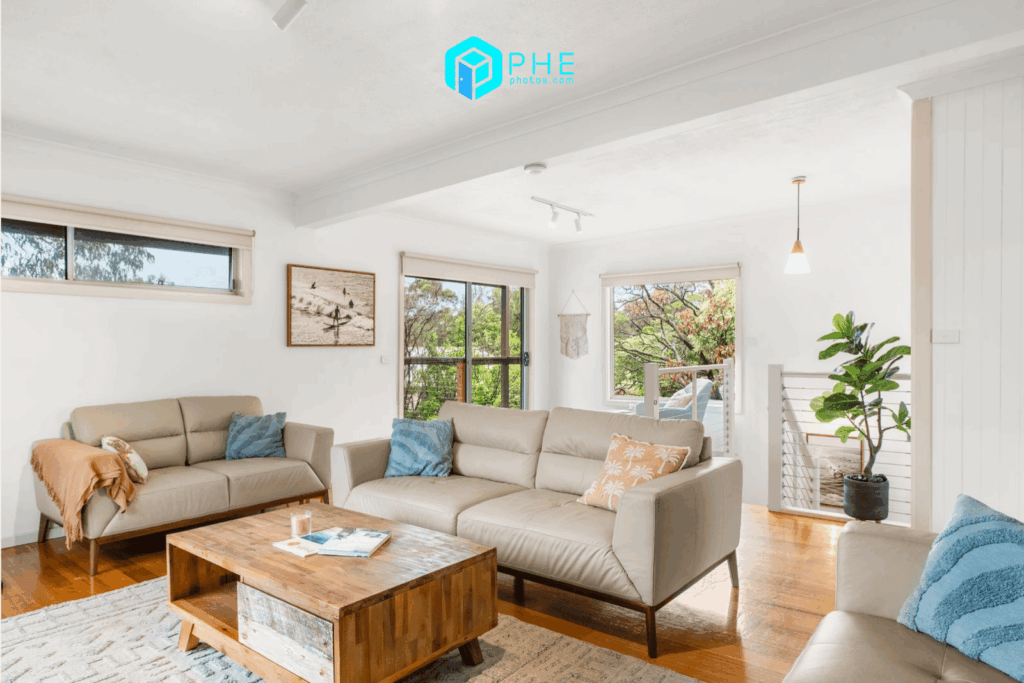
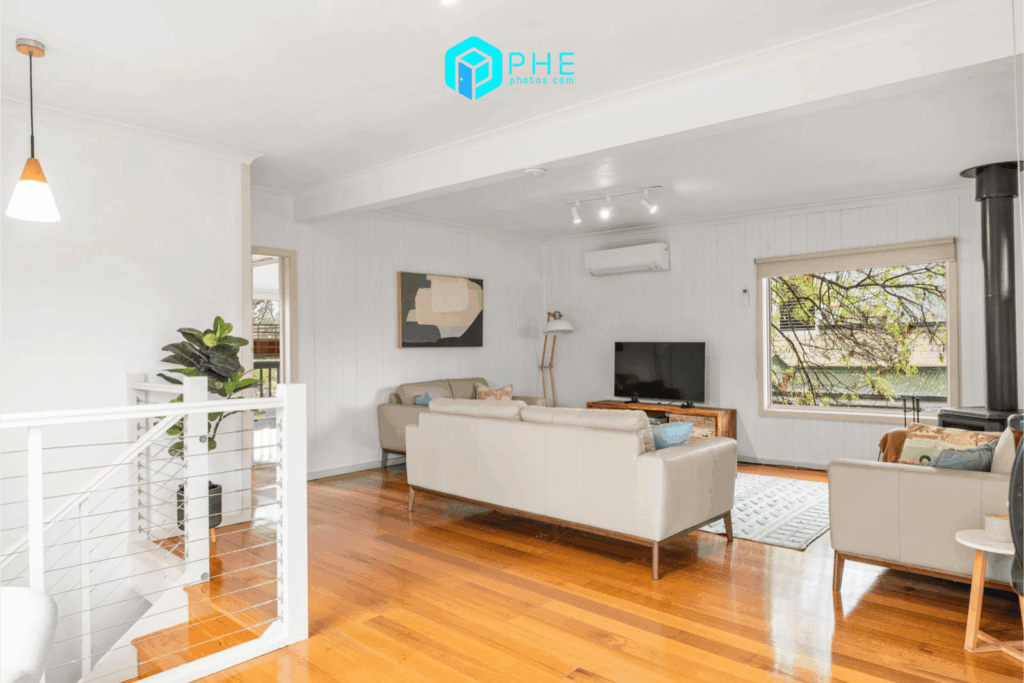
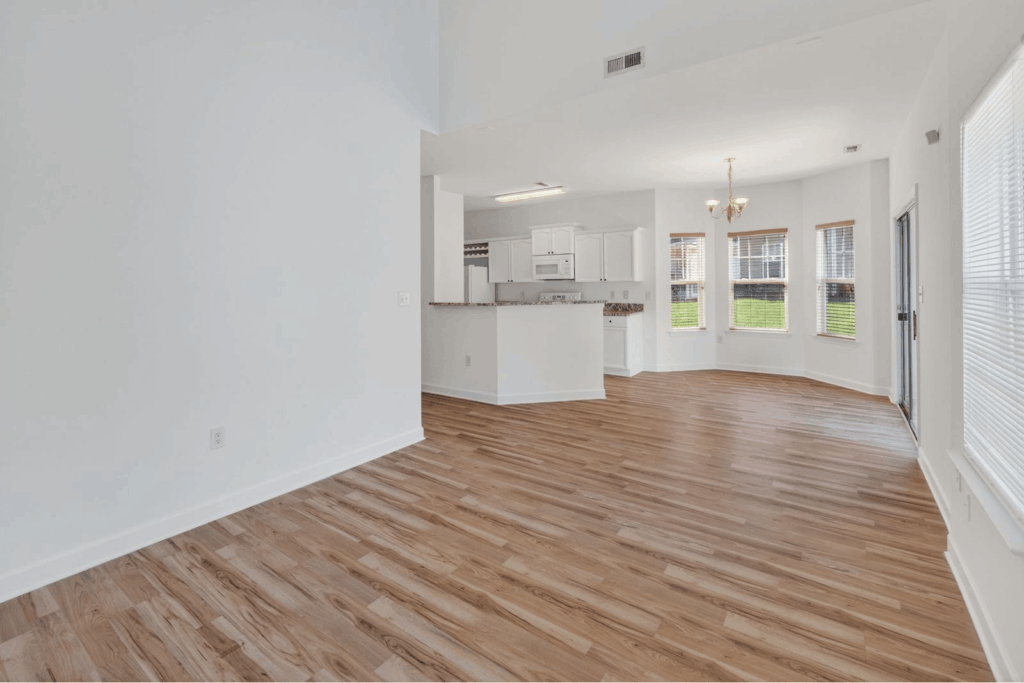
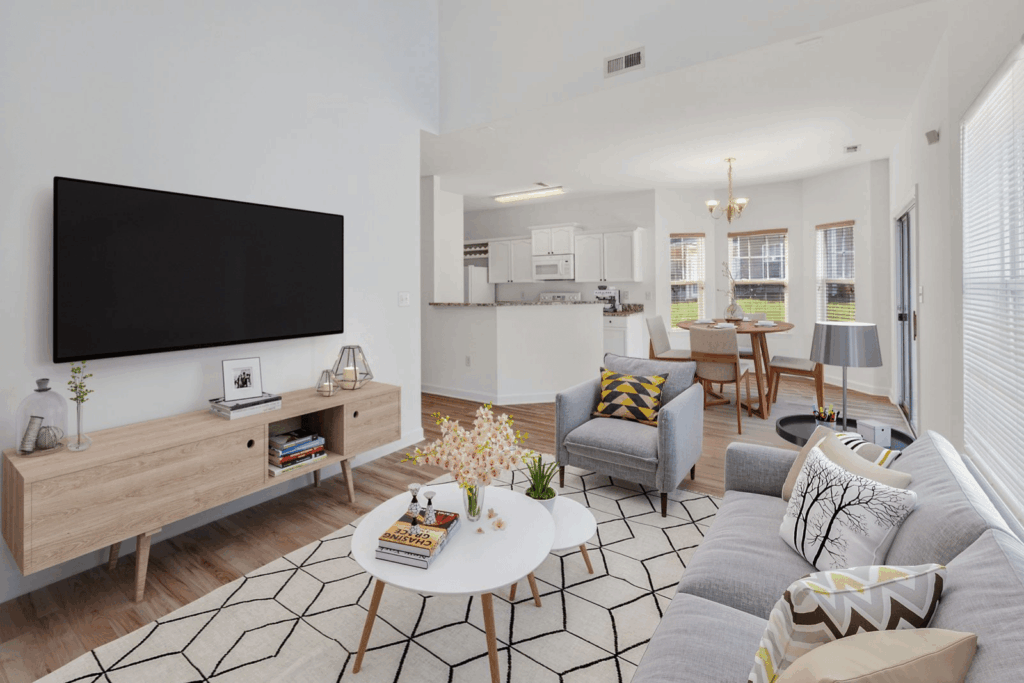
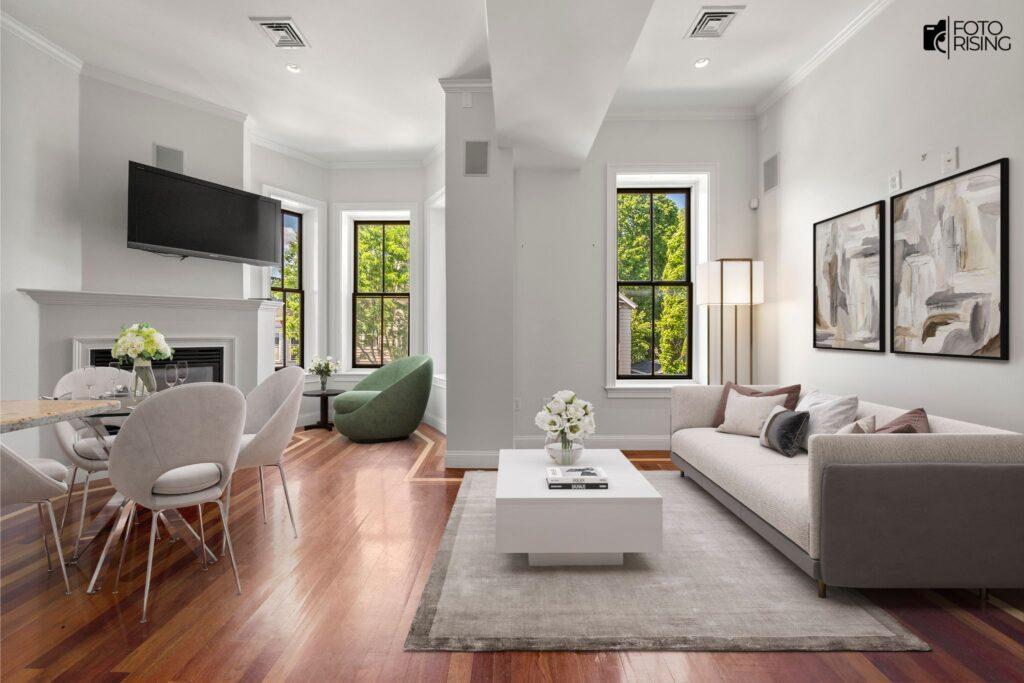
Empty Living Room → Modern Staged Living Room
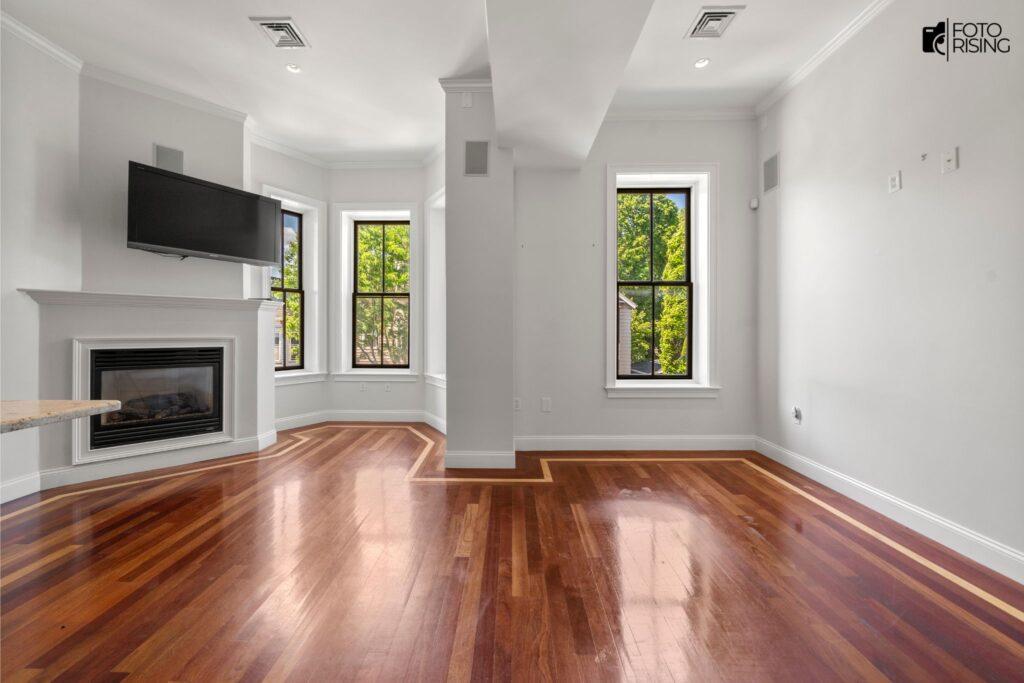
A bare living room with hardwood floors and natural light can look surprisingly uninviting without context. Adding a sofa, coffee table, rug, and a few accent pieces gives buyers an immediate sense of scale, how much furniture actually fits, and how the room could be lived in day to day.
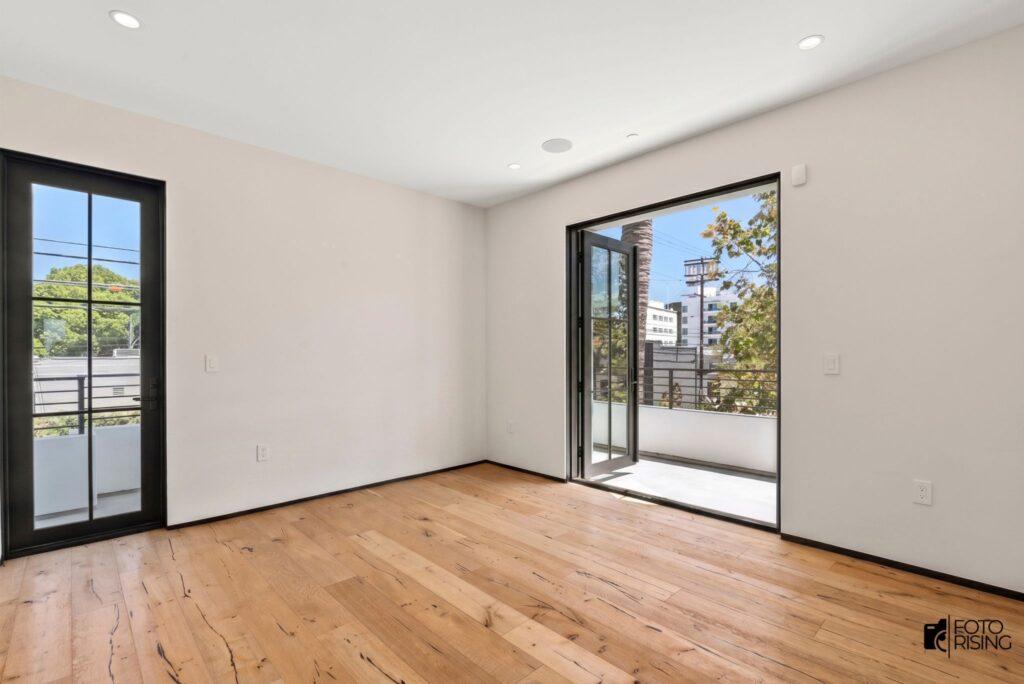
Outdated Bedroom → Neutral, Buyer-Ready Bedroom
Bedrooms with dated furniture or awkward layouts are prime candidates for virtual staging. Replacing old furnishings with a neutral, modern bed set and simple décor removes distracting personal style choices and helps the space feel move-in ready for a broader range of buyers.
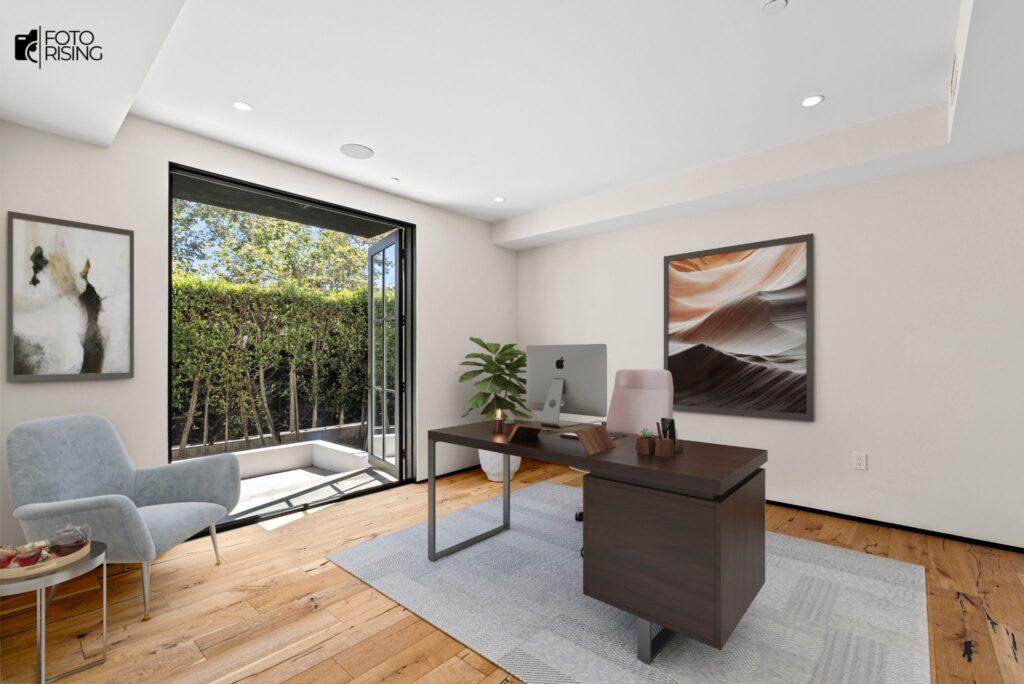
Vacant Home Office → Functional Workspace
With remote work now a priority for many buyers, an empty spare room can be transformed into a staged home office, complete with a desk, chair, and shelving to show a use case buyers might not have considered on their own.

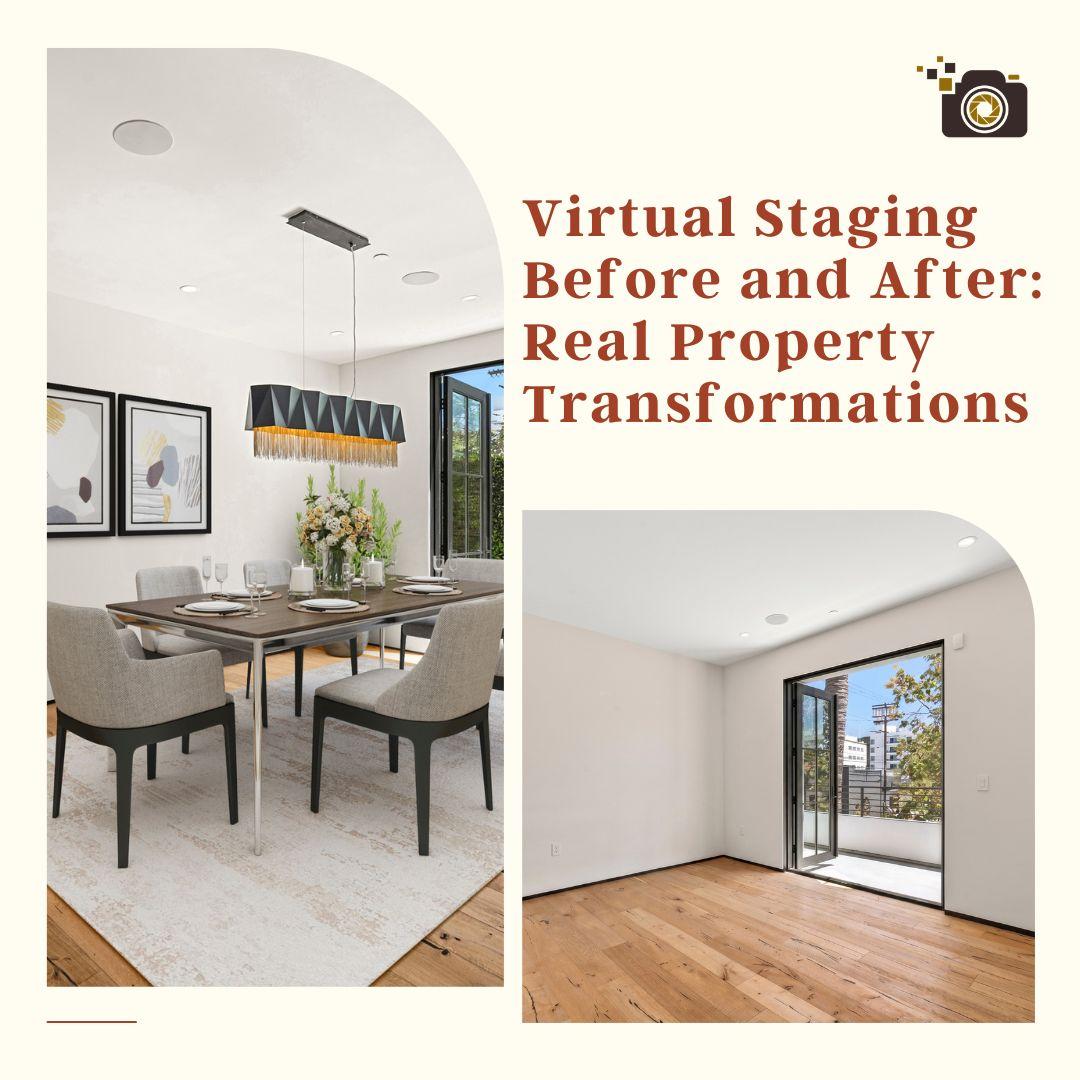
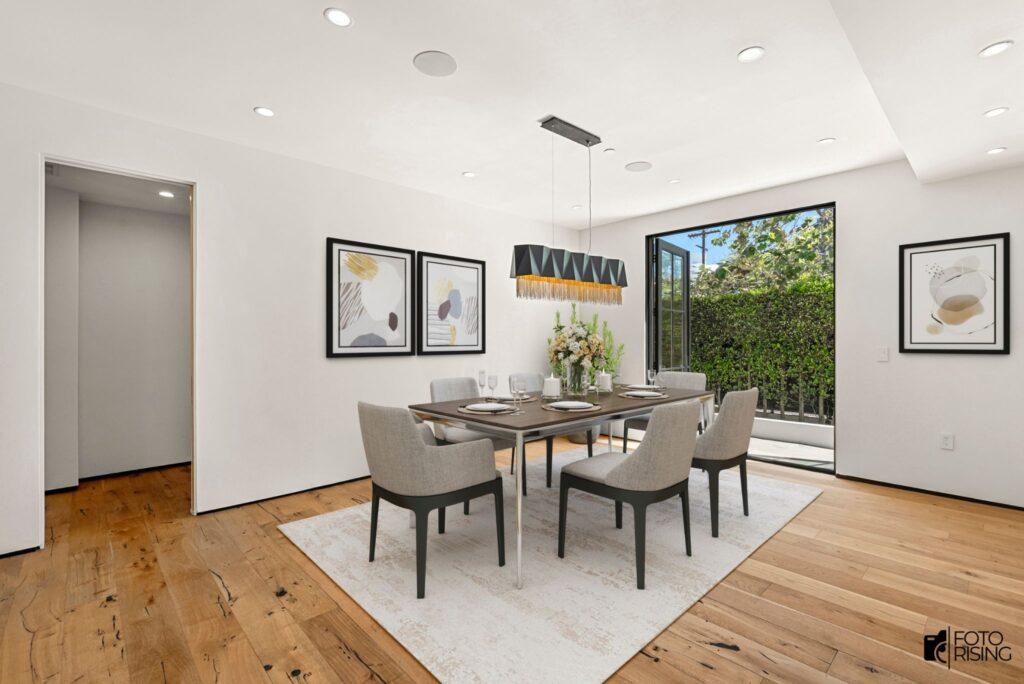
Bare Dining Room → Inviting Family Dining Space
An empty dining room rarely photographs well. Adding a dining table, chairs, and simple lighting fixtures gives the space warmth and purpose, helping buyers picture holidays and everyday meals in that exact room.
Benefits of Virtual Staging
Looking at these virtual staging before-and-after examples, it’s clear the difference goes beyond aesthetics. A well-staged room also helps buyers understand how a space can actually be used, creating a stronger first impression within the first few seconds of viewing a listing.
Helps Buyers Visualize the Home
An empty room often makes it hard for buyers to judge size and function. Virtual staging turns a bare space into a fully furnished room, making it easier for viewers to picture everyday life there and form an emotional connection with the property.
Makes Listings More Eye-Catching
In a market where buyers scroll past dozens of listings a day, standout photos are what create a difference. Professionally staged images tend to earn more clicks and encourage buyers to spend more time exploring a listing’s details.
Saves Time and Marketing Costs
Compared to traditional home staging, virtual staging removes the cost of renting, transporting, and installing furniture. With just one quality photo of an empty room, you can produce multiple design styles in a short amount of time at a fraction of the cost.
Supports Different Buyer Preferences
Not every buyer responds to the same interior style. Virtual staging makes it possible to create several versions of the same room, modern, Scandinavian, or farmhouse, for example, to match different target buyers without changing anything about the actual property.
Delivers a Better Return on Marketing Investment
With more appealing visuals, lower costs, and the ability to attract more potential buyers, virtual staging generally delivers stronger marketing results than listing photos of empty rooms. For real estate photographers and agents, it’s a straightforward way to elevate listing quality while keeping budgets under control.
How to Choose the Right Virtual Staging Service
Not all virtual staging is created equal; the difference between a convincing transformation and an obviously fake one usually comes down to the provider. Here’s what to look for, along with a few names worth knowing.
What to Look For in a Virtual Staging Provider
Realistic rendering quality. Furniture should match the room’s actual lighting, shadows, and perspective. If proportions look off or shadows don’t line up, it undermines buyer trust the moment they notice.
Style customization. A good provider should be able to match furniture style to the target market, modern and minimalist for an urban condo or warm and traditional for a suburban family home, rather than applying the same generic look to every listing.
Fast, reliable turnaround. Listings move quickly, and staged photos often need to go live within a day or two of the shoot. A provider’s turnaround time should match your listing schedule, not the other way around.
MLS compliance and disclosure support. Most MLS boards require virtual staging to be clearly disclosed. A reliable provider should understand these rules and help you stay compliant, rather than leaving that responsibility entirely on you.
A Few Services Worth Considering
Esoft is a large, established provider with operations spanning multiple countries and a track record of nearly two decades in the industry. It offers virtual staging as part of a broader suite of services, including large-scale photo editing and 3D visualization, and tends to suit enterprise-level clients managing high listing volumes across multiple markets. Its scale can mean less personalized service for smaller studios.
Fotober takes a more streamlined approach, focusing on real estate photo and video editing with virtual staging as one of its core offerings. With a fast turnaround and competitive pricing, it’s often a good fit for individual photographers or smaller teams that want essential staging done quickly without a lot of add-on complexity.
BeatColor has built its reputation specifically around virtual staging and 3D visualization, focusing on turning vacant or partially furnished spaces into realistic, market-ready presentations. With nearly a decade in the industry and a workflow built for high daily volume, BeatColor is worth considering for agents and photographers who want staging to feel like a specialty rather than an add-on service, backed by a task management system designed to keep large batches of listings organized and moving fast.
Each of these providers takes a slightly different approach, so the right fit often comes down to how much you value an all-in-one platform versus a provider that treats staging as its core focus.
Conclusion
Virtual staging has proven itself as more than just a visual upgrade, as the before-and-after examples above show; it directly shapes how buyers perceive a property’s potential from the very first photo. For agents and photographers working with vacant or under-furnished listings, it’s one of the most cost-effective ways to make a property stand out, connect emotionally with buyers, and move faster through the market. The right provider makes all the difference between a convincing transformation and one that falls flat, so it’s worth choosing carefully based on rendering quality, style flexibility, and turnaround speed.
Read more:
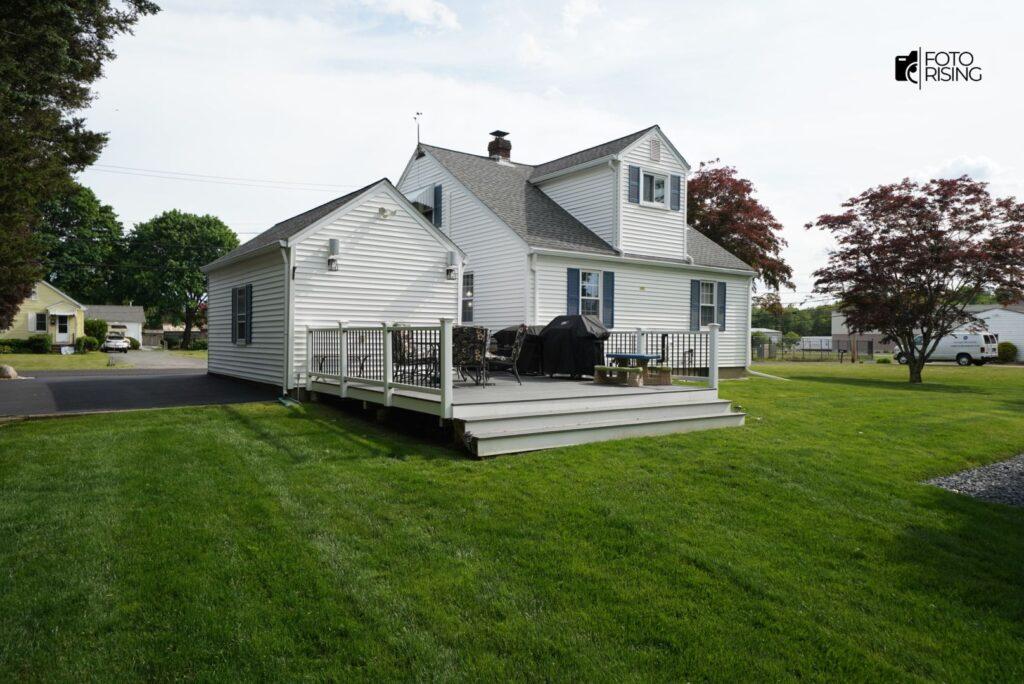
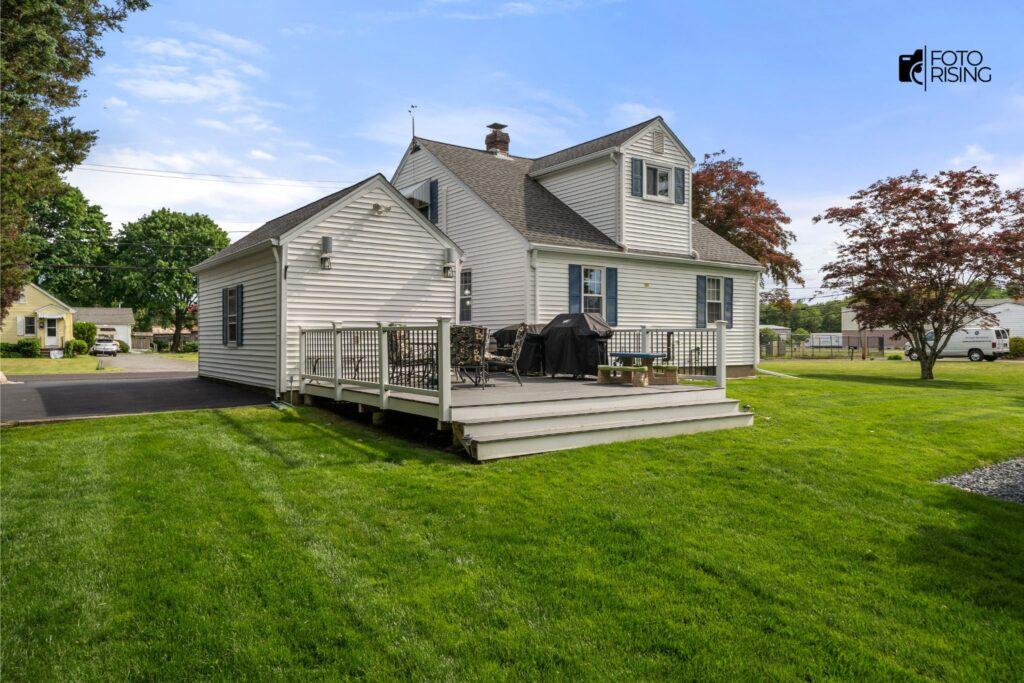
Sky Replacement for Real Estate Photos: A Smart Way to Elevate Listings
How to Use Real Estate Photo Editing to Sell Homes Faster in 2026
Virtual Home Staging: A Modern Solution for Real Estate Marketing