In the fast-paced world of digital marketing, video content is no longer a luxury; instead, it’s a necessity. Whether it’s for social media ads or product explainers, engaging videos help brands capture attention, build trust, and drive conversions. However, producing quality videos takes time, resources, and technical skills. Fortunately, that’s where AI video generation tools step in, completely transforming how businesses create and manage their video marketing strategies.
In this article, we’ll explore how AI Video Generation tools save time, reduce costs, and significantly improve your video marketing ROI.
What Is AI Video Generation?
AI Video Generation refers to the use of artificial intelligence-powered software to automatically create video content from text, images, or other media inputs. These platforms use advanced technologies such as machine learning, natural language processing, and computer vision to simplify how videos are created.
YouTube: The Experience with AI Video Generator
With just a few clicks, users can convert blog articles, product descriptions, or social media posts into professional-looking videos. no video editing experience required.
Why Video Marketing ROI Matters
Before diving deeper, let’s quickly highlight why Return on Investment (ROI) is so important in video marketing. ROI measures the value you gain from your marketing spend. A high video marketing ROI means you’re generating significant engagement, leads, or sales compared to the cost of producing and distributing your videos.
In traditional video production, ROI often gets limited by high production costs, lengthy editing times, and the need for professional equipment. That’s why many businesses are turning to AI video creation tools to maximize both efficiency and results.
How AI-based Video Editing Tools Save Time
One of the biggest advantages of AI Video Generation tools is the ability to produce videos quickly and easily. And, here’s how they streamline the process:
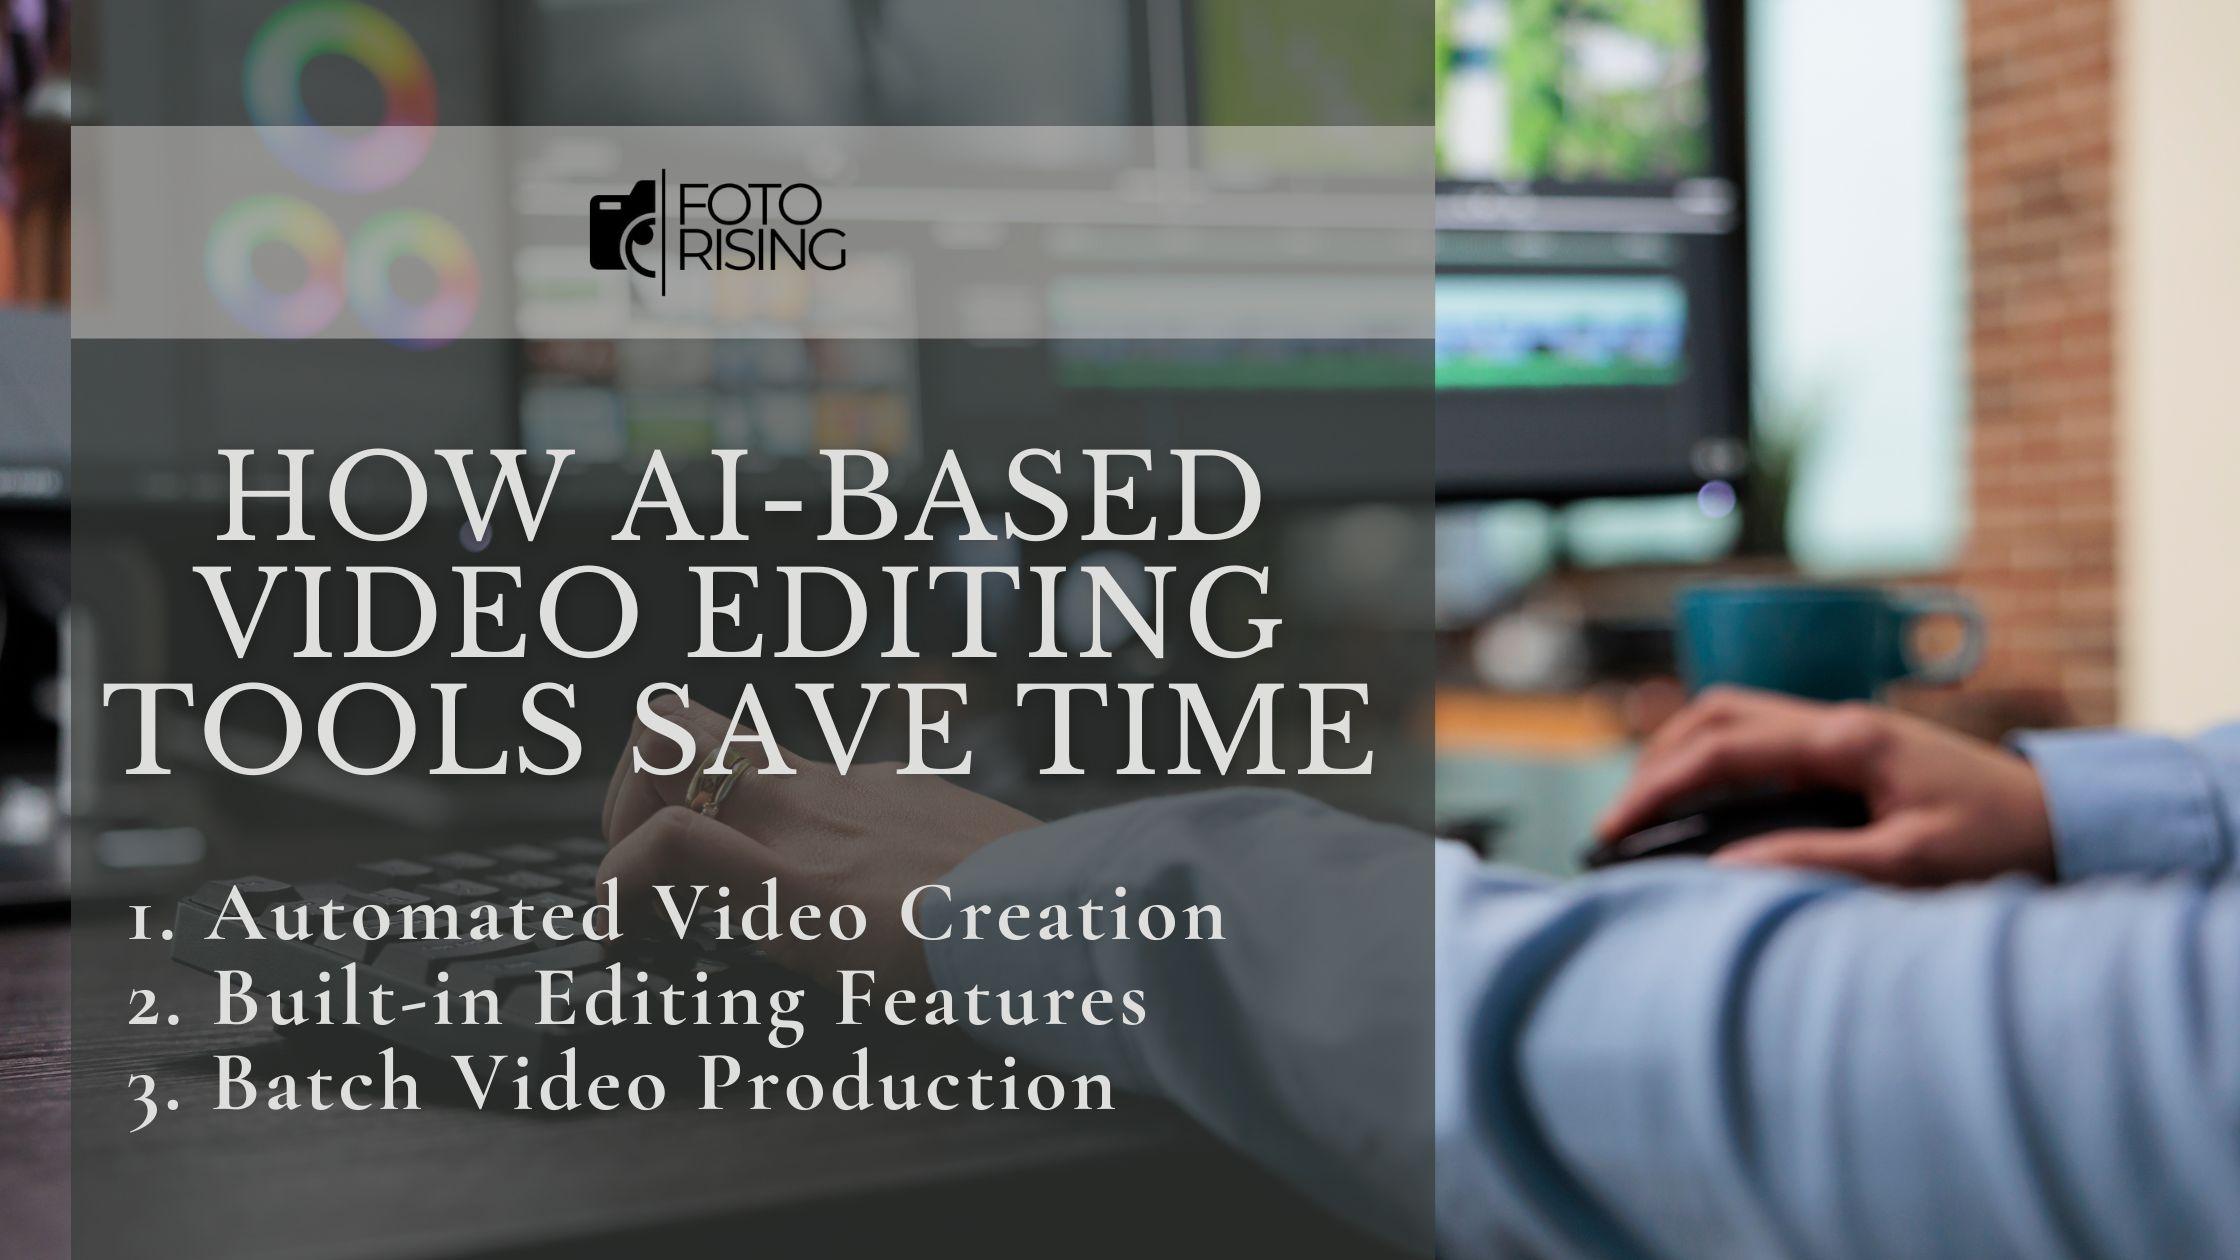
1. Automated Video Creation
AI-powered tools allow you to turn written content into videos within minutes. Basically, you simply upload your text, choose a video template, add branding elements, and the tool generates a finished video for you.
2. Built-in Editing Features
Modern AI-based video editing platforms come with integrated editing options like auto-captioning, text overlays, royalty-free music libraries, and stock footage libraries. As a result, this eliminates the need for complex video editing software.
3. Batch Video Production
Many tools enable batch processing, allowing you to create multiple videos at once. This is particularly useful for social media campaigns, e-commerce product videos, or multi-language video content.
How AI Video Content Generators Boost Marketing ROI
Saving time is just one side of the story. Here’s how AI Video Generation tools enhance your marketing returns:

1. Lower Production Costs
By reducing the need for videographers, editors, and expensive equipment, AI-driven tools dramatically cut production expenses. So, many platforms offer affordable monthly plans compared to the cost of hiring a creative agency.
2. Faster Time-to-Market
With instant video creation, businesses can respond quickly to market trends, seasonal promotions, or viral topics. Consequently, this agility helps capture audience interest at the right time, increasing engagement and conversions.
3. Consistent Branding
AI tools allow you to create videos with consistent colors, logos, and fonts. As a result, your brand identity remains strong across all platforms. Consequently, a recognizable brand appearance fosters trust and enhances customer loyalty.
4. Data-Driven Optimization
In addition, some AI generation tools provide built-in analytics to track clip or video performance. This way, you can monitor viewer behavior, click-through rates, and conversion metrics to continuously refine your content strategy and maximize ROI.
Popular AI video Production Platforms
If you’re considering integrating AI Video Generation into your workflow, then here are a few highly rated platforms to explore:
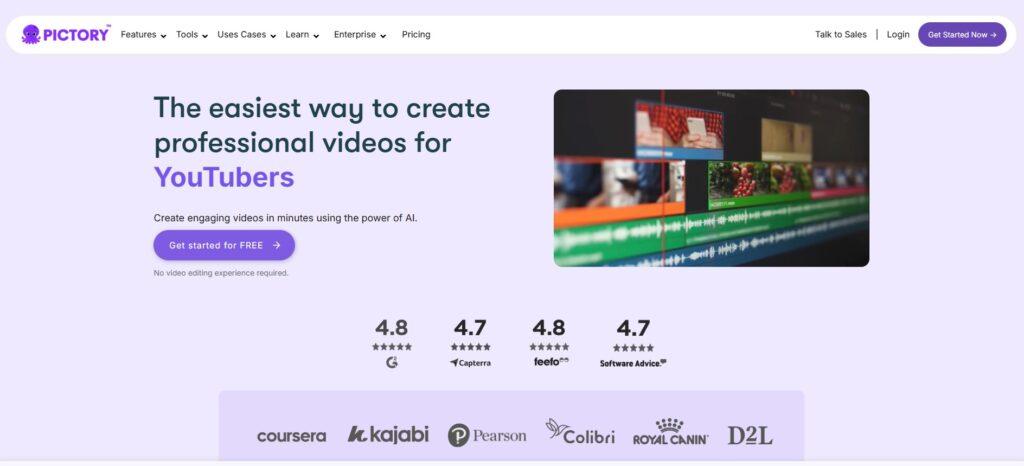
- Pictory: Converts written content like blog articles and scripts into concise, shareable marketing videos.
- Lumen5: Helps transform articles and social media posts into eye-catching videos with the support of smart, template-based tools.
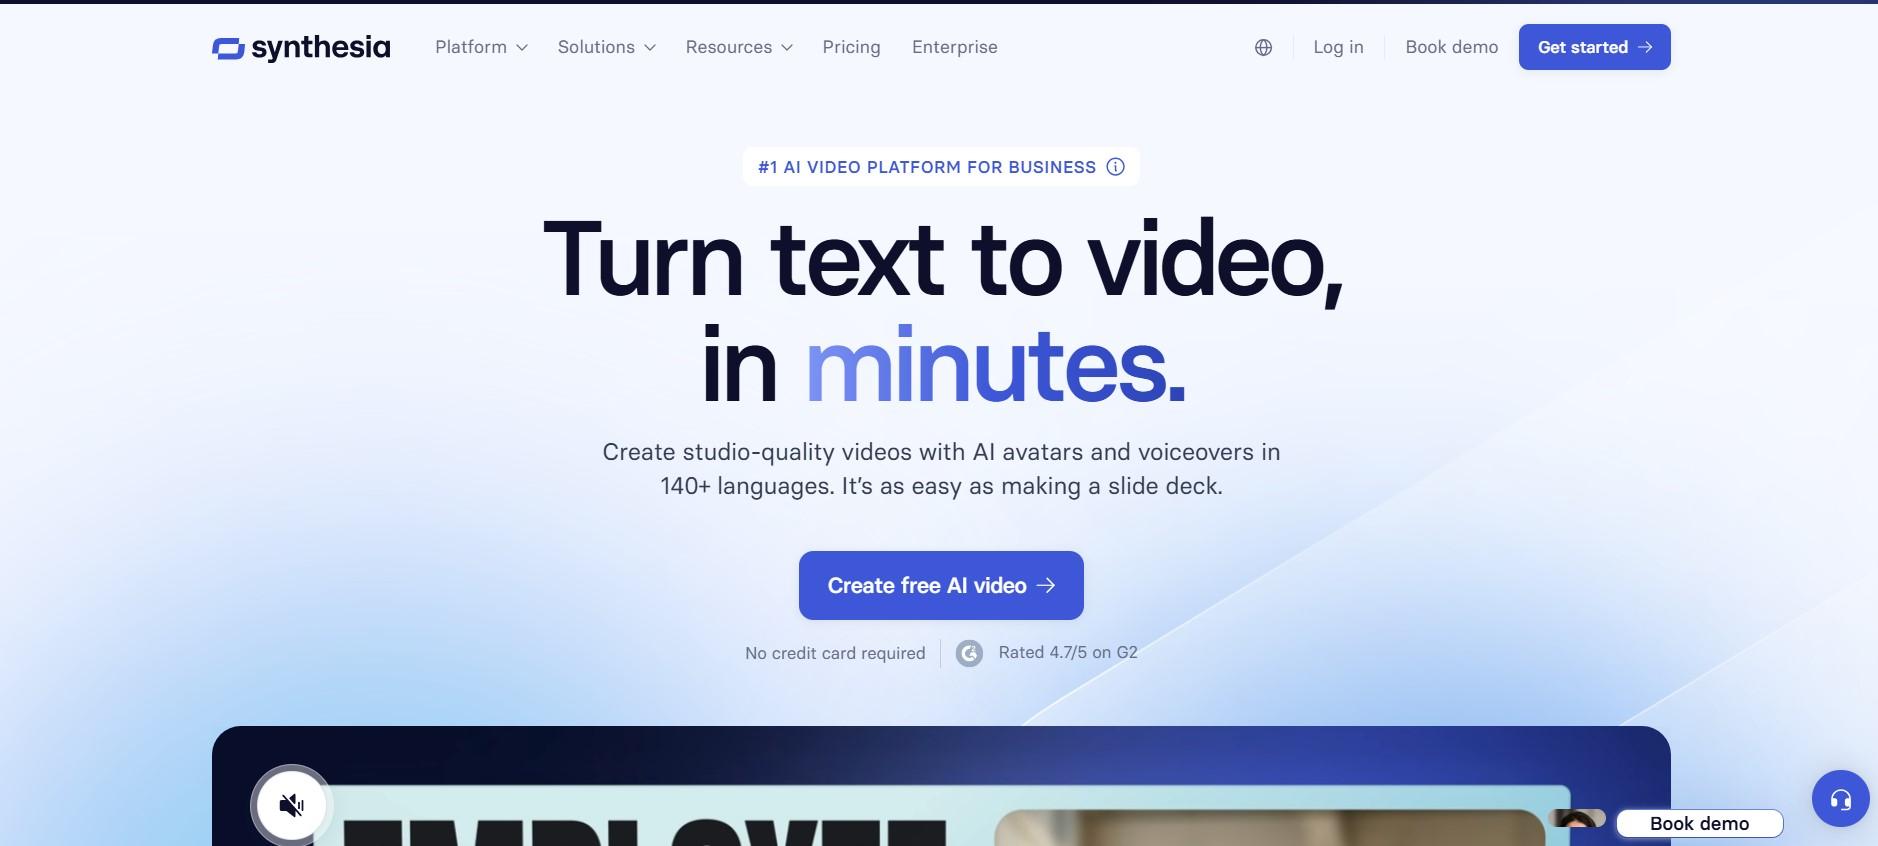
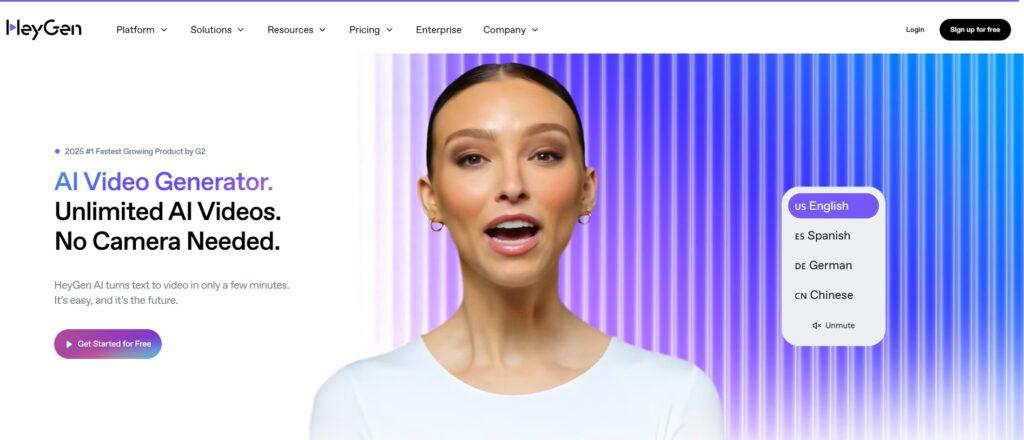
- Synthesia: Creates AI-generated avatar videos from text scripts.
- Veed.io: Offers AI-based auto-subtitling and fast video editing.
- InVideo: Converts text to video with customizable templates and stock media libraries.
Watch more at: Pictory AI Tutorial (How To Use Pictory.ai For Beginners
Each of these tools helps reduce manual effort while delivering professional results.
In Conclusion
The demand for video content isn’t slowing down, and neither are consumer expectations. Therefore, brands need to produce more high-quality, engaging videos in less time to stay competitive. As a result, adopting AI Video Generation tools is no longer optional; it’s a smart investment in your marketing success.
By saving time, lowering production costs, and boosting video marketing ROI, these tools are reshaping the way businesses create video content. Whether you’re a small business owner or a marketing manager, leveraging AI for video makers can help you reach your audience faster, more efficiently, and with stronger results.
Read more:
Top 5 AI Video Generation Tools in 2025
Top Camera for Professional Use: The Best Picks for 2025
The Importance of High-Resolution Real Estate Images in 2025