High Dynamic Range (HDR) photography has emerged as a powerful tool for real estate photographers. It allows them to capture the full range of light and shadow within a scene. Not only does this comprehensive guide explore the concept of HDR Real Estate Photos, but also provides a step-by-step workflow to help you master this technique and enhance your real estate photography skills.
1. Overview of The Natural HDR Real Estate Photos
a. Understanding HDR Photography
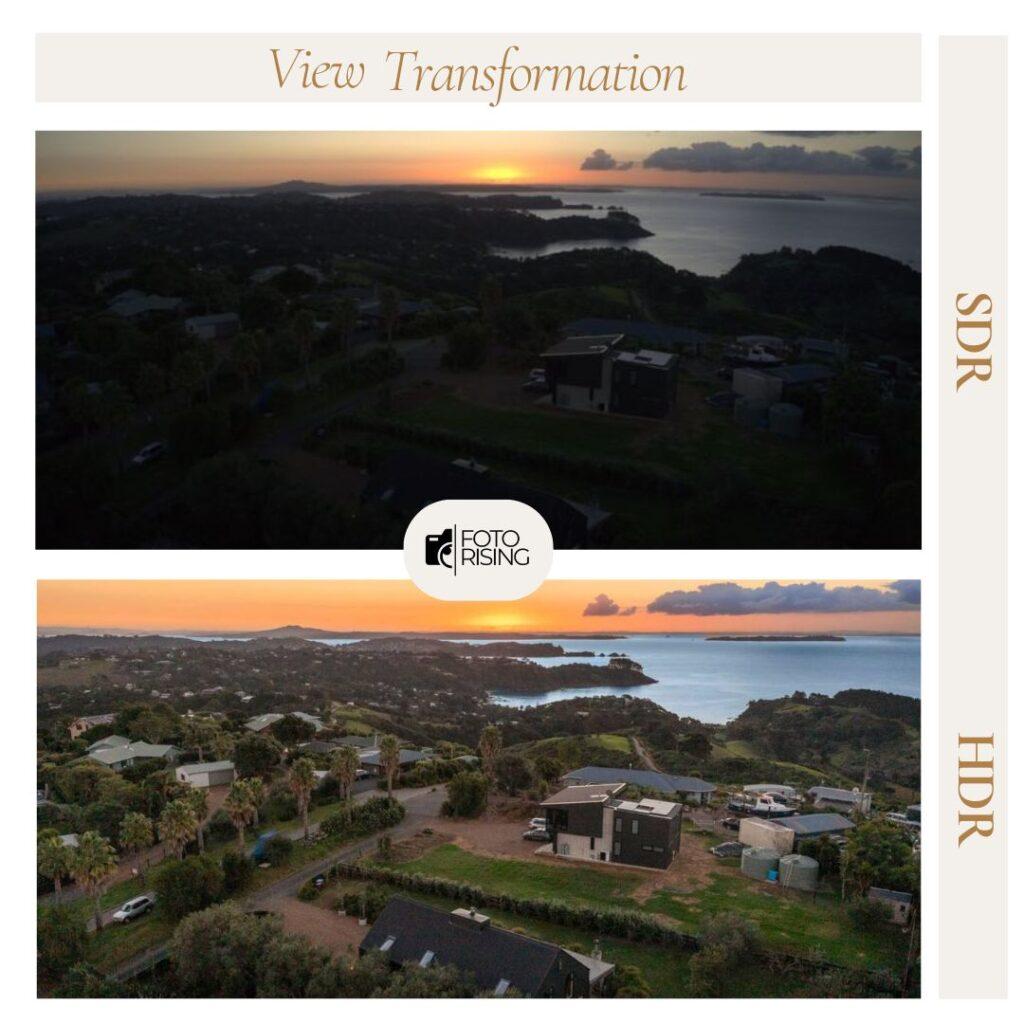
High Dynamic Range (HDR) photography aims to capture a broader spectrum of luminosity levels. Additionally, it accurately replicates brightness and contrast variations perceivable by human eyes. Its objective is to surpass the limitations of conventional photography. Consequently, this often leads to information loss in extremely bright or dark areas due to the restricted dynamic range of cameras.

b. The Importance of HDR in Real Estate Photography
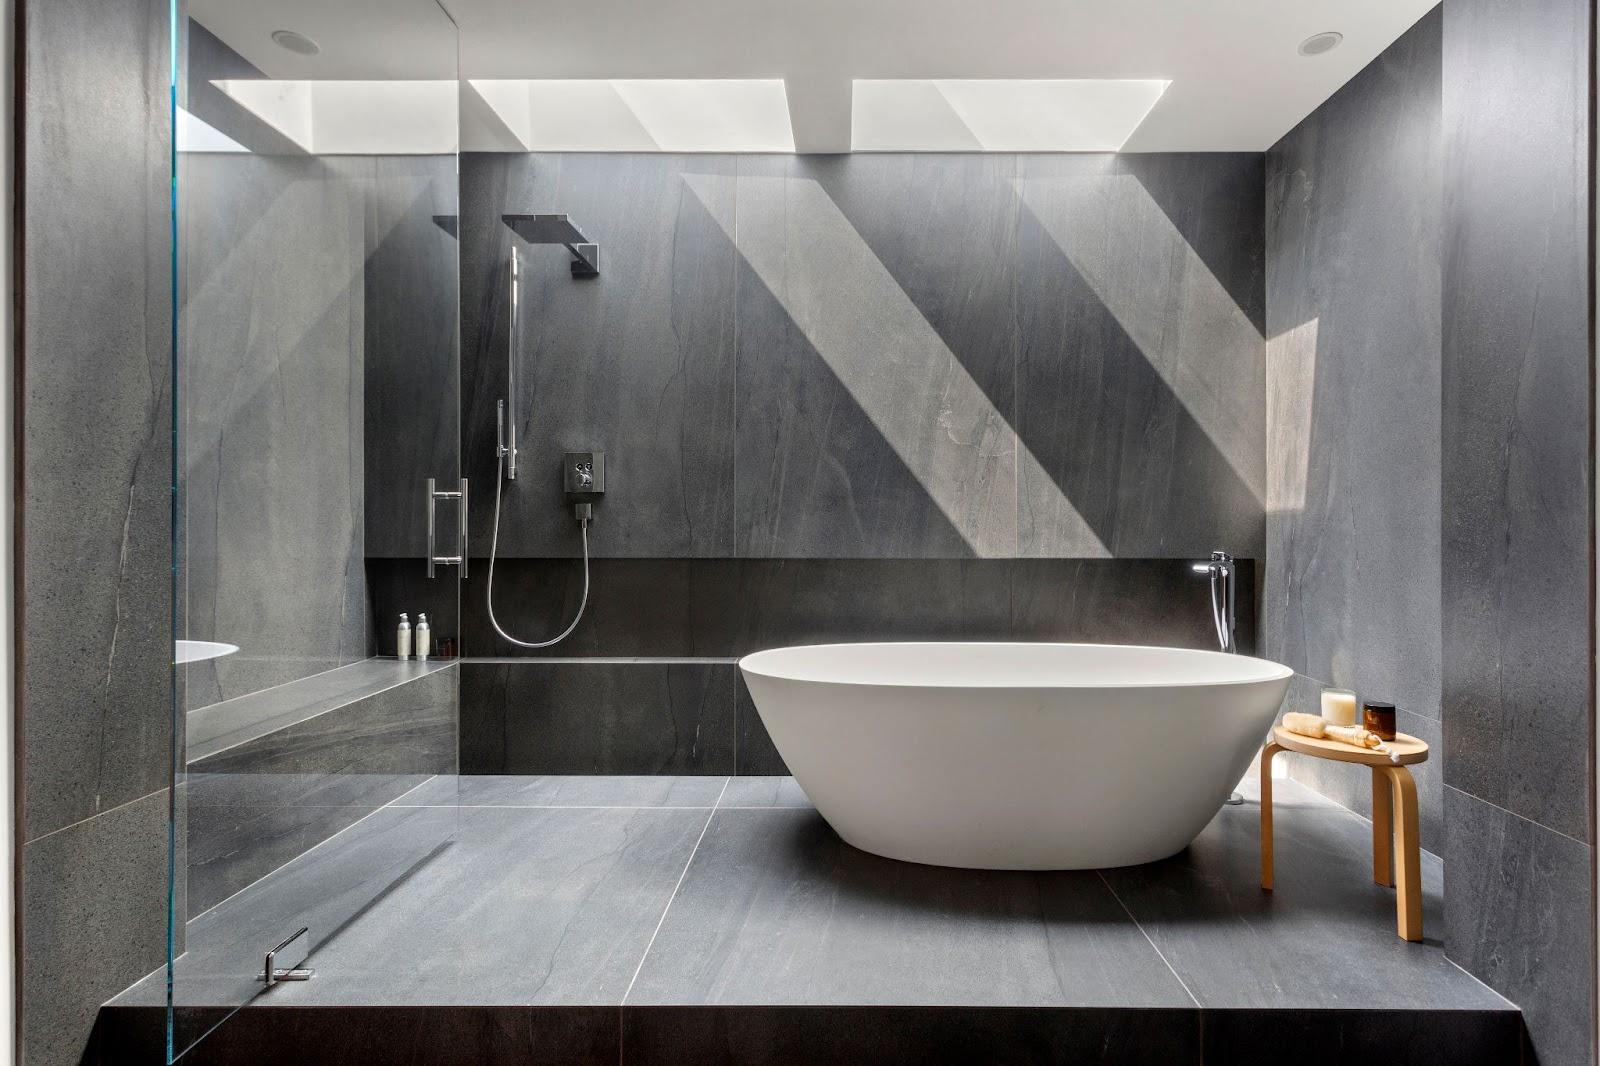
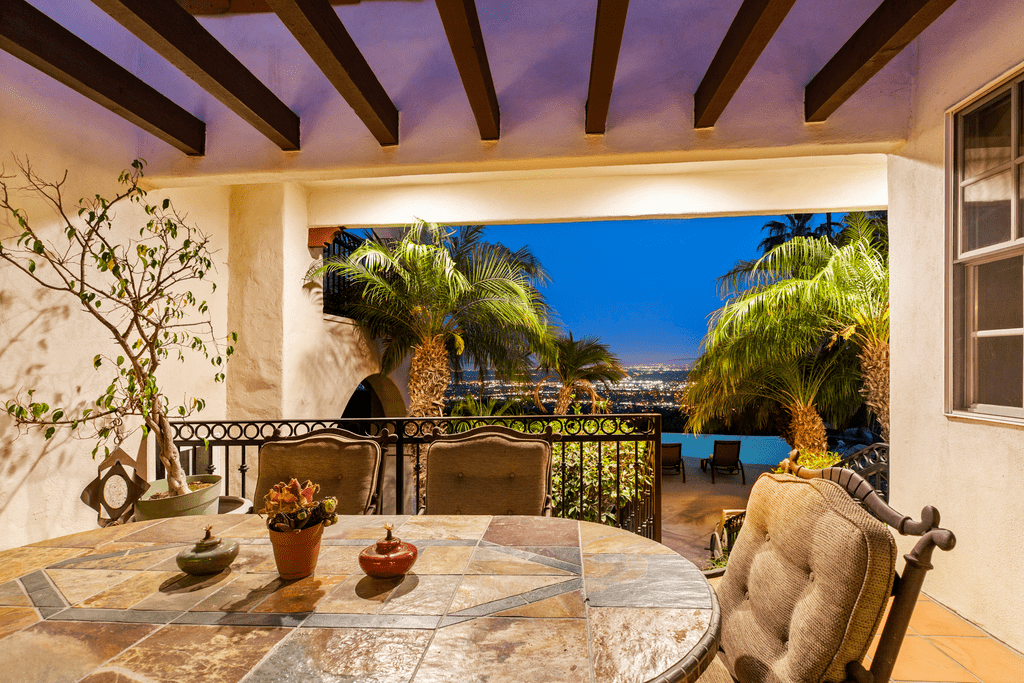
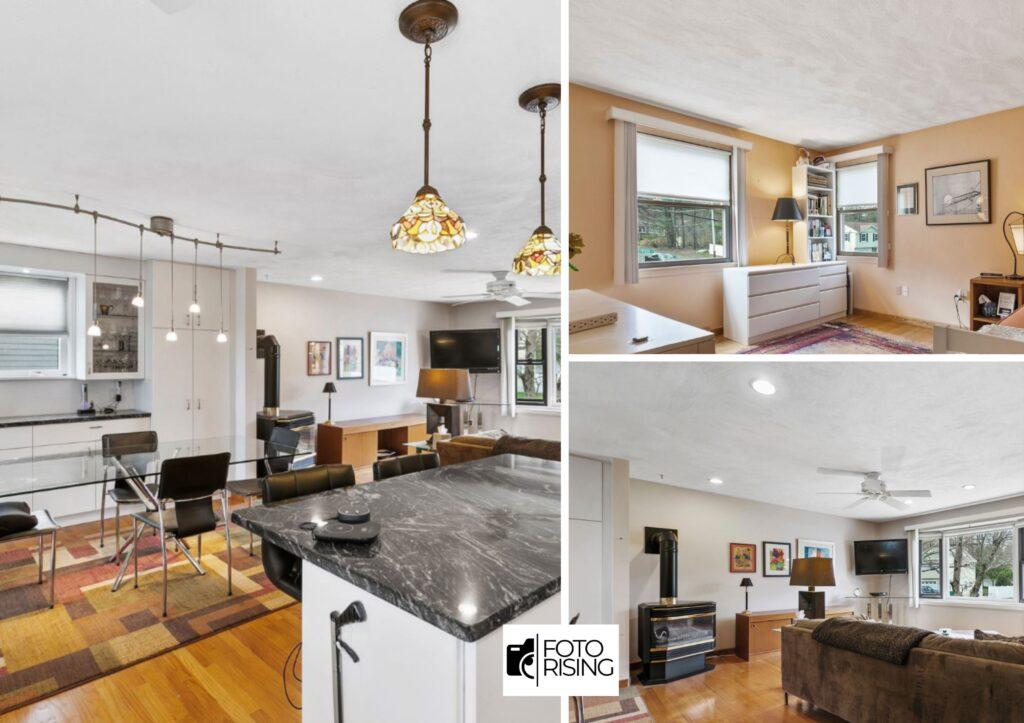
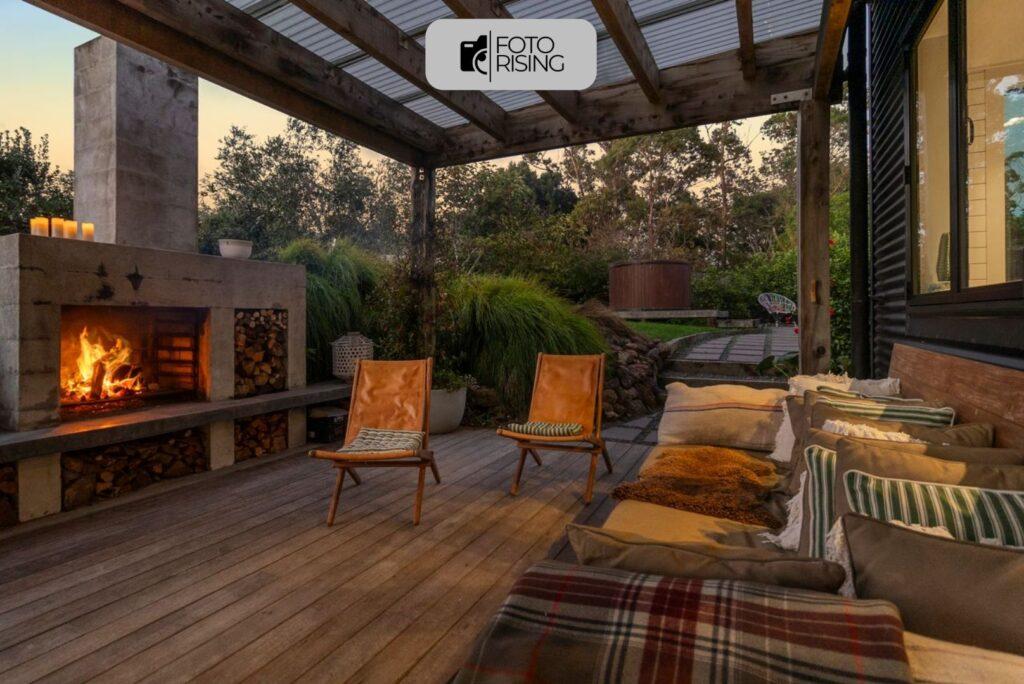
In reality, HDR photography offers a solution to the challenge of capturing property essence. Moreover, it allows viewers to see every detail, from hardwood floor textures to natural light variations. By providing a more immersive viewing experience, HDR photography helps properties stand out. This, in turn, increases their perceived value in a crowded market
c. Benefits of Using Natural HDR Techniques
Natural HDR techniques offer several advantages over traditional methods. Moreover, by focusing on creating images with a natural appearance, photographers avoid common pitfalls. Specifically, exaggerated colors and unnatural lighting are among these pitfalls.
Additionally, natural HDR images possess a timeless quality. Not only does this quality appeal to viewers, but it also helps them envision living in the space. Furthermore, by accurately representing the property, trust with potential buyers builds. Consequently, this increases the likelihood of a successful sale.
2. Equipment and Preparation for A Natural HDR Real Estate Photos

Before embarking on a natural HDR real estate photos shoot, ensure you have the right equipment. A high-quality DSLR or mirrorless camera with manual exposure controls is essential. Additionally, a sturdy tripod stabilizes your shots.
A wide-angle lens can help capture the full breadth of each room. Accessories such as a remote shutter release and lens filters further enhance your images.
Proper preparation is key to a successful photo shoot. Scout the property beforehand, noting any areas of challenging lighting or potential distractions. Clear clutter, open curtains, and turn on all lights to create an inviting atmosphere that will showcase the property in its best light.
3. Capturing The Images in Natural HDR Real Estate Photography
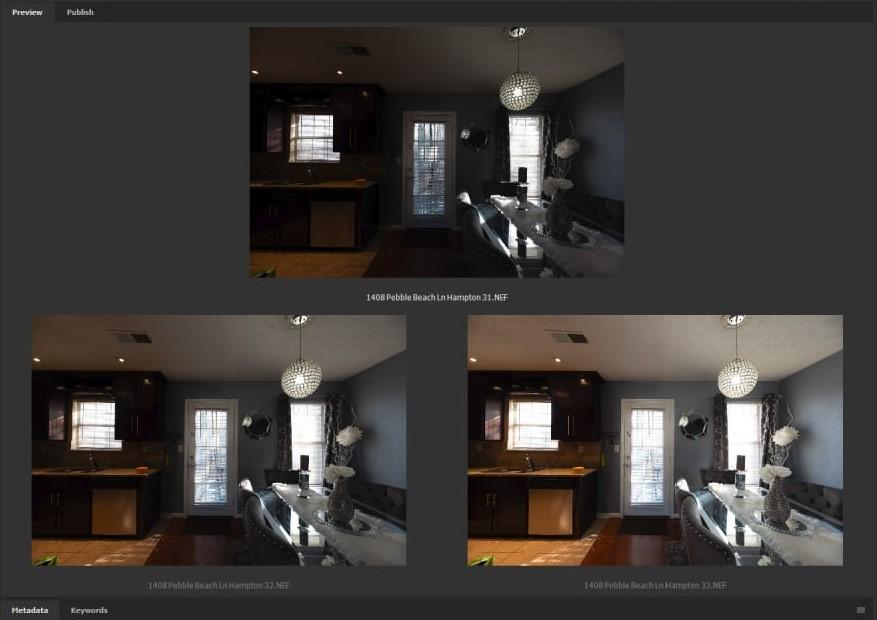
To capture stunning HDR images, set your camera to aperture priority mode. Then, adjust the exposure compensation to capture a range of exposures, from dark to light. Ensure each exposure is properly aligned and free of camera shake. Aim to capture one image for the highlights, one for the midtones, and one for the shadows. This ensures all necessary data for a well-exposed final image.
4. Editing Process for HDR Real Estate Photography
Crafting exceptional HDR real estate images entails not only capturing the right exposures but also adeptly editing them to achieve the desired outcome. Below is an outline of the HDR editing process:
a. Choosing appropriate software:
- Variety of software options – A variety of software options are available for HDR editing. Among favored selections are Adobe Lightroom, Photomatix Pro, and Aurora HDR. Each offers distinct features and advantages. Therefore, researching and comparing them can help find the ideal fit for your requirements.
- Selection based on needs – Factors like budget, user-friendliness, and compatibility with your existing workflow should be considered. While some software may boast advanced features, they might also entail a steeper learning curve. Hence, careful evaluation is necessary before making a decision.

b. Merging bracketed exposures:
- Importing images – Initiate the HDR editing process by importing your bracketed exposures into the chosen software, typically as a set or sequence.
- Alignment and merging – Utilize the software’s alignment and merging functions to combine the images into a single HDR image, blending different exposures to encompass the scene’s full luminosity range.
- Creation of HDR image – Review it for any alignment or merging issues after generating the HDR image. If required, adjust settings or refine the merging process to achieve optimal results.

c. Fine-tuning the HDR image:
- Adjustment of tone mapping settings – Tone mapping plays a crucial role in enhancing the dynamic range of the final image. Also, adjust the tone mapping settings to attain the optimal equilibrium of brightness, contrast, and detail within your HDR image.
- Enhancement of colors, contrast, and sharpness – To elevate your HDR image, make adjustments to color balance, contrast, and sharpness as necessary. This might involve fine-tuning color saturation, contrast levels, or sharpening details for improved clarity.
- Resolution of common HDR-related issues – Throughout the editing process, address common HDR-related issues such as ghosting (caused by movement between exposures) or noise (resulting from high ISO settings or aggressive merging). Utilize built-in software tools or adjust editing settings to rectify these issues.
Conclusion
Mastering natural HDR real estate photography requires technical skills, creative vision, and attention to detail. By following this guide’s workflow, you’ll capture stunning images for marketing. Embrace the challenge, experiment with different techniques, and watch as your photography skills soar to new heights.
Related post:
Real Estate Photography: A Definition Of Real Estate Photos?
REP: A Tutorial To Take Real Estate Photos For Beginners
Real Estate Photography: 5 Basic Types Of Real Estate Photos