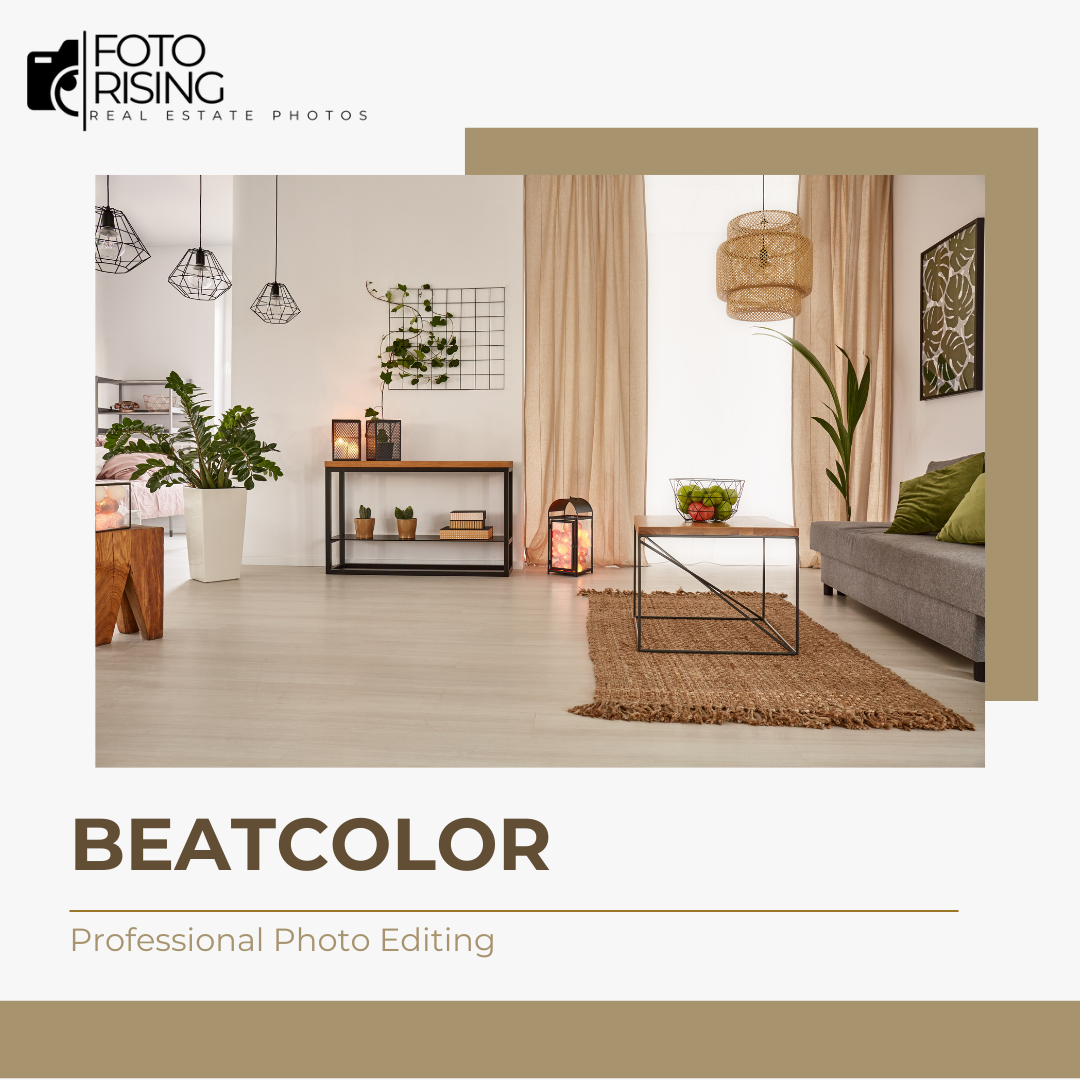
BeatColor is a professional photo editing company specializing in high-quality image editing services for photographers, real estate professionals, marketing agencies, and businesses worldwide. With a dedicated team of skilled editors and a streamlined production process, they help transform raw photos into polished, visually engaging images that perform effectively across competitive digital platforms.
About BeatColor
BeatColor was founded to support businesses in improving visual quality through consistent, reliable, and professional photo editing solutions. By combining advanced editing techniques with creative expertise, BeatColor delivers images that align with modern visual trends and brand requirements.
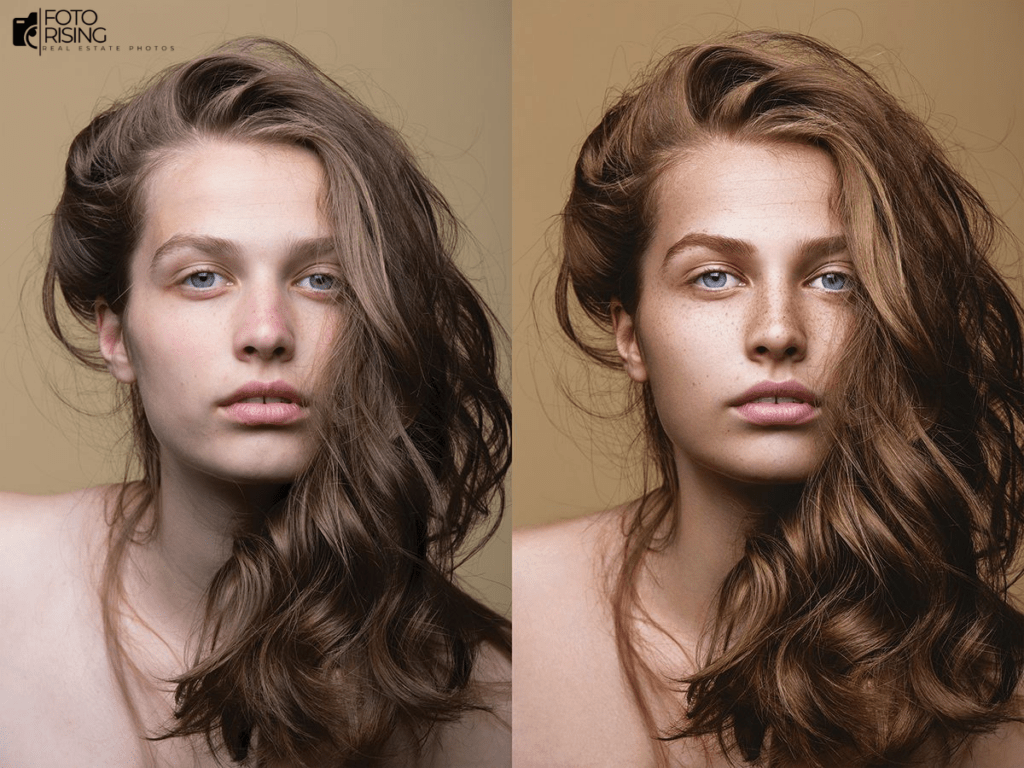
Each image is handled with precision to ensure clarity, balance, and realism. BeatColor works with both individual professionals and large-scale clients, offering flexible editing solutions tailored to specific goals. Quality consistency, deadline commitment, and client satisfaction are central to every project.
Professional Photo Editing Services by BeatColor

BeatColor provides a full range of photo editing services designed to meet diverse industry needs:
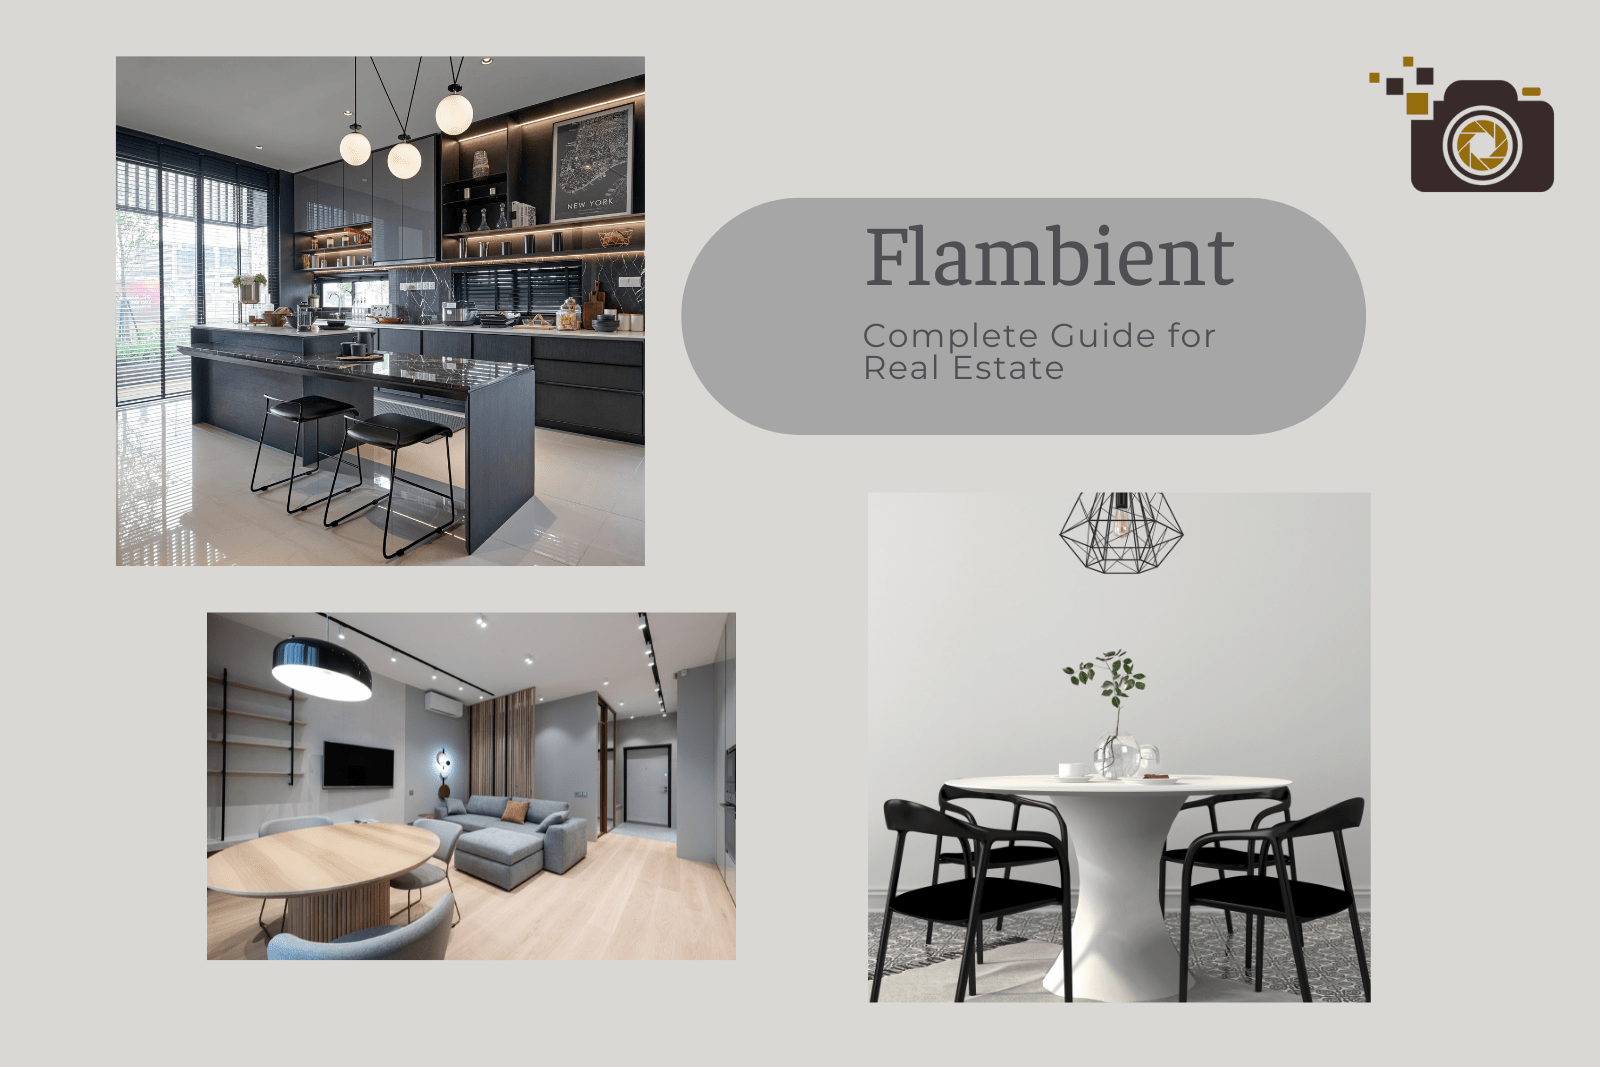
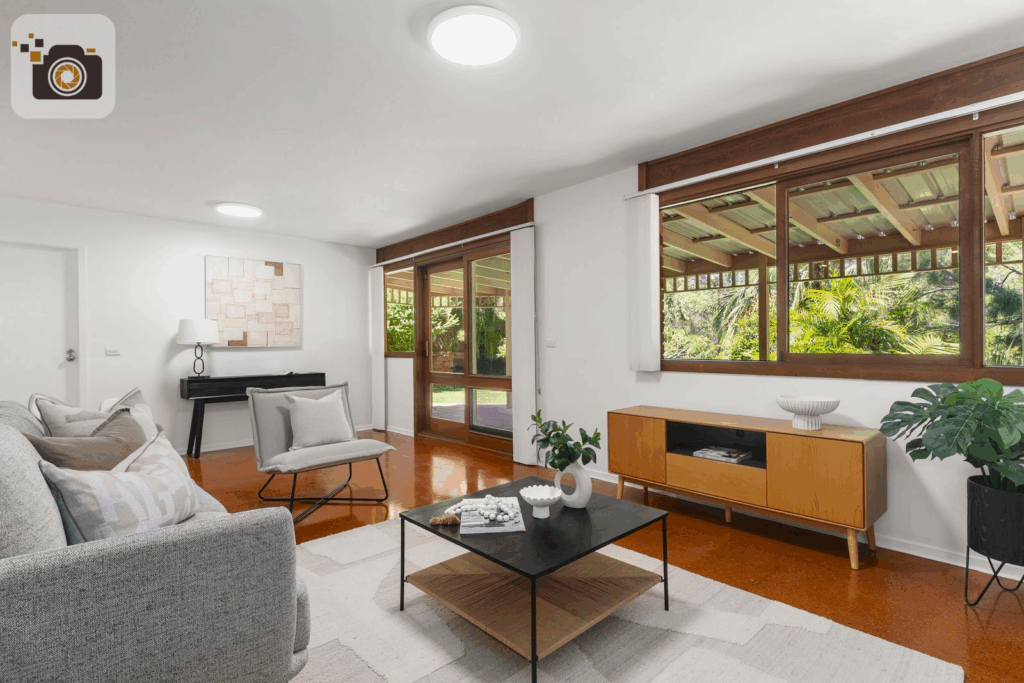
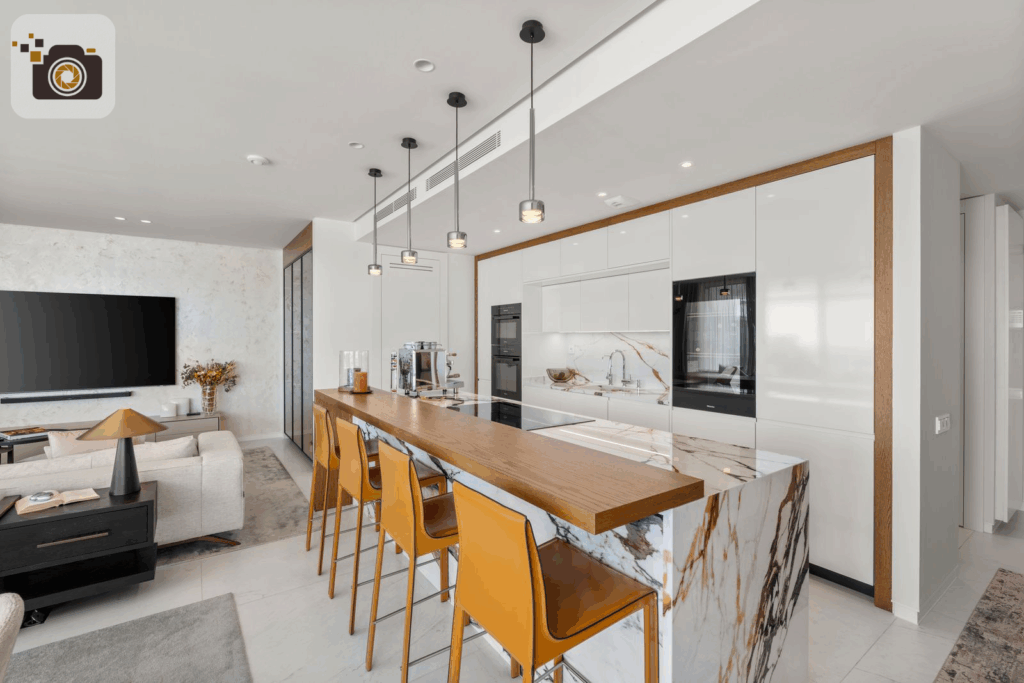
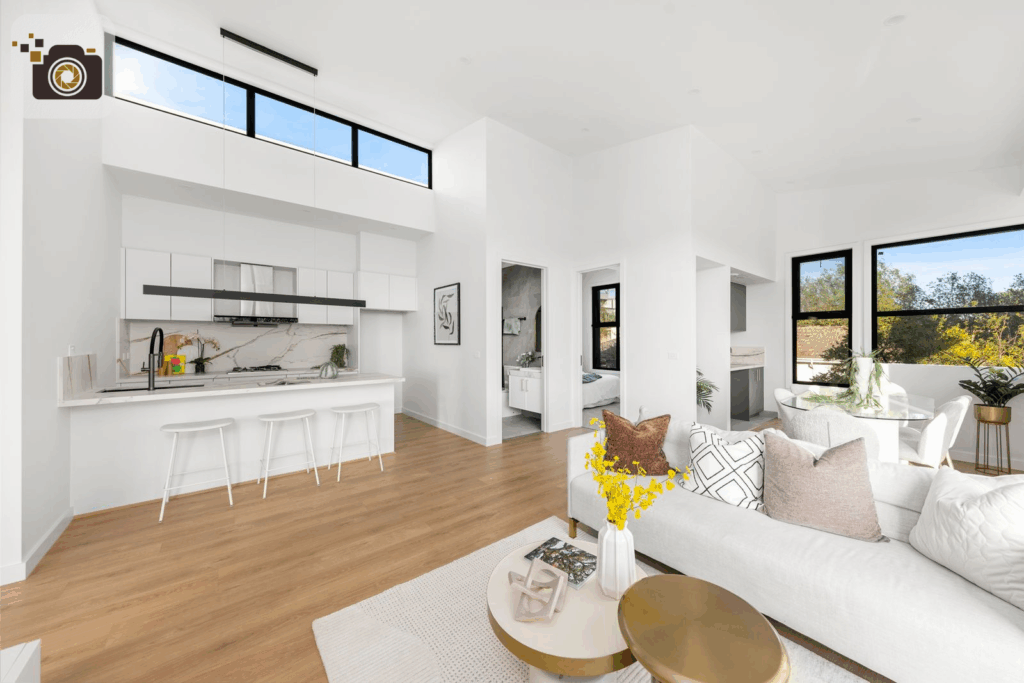
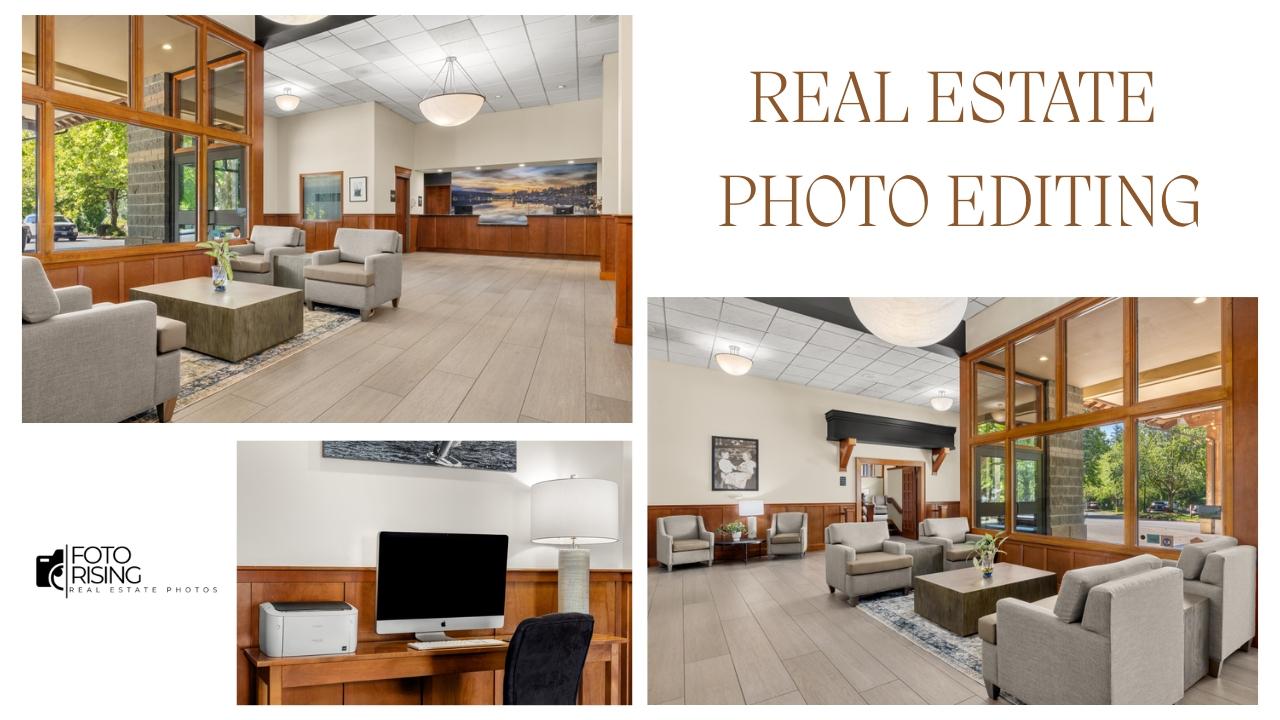
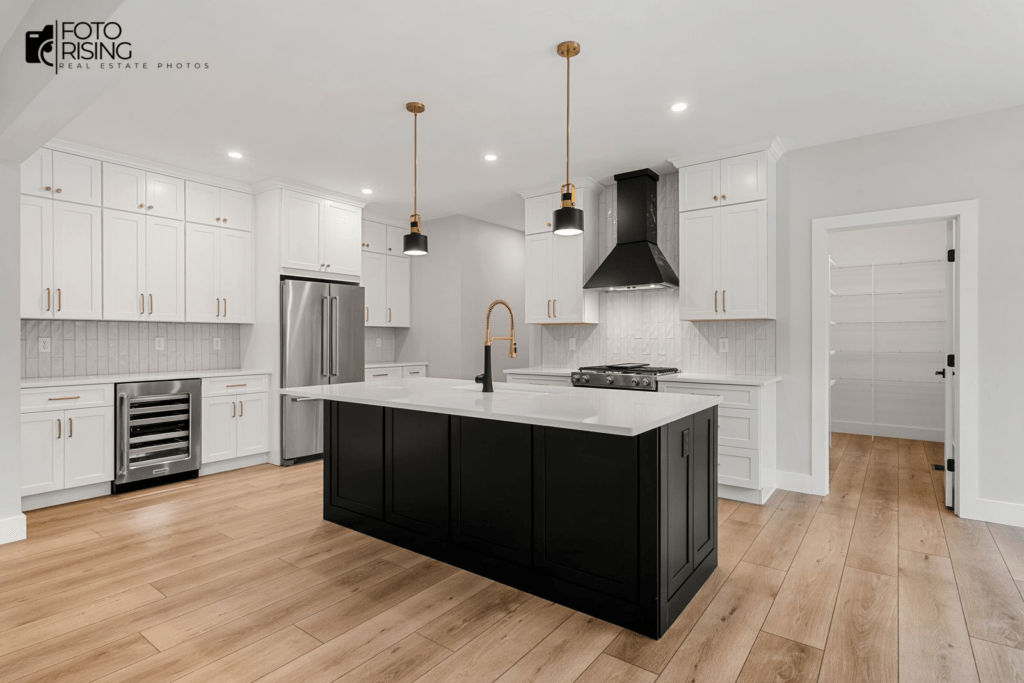
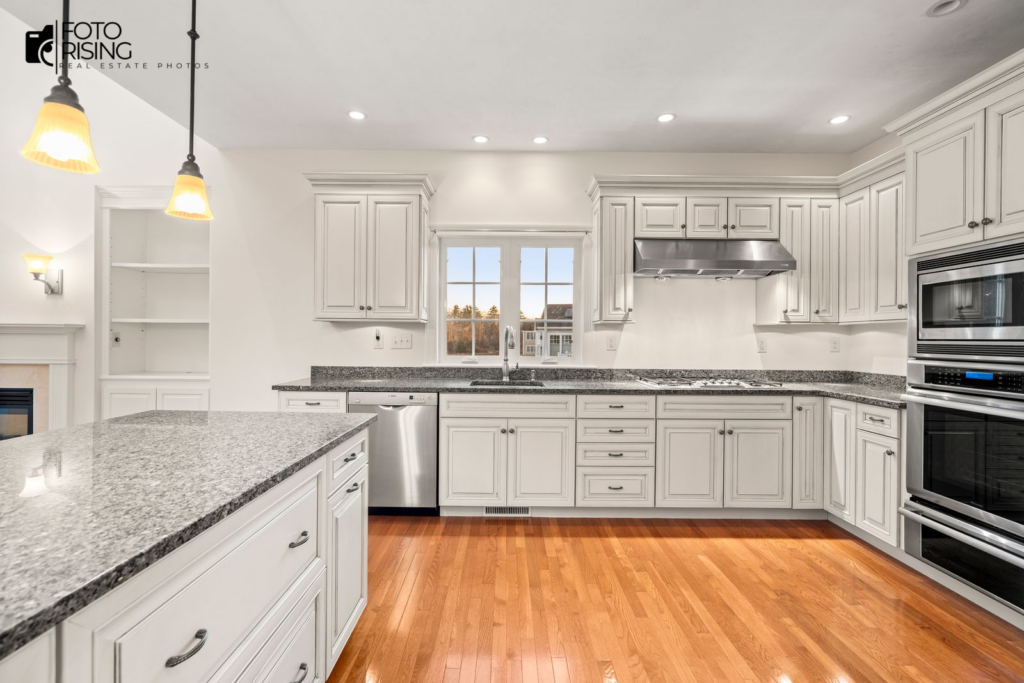
- Real estate photo editing: Enhance lighting, composition, and color accuracy to present properties in their best condition
- Color correction and photo enhancement: Improve tone balance, exposure, and overall visual consistency
- Image retouching services: Refine details, remove imperfections, and enhance sharpness
- Day to Dusk / Day to Night photo editing: Convert daytime images into realistic evening or nighttime scenes
- Object removal and image cleanup: Remove unwanted elements for clean, professional results
- Commercial and lifestyle photo editing: Optimize images for advertising, e-commerce, and digital marketing campaigns
All projects go through multiple quality control steps to ensure accuracy, consistency, and compliance with client specifications.
Why Choose BeatColor
Clients choose them for its dependable service and professional editing standards. Key advantages include:
- Experienced photo editors with multi-industry expertise
- Fast turnaround time for both single and bulk projects
- Cost-effective pricing with consistent quality output
- Customizable editing styles aligned with brand identity
- Clear communication and responsive customer support
BeatColor helps businesses reduce post-production workload while maintaining strong visual impact.
Real Estate and Commercial Editing Expertise
High-quality visuals are essential for attracting attention and increasing engagement. BeatColor specializes in real estate and commercial photo editing, delivering images optimized for property listings, websites, and marketing platforms.
Whether editing residential properties, commercial spaces, or product images, BeatColor ensures visuals remain clean, bright, and realistic. Consistent image presentation helps clients strengthen brand credibility and improve marketing performance.
Editing Workflow and Quality Assurance

BeatColor follows a structured editing workflow supported by multiple quality review stages. Each image is checked for color accuracy, lighting balance, detail clarity, and stylistic consistency. This process ensures reliable results even for large-volume orders.
Clients may request test edits before starting long-term cooperation, providing transparency and confidence in the final output.
Conclusion
BeatColor delivers professional photo editing services that help businesses elevate their visual content. With a strong focus on quality, efficiency, and customer satisfaction, they support photographers, agencies, and companies in creating high-impact images that enhance brand presence and marketing success.
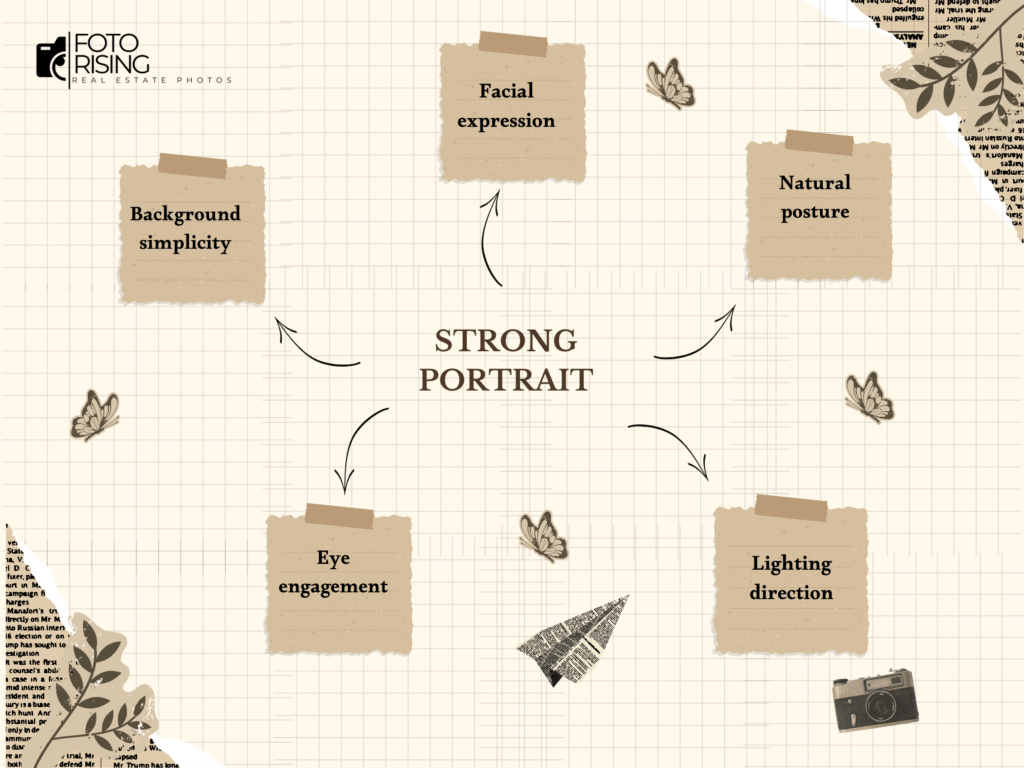
The Art of Portrait Photography: Capture Emotion with Ease