In the world of real estate photography, having the right gear can make or break your success. While cameras are essential, many professionals agree that the lens is the most important part of your real estate photography equipment. It determines how you capture space, manage lighting, and present a property to potential buyers.
In this article, we’ll explore why the lens deserves special attention and how it impacts the final result.
1. Choosing the Right Lens for Your Real Estate Photography Equipment
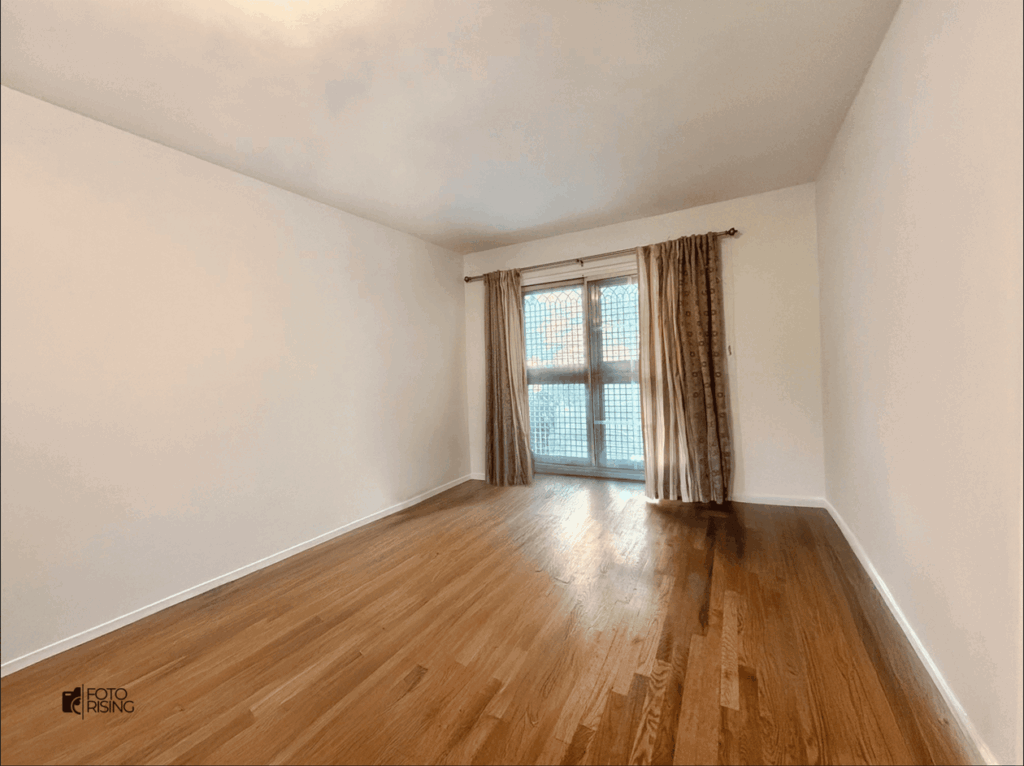
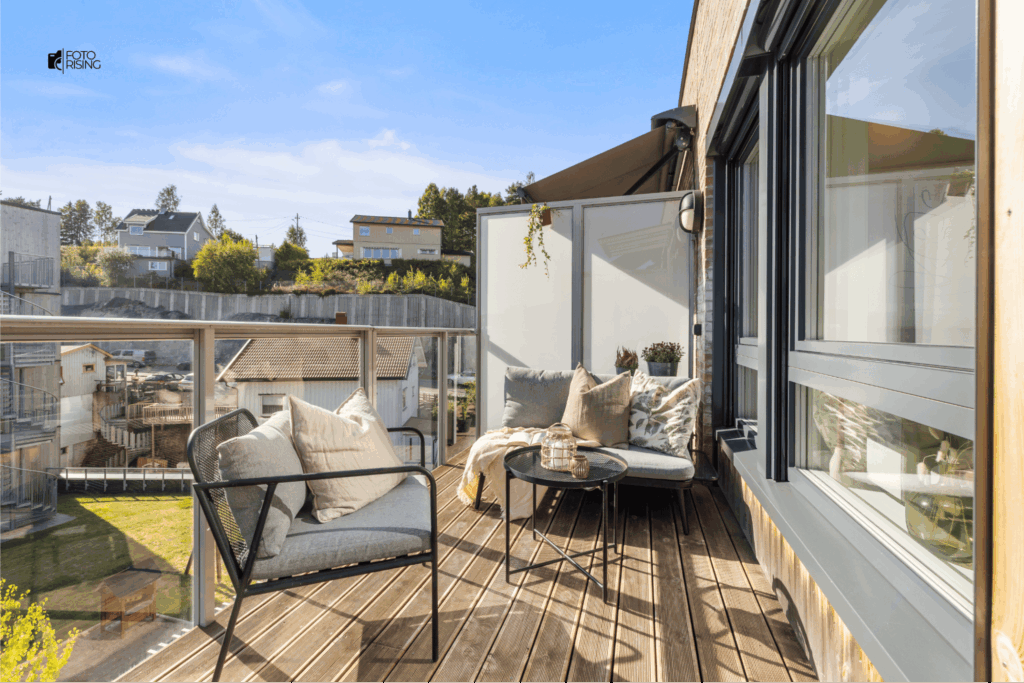
When photographing properties, you need to capture more than just a beautiful image; you need to show the space, layout, and feel of the home. This is where a wide-angle lens comes in.
A good wide-angle lens (typically between 14mm and 24mm for full-frame cameras) allows you to:
- Capture entire rooms in a single shot
- Emphasize depth and dimension
- Help viewers understand how rooms connect
Unlike standard lenses, wide-angle lenses make even small spaces feel more open and inviting. This is especially useful when photographing apartments, bathrooms, or narrow hallways. However, it’s essential to choose a lens that keeps distortion to a minimum to avoid misleading buyers with stretched or warped walls.
Transitioning from a standard kit lens to a professional wide-angle lens can instantly elevate the quality of your real estate photography.

Watch more: The BEST Lens for Real Estate Photography
2. How Professional Lenses Elevate Your Real Estate Photography Kit
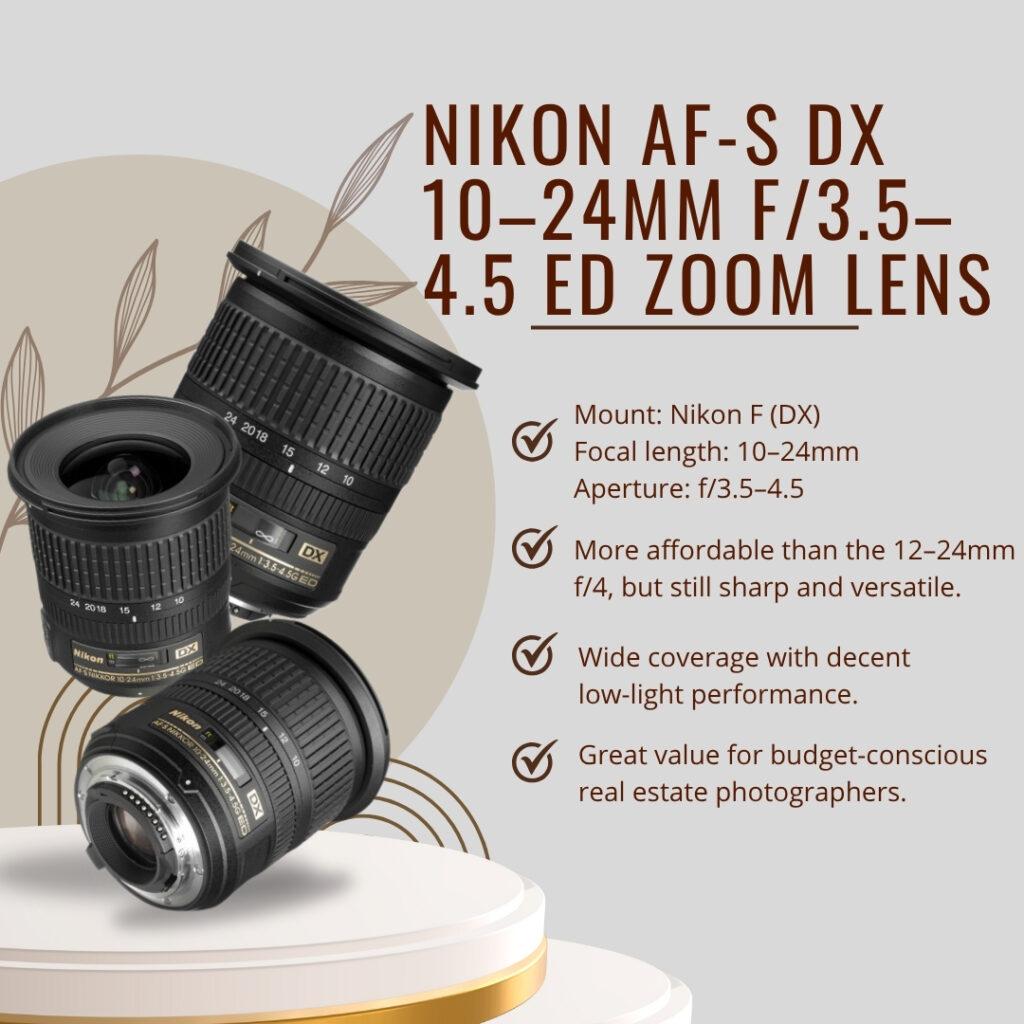
Another reason the lens is so important in real estate photography equipment is because it directly impacts image sharpness, color accuracy, and lighting performance.
High-quality lenses often come with:
- Sharper optics for edge-to-edge clarity
- Better coatings to reduce lens flare and chromatic aberration
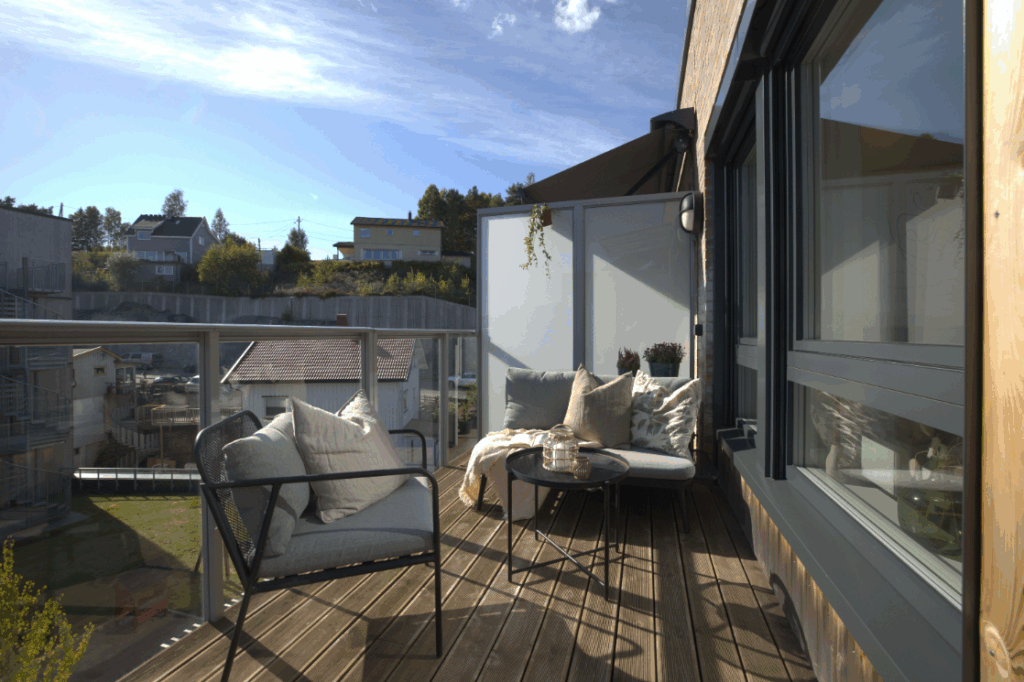
- Wider apertures (like f/2.8 or f/4) to allow more light in

Indoor spaces often have limited or uneven lighting, which makes having a fast lens incredibly helpful. A lens with a wide maximum aperture lets you shoot in low-light conditions without relying too heavily on artificial lighting or raising your ISO, which can introduce noise.
In real estate photography, clarity and consistency are key. A blurry or dark image can turn away potential buyers before they even schedule a showing.
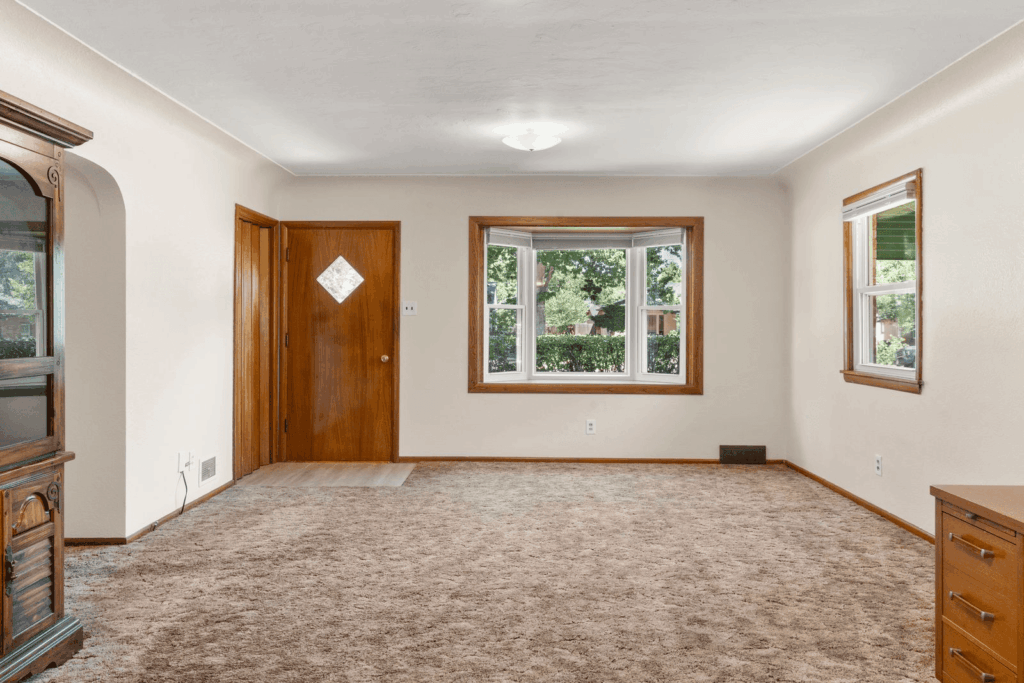
3. Build Trust with Quality Lens Choices in Real Estate Camera Gear
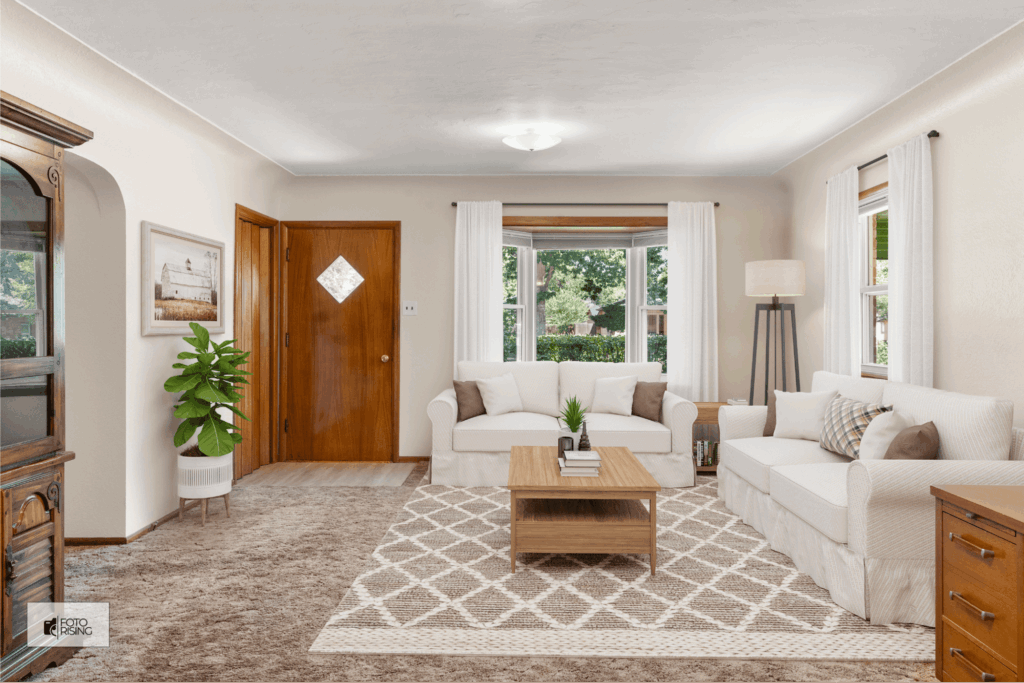
Using the right lens not only improves the technical quality of your images, but it also reflects your professionalism and attention to detail. Real estate clients expect high-quality, accurate photos that help sell or rent a property quickly. However, if your images are distorted, dark, or poorly composed due to a low-quality lens, it may cost you future business.
Moreover, investing in a professional lens also allows you to develop a consistent style and brand identity. This is important if you want to stand out in a crowded market and attract high-end clients or real estate agencies.
Additionally, certain lenses like tilt-shift lenses can help correct perspective distortion, which is common when photographing interiors. This is especially useful for shooting tall buildings or tight spaces where maintaining straight lines is crucial.
In short, by choosing the right lens, you’re not just improving your photos — you’re also strengthening your reputation as a serious real estate photographer.
Conclusion
While it’s easy to focus on cameras or lighting, the lens is truly the heart of your real estate photography equipment. It shapes how a property is seen and experienced through your images. From capturing wide, open spaces to managing lighting and distortion, the right lens helps you create compelling, honest, and professional photos that sell properties faster.
So, if you’re building your photography kit, start with a great lens. It’s one investment that will pay off in every shot you take.
Read more:
Best Tripod for Real Estate Photography in 2025: Do New Photographers Really Need One?
Top 5 Programs to Edit Photos in Real Estate Photography
How to replace sky in Lightroom