In today’s competitive real estate market, high-quality visuals are essential to capturing buyers’ attention. Real estate photo editing plays a crucial role in transforming property images into compelling visual assets. Among the various editing techniques, virtual staging stands out as a game-changer for real estate agents and photographers.
What Is Virtual Staging?
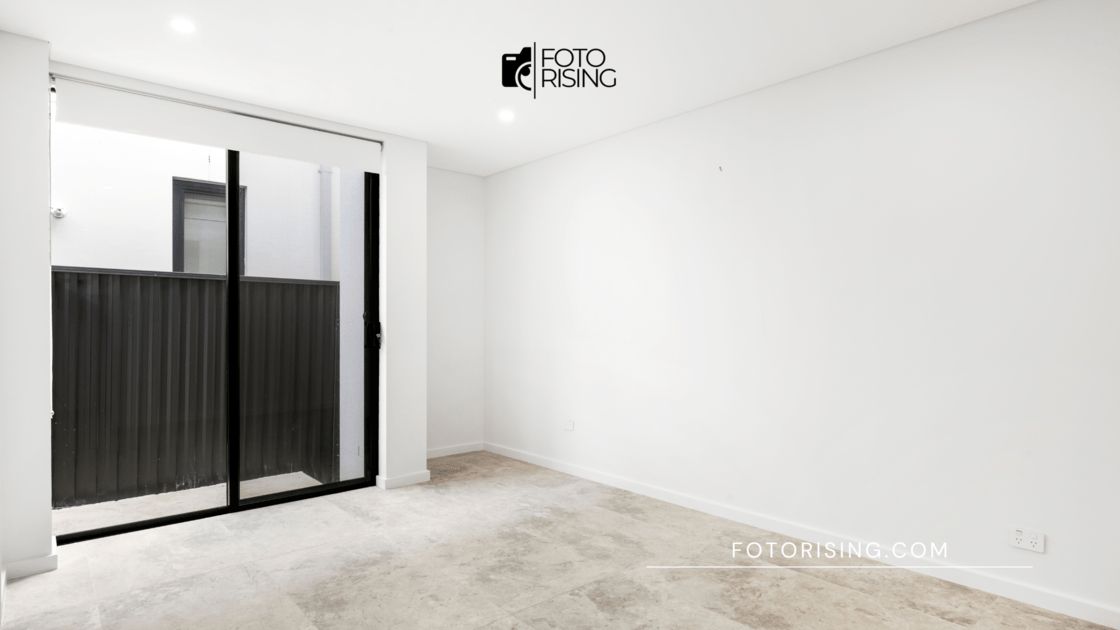
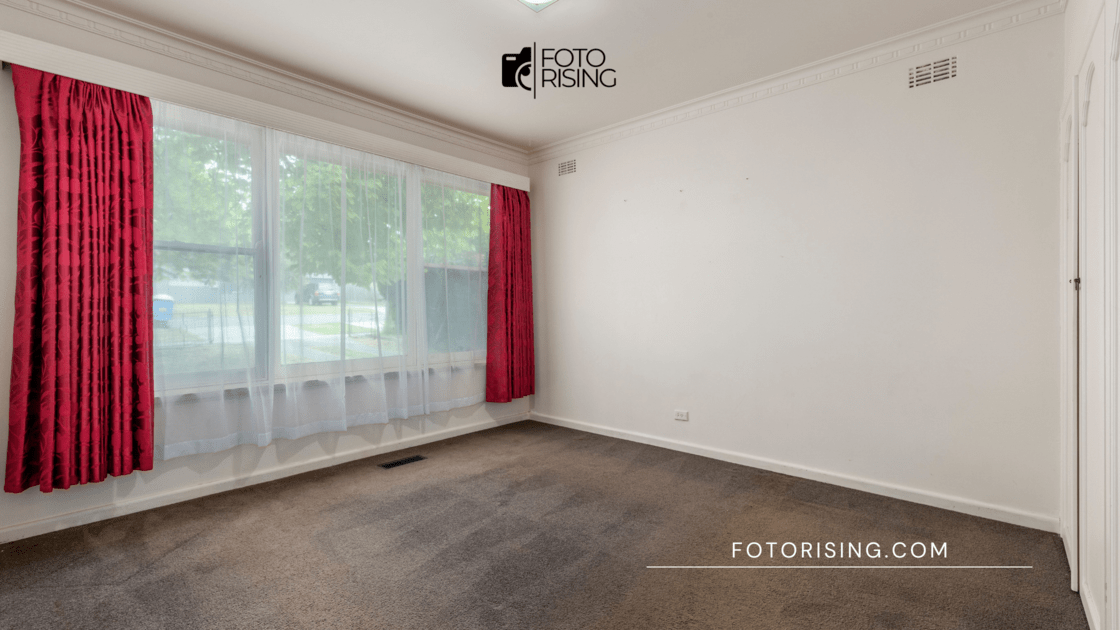
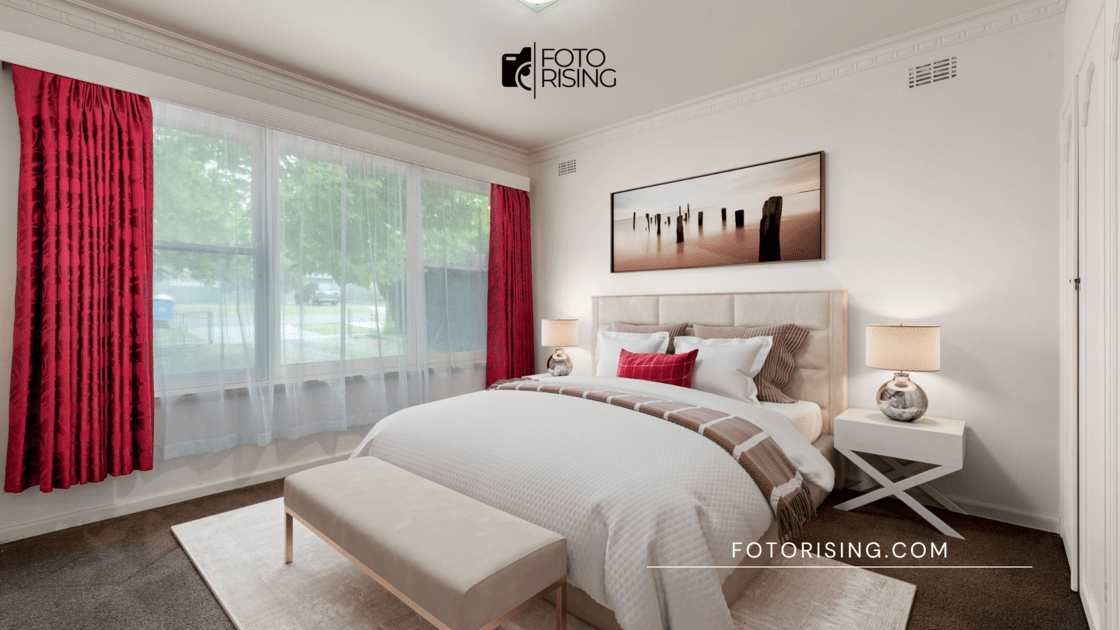
Virtual staging is a digital enhancement technique used to furnish and decorate empty or outdated spaces in real estate photos. Unlike traditional staging, which requires physical furniture and decor, virtual staging uses real estate photo editing software to create realistic, aesthetically appealing interiors. This approach is cost-effective, time-efficient, and highly flexible, making it an ideal solution for real estate professionals.
Why Virtual Staging Matters in Real Estate
- Enhances Visual Appeal
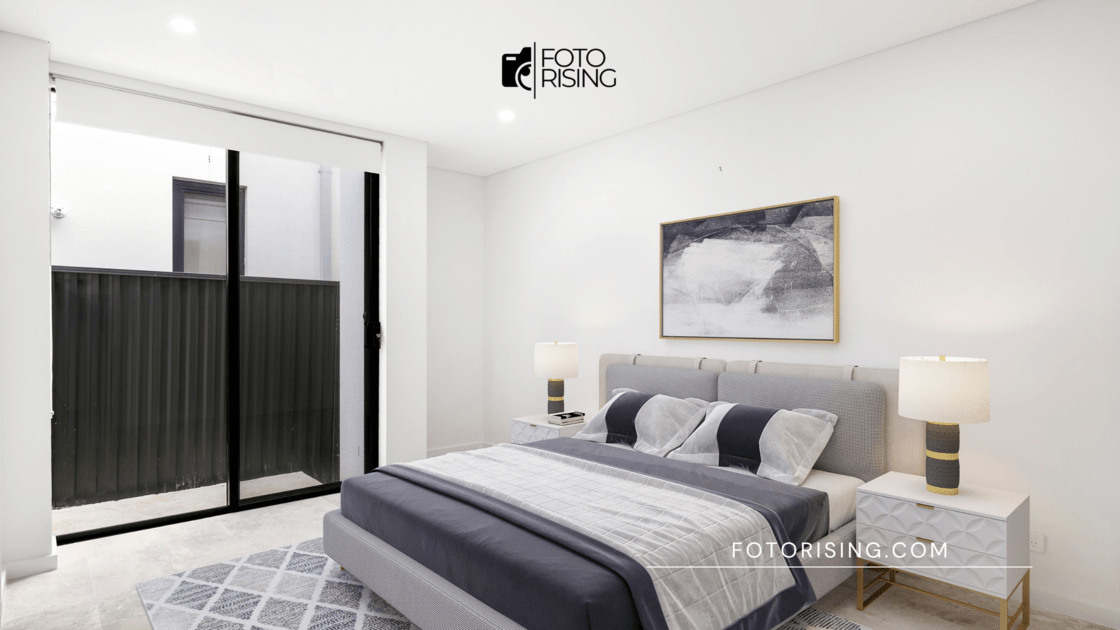
A well-staged home allows potential buyers to visualize the space better. Virtual staging adds warmth and character to an empty room, making it more inviting. - Cost-Effective Alternative
Traditional home staging can cost thousands of dollars. Virtual staging, powered by real estate photo editing, offers a more affordable way to enhance property images. - Saves Time
Virtual staging eliminates the need for physical furniture setup and removal. Real estate agents can market properties faster, reducing the time a home sits on the market. - Customization Options
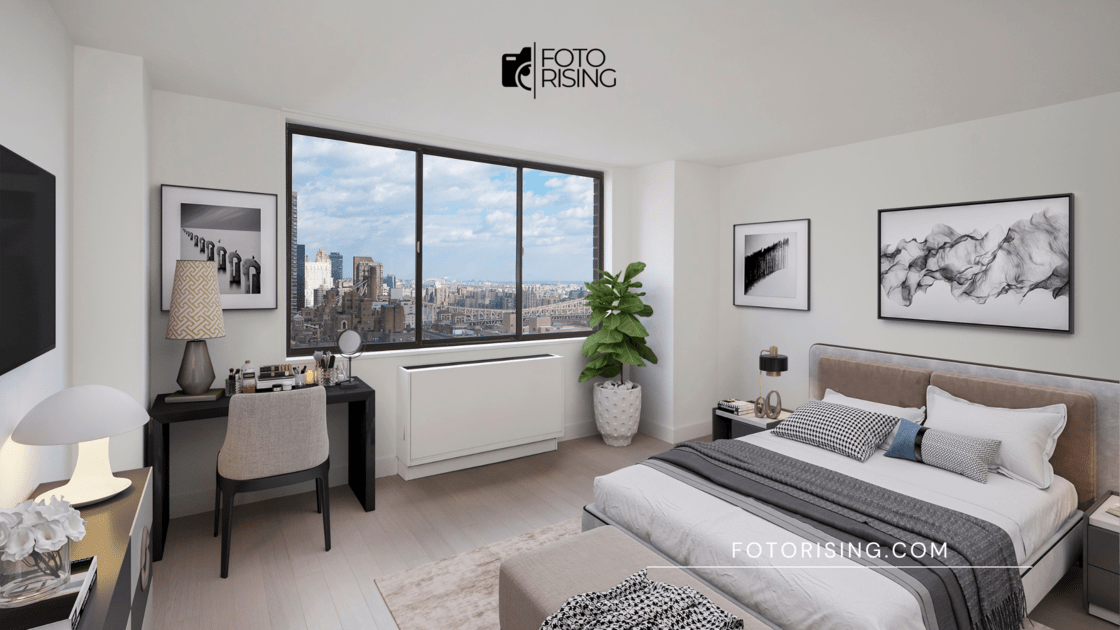
Different buyers have different tastes. Virtual staging allows realtors to present multiple design styles, from modern minimalism to classic elegance, catering to various preferences. - Boosts Buyer Engagement
Listings with high-quality, virtually staged photos tend to receive more views and inquiries. This increased engagement can lead to quicker sales and higher selling prices.
How Real Estate Photo Editing Enhances Virtual Staging
Professional real estate photo editing ensures that virtually staged images look natural and high-quality. Key enhancements include:
- Lighting Adjustments: Ensuring consistent and natural lighting.
- Perspective Corrections: Aligning furniture and decor for a realistic look.
- Clutter Removal: Cleaning up imperfections for a polished final image.
- Color Adjustments: Matching tones to create a cohesive aesthetic.
- Object Placement Precision: Ensuring furniture and decor items fit proportionally within the space.
Virtual Staging vs. Traditional Staging
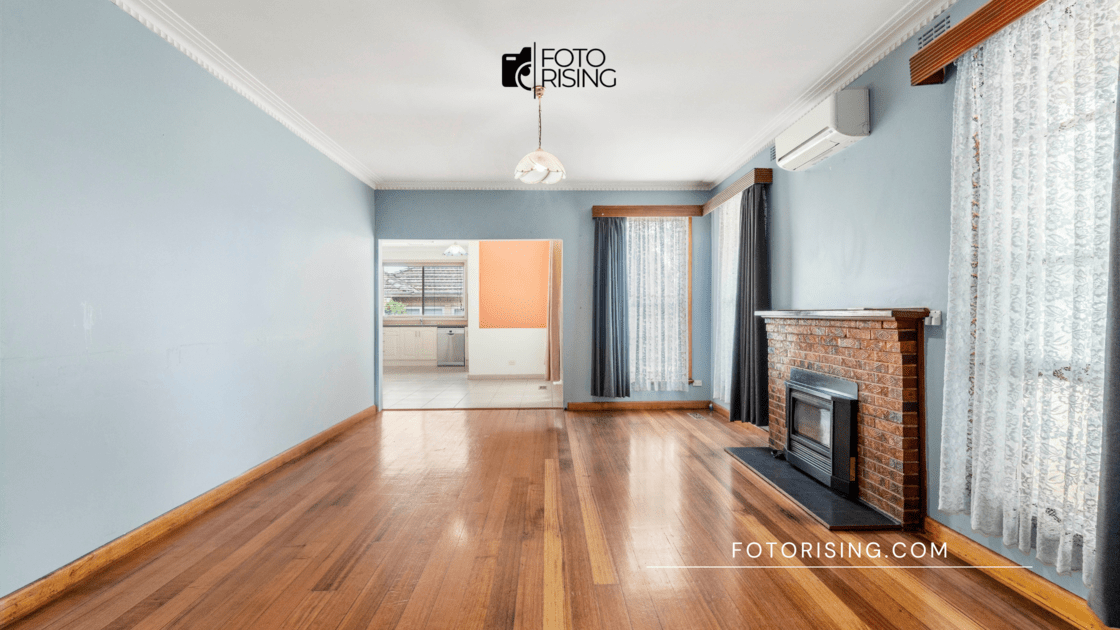
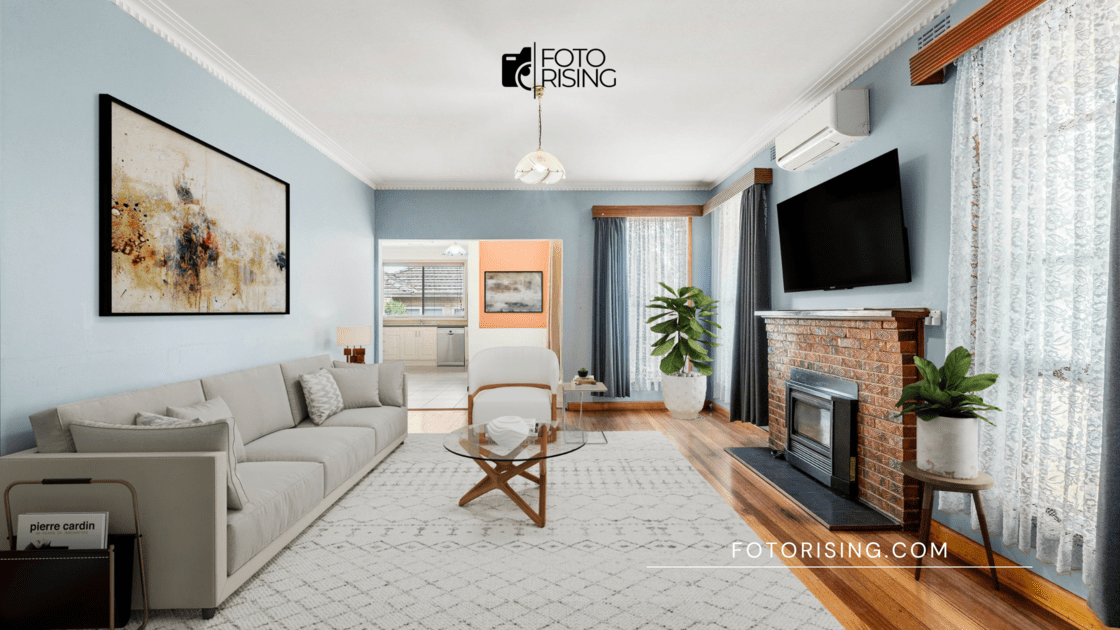
While traditional staging requires physically placing furniture and decorations in a home, virtual staging digitally transforms an empty space. Here are some key differences:
- Cost: Virtual staging is significantly cheaper than traditional staging, which requires renting furniture and hiring designers.
- Time: Traditional staging takes days or weeks, whereas virtual staging can be completed in hours.
- Flexibility: Virtual staging allows easy modifications, while traditional staging requires physical changes.
- Scalability: Virtual staging works for multiple properties at once, making it ideal for large-scale real estate businesses.
Best Practices for Virtual Staging in Real Estate Photo Editing
To maximize the impact of virtual staging, follow these best practices:
- Use High-Resolution Images
Clear, high-quality photos ensure the virtual staging looks realistic and professional. - Maintain Realism
Choose furniture styles that match the property’s architecture and target audience. - Avoid Over-Staging
Keep the design clean and neutral to appeal to a broad range of buyers. - Show Multiple Layouts
Providing different furniture arrangements helps buyers visualize their options. - Disclose Virtual Staging
Transparency is key—ensure buyers know that the images are digitally enhanced.
The Future of Virtual Staging
With advancements in AI and 3D rendering, virtual staging is becoming more sophisticated. Real estate professionals who embrace this technology gain a competitive edge in the market. By leveraging high-quality real estate photo editing, they can present properties in the best possible light, attracting more buyers and closing deals faster.
Conclusion
Virtual staging is revolutionizing the way real estate is marketed. If you’re looking to elevate your property listings, investing in professional real estate photo editing services can make all the difference. With stunning visuals and strategic staging, your listings can stand out and sell faster in today’s digital-driven market
Read more:
Top 5 Programs to Edit Photos in Real Estate Photograph
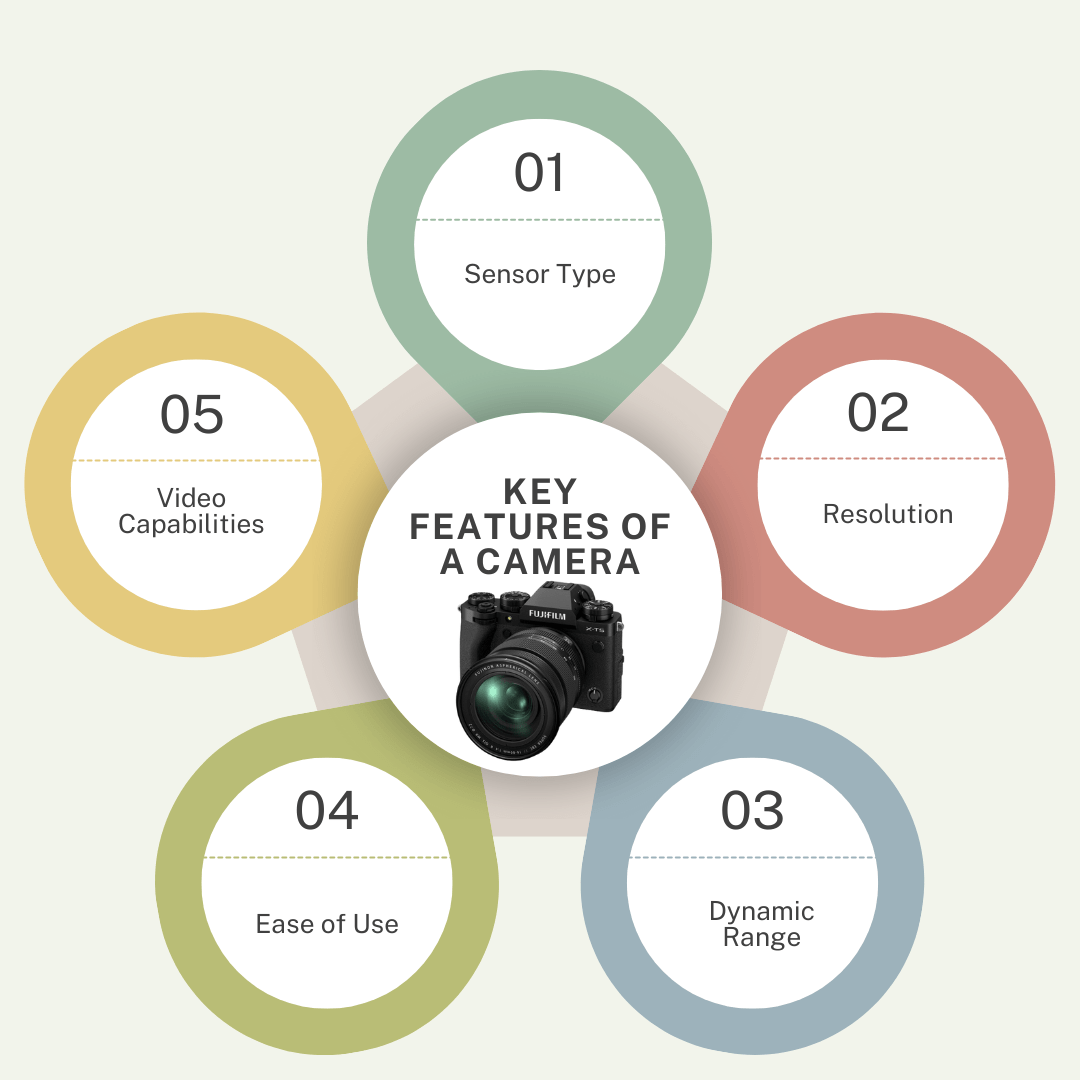
How to Choose a Camera and Lens for Real Estate Photography
Top Photography Shooting Tips for Beginners
How Do Walk-through Videos Affect the Real Estate Business?