Why Choose BeatColor?
In the competitive world of real estate marketing, high-quality visuals are essential for attracting buyers and creating a strong first impression. Since most buyers begin their property search online, professionally edited images can significantly impact how quickly a listing captures attention. That’s why many photographers and real estate agencies trust BeatColor for professional real estate photo editing services.
With a wide range of editing solutions — including HDR enhancement, virtual staging, aerial photo editing, object removal, and twilight conversion — BeatColor helps transform ordinary property photos into visually stunning marketing assets.
Professional Editing That Makes Properties Stand Out
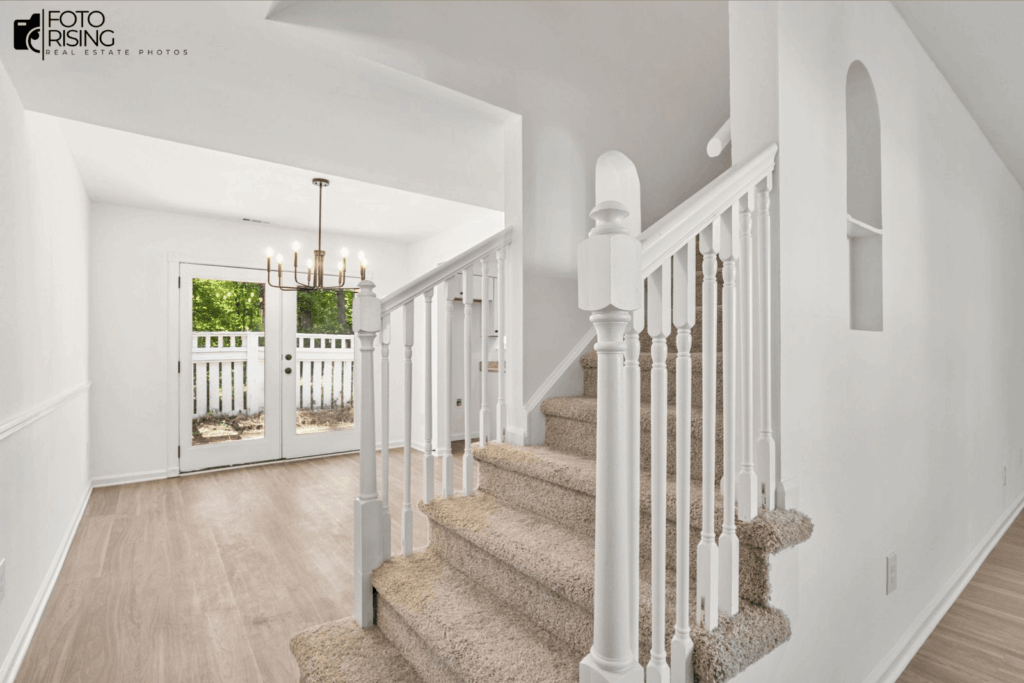
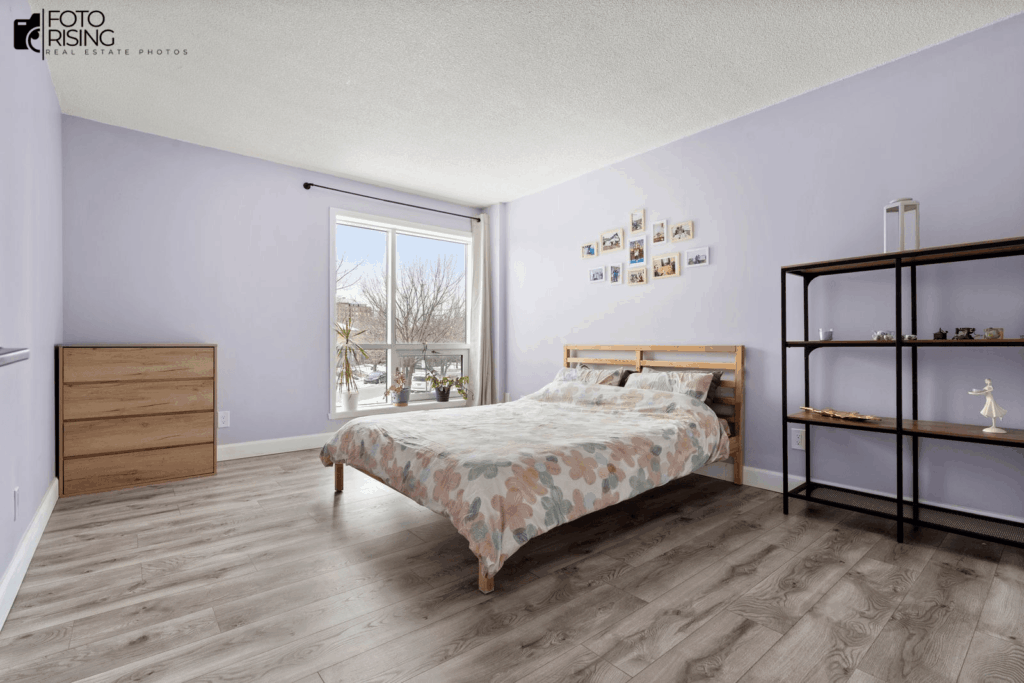
BeatColor focuses on delivering clean, natural, and visually appealing real estate images. The goal is not only to improve image quality but also to help photographers and agents showcase properties in the most attractive and professional way possible.
Professional real estate photo editing can help:
- Increase listing engagement
- Improve online presentation
- Save photographers valuable editing time
- Create consistent image quality
- Enhance the perceived value of properties
By combining fast turnaround times with detailed editing, BeatColor supports real estate professionals who need reliable, high-quality results for every project.
HDR Real Estate Photo Editing
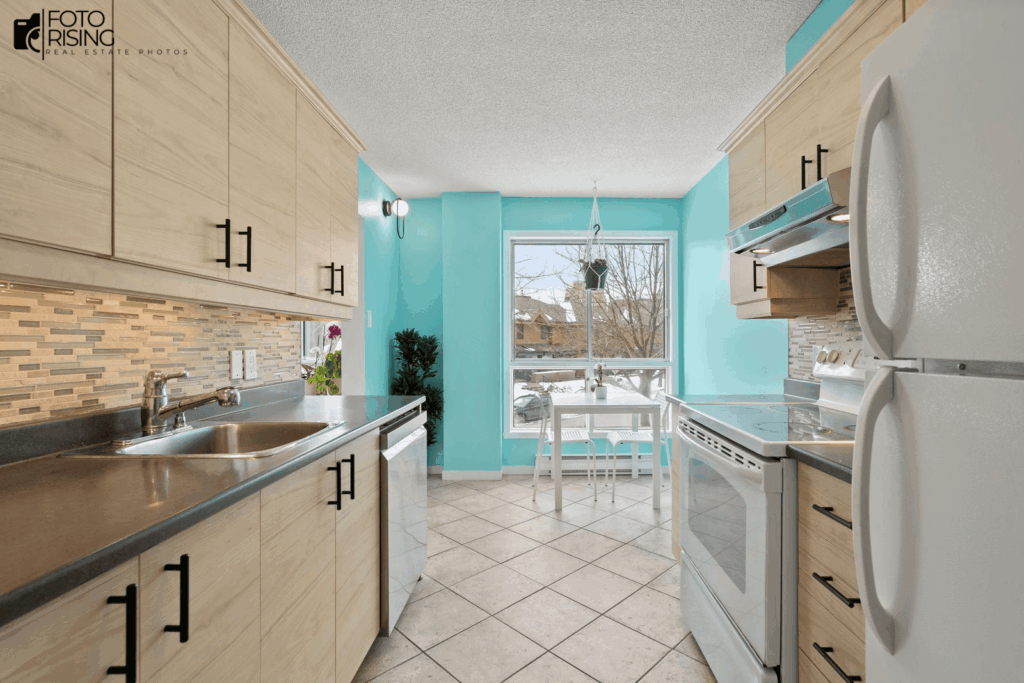
One of the most popular services offered by BeatColor is HDR real estate photo editing. HDR editing combines multiple exposures to create balanced lighting and natural-looking interiors.
This service helps improve:
- Brightness and exposure
- Window visibility
- Interior details
- Color correction
- Overall image clarity
BeatColor carefully balances highlights and shadows to ensure rooms appear bright, realistic, and welcoming without looking over-processed.
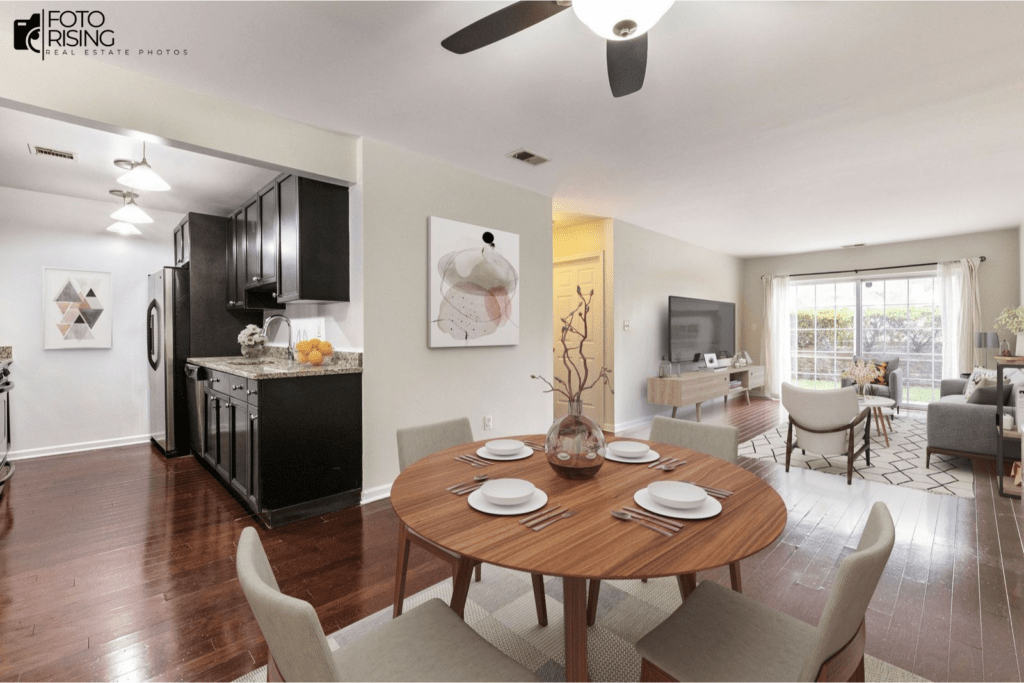
Virtual Staging Services
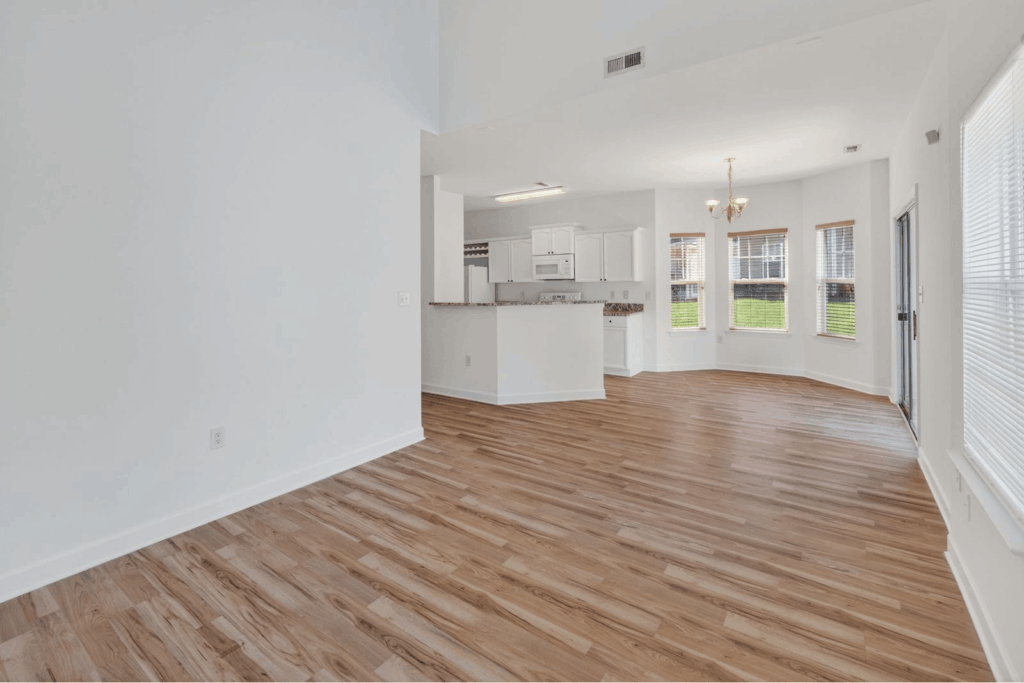
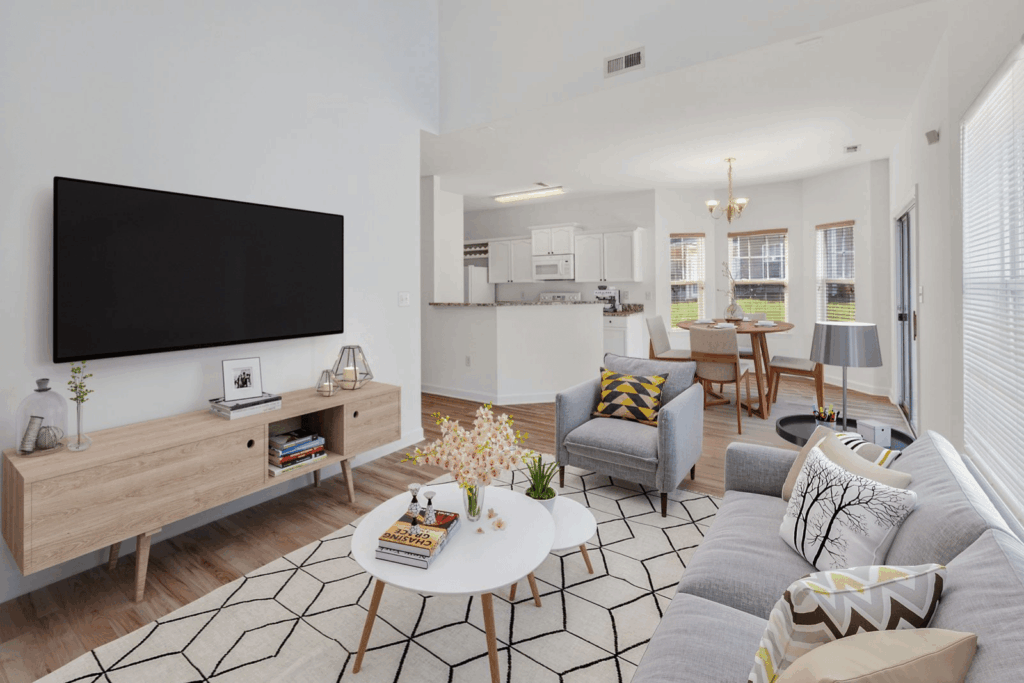
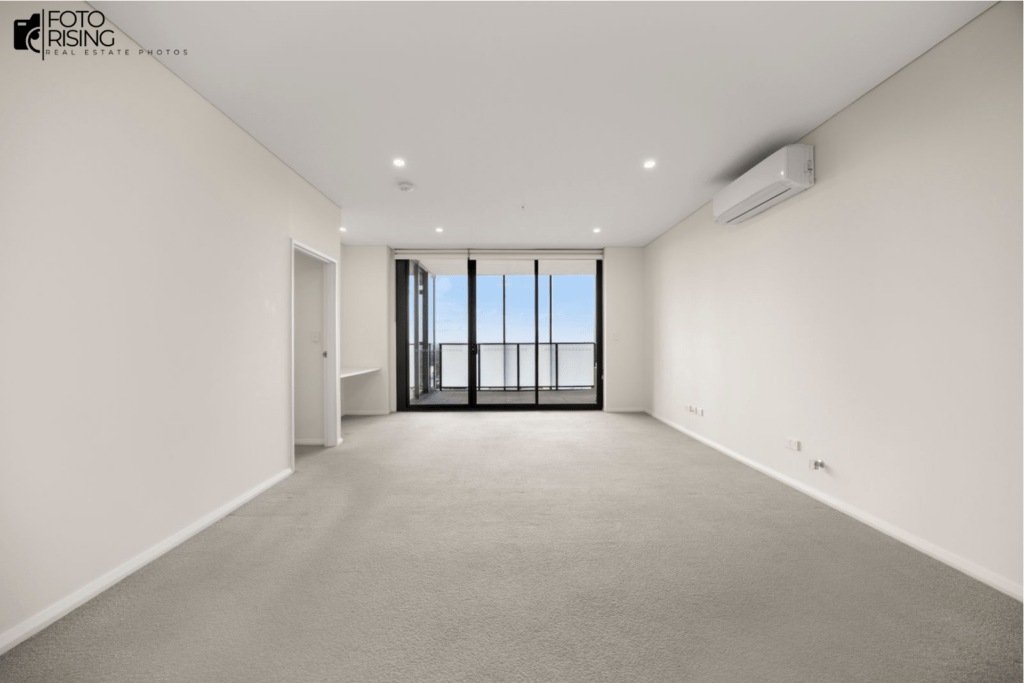
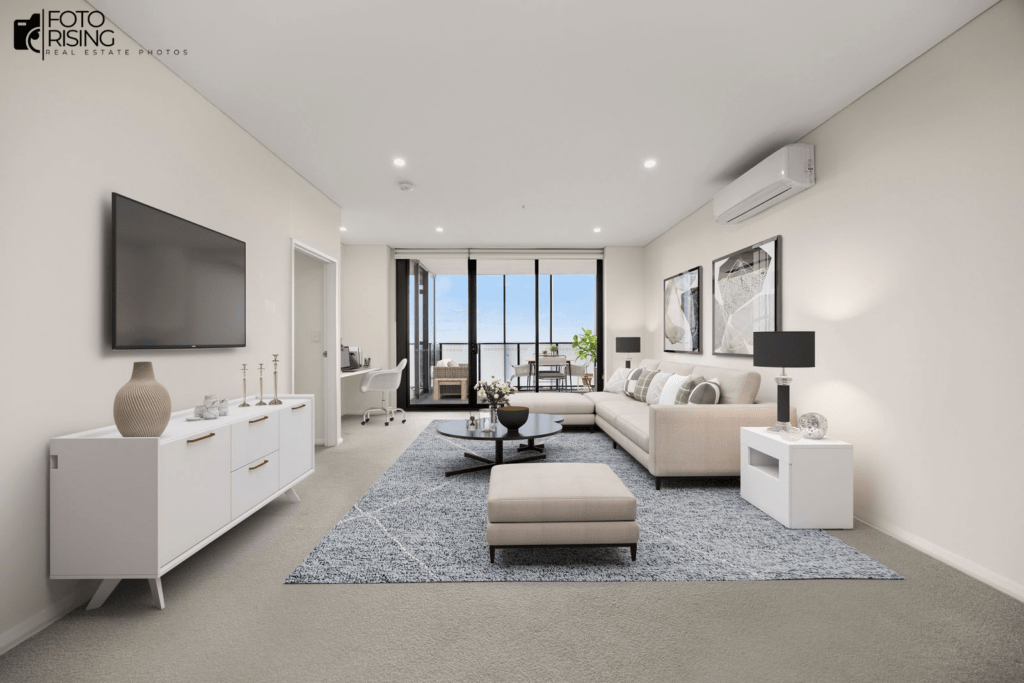
Empty spaces can often feel cold and uninviting in listing photos. BeatColor offers professional virtual staging services that digitally add furniture and décor to vacant rooms, helping buyers better visualize the potential of a property.
Virtual staging is ideal for:
- Vacant homes
- Apartments and condos
- Luxury properties
- Rental listings
- New construction projects
Different interior styles can be created depending on the target audience, including modern, contemporary, Scandinavian, and luxury designs.
Professionally staged photos not only improve visual appeal but can also increase buyer interest and online engagement.
Day-to-Dusk and Twilight Editing
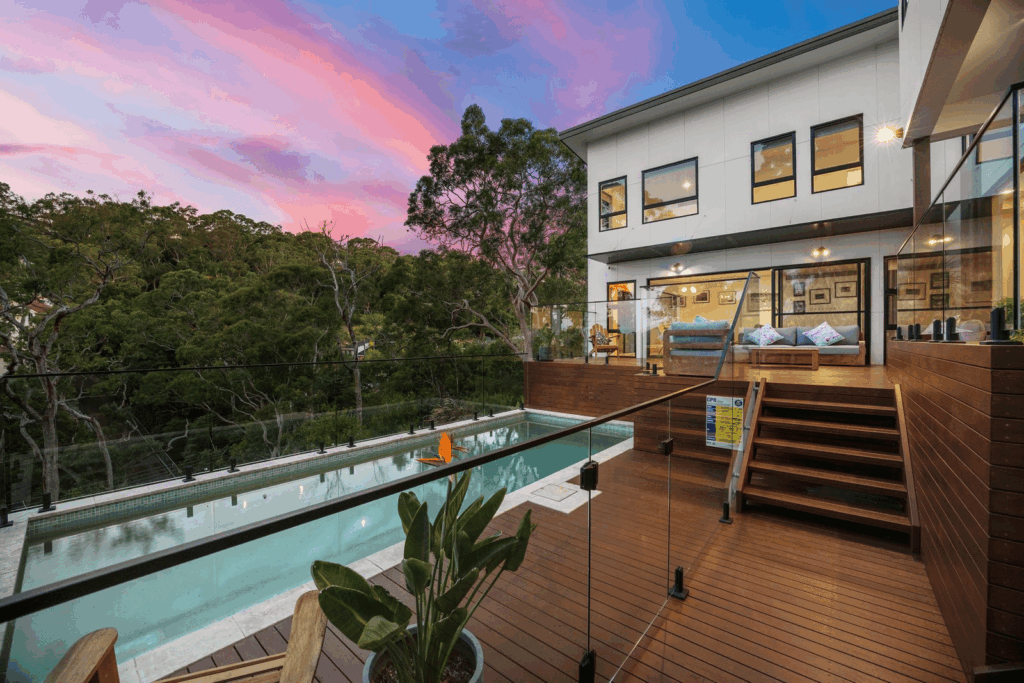
Twilight images are some of the most eye-catching visuals used in real estate marketing. However, capturing perfect twilight photography can be difficult and time-sensitive. BeatColor provides advanced day-to-dusk editing services that transform daytime exterior photos into stunning twilight scenes.
These edits typically include:
- Warm interior lighting
- Sunset sky replacement
- Landscape lighting enhancement
- Pool lighting effects
- Improved atmosphere and mood
Twilight editing helps properties appear more luxurious and visually engaging, making listings stand out across websites and social media platforms.
Aerial Photo Editing
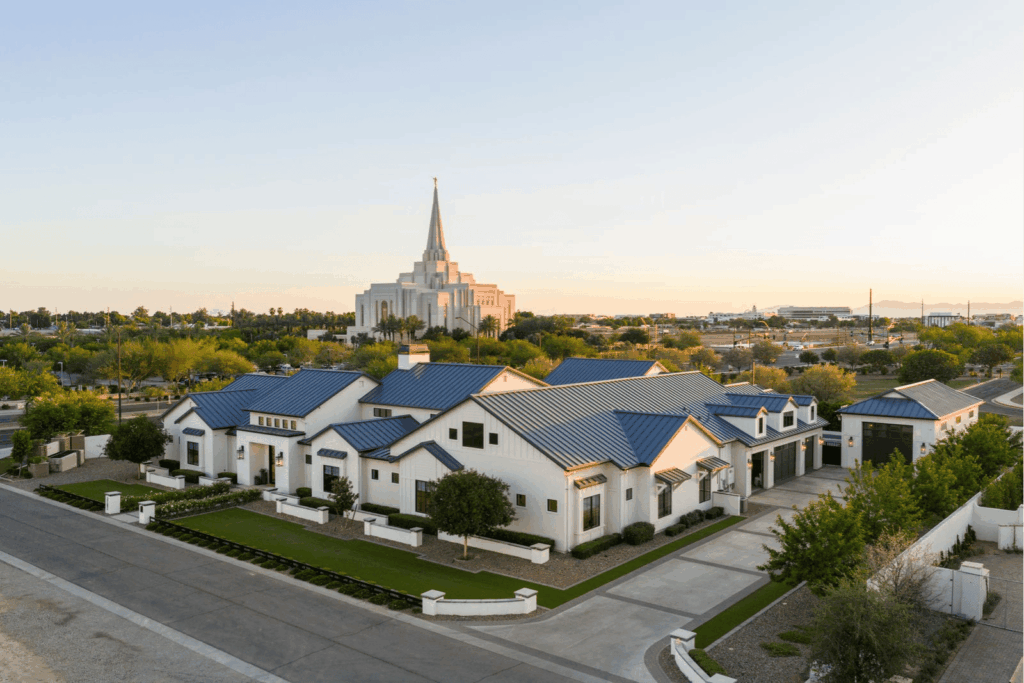
Drone photography has become an essential part of modern real estate marketing, and BeatColor offers professional aerial photo editing services to enhance drone images.
This service includes:
- Sky enhancement
- Exposure balancing
- Color correction
- Contrast improvement
- Landscape enhancement
- Object removal
Professionally edited aerial images help showcase property size, surrounding neighborhoods, nearby amenities, and outdoor features more effectively.
Virtual Renovation and Object Removal
Another valuable service offered by BeatColor is virtual renovation, which allows outdated interiors to be digitally modernized without physical remodeling.
Virtual renovation services may include:
- Kitchen upgrades
- Flooring replacement
- Wall repainting
- Bathroom remodeling visualization
- Furniture modernization
In addition, BeatColor also provides object removal services to eliminate distractions such as cars, trash bins, cables, reflections, and personal items from property photos.
These clean and polished images create a more professional appearance and improve the overall presentation of the property.
Fast Turnaround and Consistent Quality
Real estate photographers often work under tight deadlines, making speed and reliability extremely important. BeatColor focuses on delivering fast turnaround times while maintaining consistent editing quality across every image.
Consistency in lighting, color tones, and editing style helps photographers strengthen their professional brand and maintain high standards for clients.
Supporting Real Estate Professionals Worldwide
Photographers, real estate agencies, Airbnb hosts, and property developers worldwide rely on BeatColor for professional editing support. Outsourcing editing tasks allows photographers to focus more on shooting, client communication, and growing their business.
By improving image quality and presentation, BeatColor helps create visually compelling listings that attract more buyers and increase online engagement.
Final Thoughts
Professional real estate photo editing has become an essential part of successful property marketing, and BeatColor offers a complete range of services designed to help listings stand out in a competitive market.
From HDR enhancement and virtual staging to aerial editing and twilight conversion, BeatColor provides reliable, high-quality editing solutions for modern real estate professionals. High-quality visuals not only improve property presentation but also create stronger first impressions that can lead to faster sales and better marketing performance.
Read more:
Virtual Home Staging: A Modern Solution for Real Estate Marketing
Real Estate Photo Editing Outsourcing for Scalable Growth
Best Editing Websites for Photographers: Top Platforms