In the competitive real estate market, high-quality photos can make a significant difference in attracting potential buyers. To achieve stunning visuals, photo editing programs are essential. In this blog, we’ll explore the 10 best photo editing programs for real estate in 2024, catering to both professionals and those looking for free options.
1. Adobe Photoshop
Adobe Photoshop remains the gold standard for photo editing programs. With its extensive range of tools, you can enhance your real estate photos to perfection. Photoshop allows for precise adjustments in exposure, color, and composition, making it an indispensable tool for professional photographers.
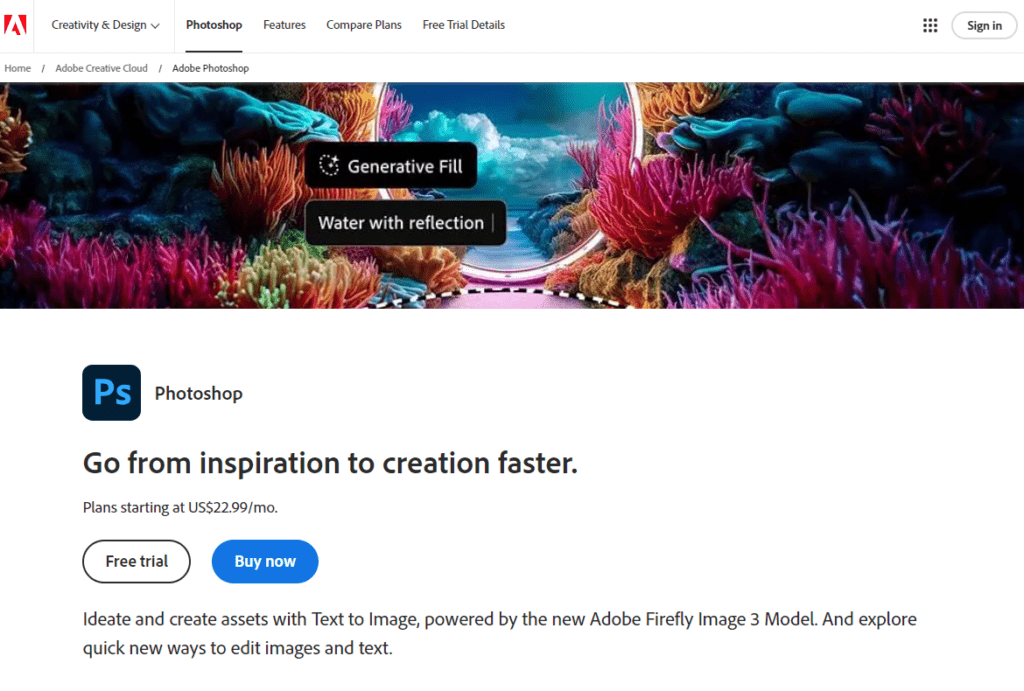
Its advanced features, like layers and masks, provide flexibility in editing, enabling you to create highly detailed and polished images. Whether you’re removing imperfections, adjusting lighting, or adding creative elements, Photoshop delivers professional results every time.
2. Lightroom
Adobe Lightroom is another excellent choice in the photo editing programs list. It is especially useful for those who need to edit a large number of photos quickly. It offers powerful tools for color correction, exposure adjustments, and batch processing. Consequently, it is ideal for real estate photography.

Lightroom’s intuitive interface and non-destructive editing capabilities ensure that your original images remain intact. While you make enhancements, it preserves the quality of your work. Additionally, its ability to sync across devices means you can edit on the go. This provides convenience and efficiency for busy photographers.
3. GIMP
For those looking for free photo editing software, GIMP emerges as a fantastic option. This open-source program offers a surprising range of features, including layers, masks, and advanced photo retouching tools, that rival those found in Adobe Photoshop. It’s a versatile tool for anyone looking to enhance their real estate images without spending a dime.

4. Pixlr
Furthermore, Pixlr is an online photo editing program that offers a range of free tools suitable for real estate photo editing. With its user-friendly interface and powerful editing capabilities, Pixlr is a great choice for those who prefer working in a web browser.

5. Canva
Canva is more than just a graphic design tool. It is also a powerful photo editor. With its easy-to-use interface and a wide array of templates, Canva is perfect for creating eye-catching real estate photos and marketing materials.

Canva’s drag-and-drop functionality makes it simple to add text, graphics, and other elements to your images. This helps you create professional-looking marketing materials without needing advanced design skills. Its extensive library of stock photos and elements can enhance your projects. Therefore, it gives you a wide range of creative options.
6. PhotoScape X
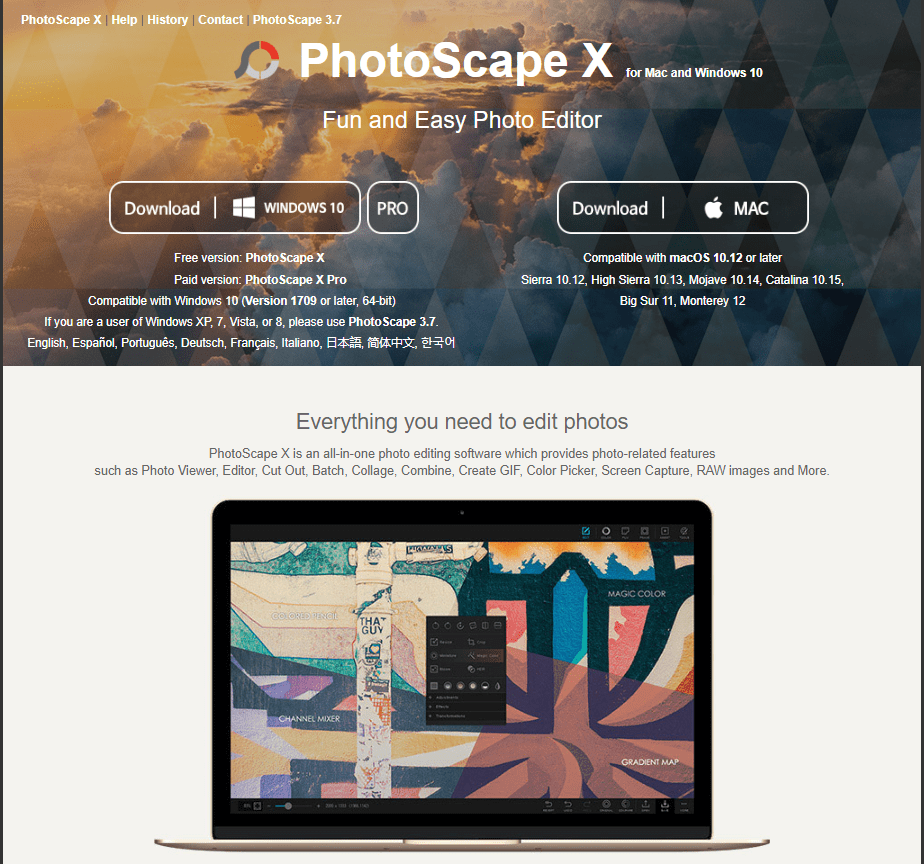
PhotoScape X is a free photo editing software for Windows 10 and macOS that offers a comprehensive set of tools for photo enhancement. It includes features like batch editing, collage creation, and RAW conversion, making it a valuable asset for real estate photographers.
7. Fotor
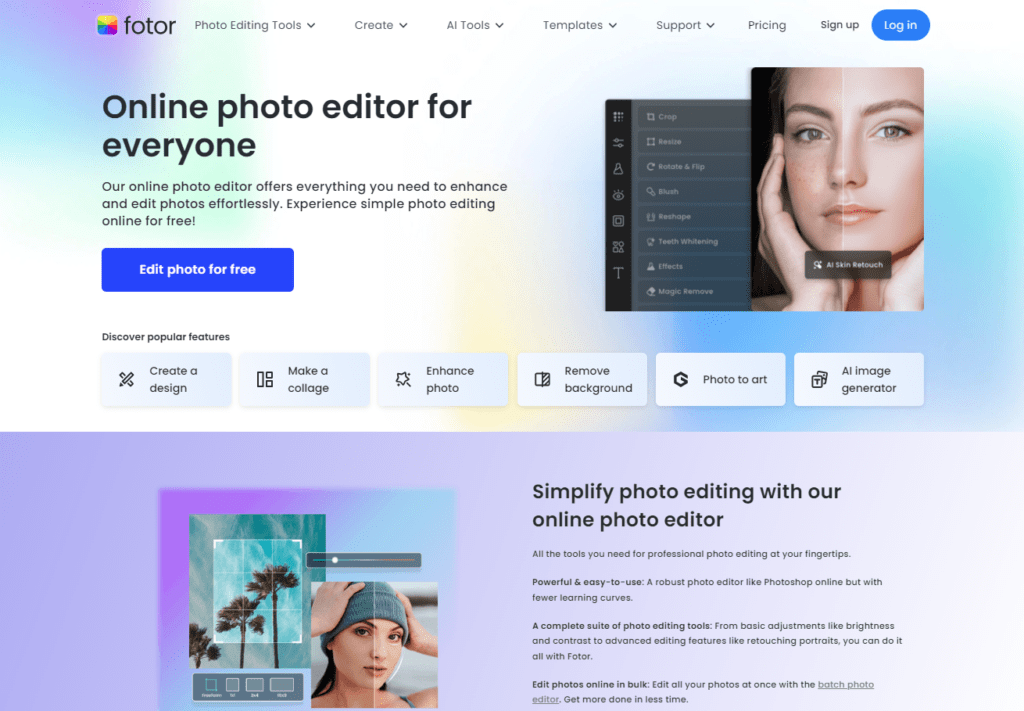
Fotor is another excellent free photo editing software available online. It offers a variety of editing tools, including HDR effects, beauty retouching, and collage creation. Fotor is an accessible option for those looking to enhance their real estate photos without professional software.
8. Luminar AI
Luminar AI is an innovative photo editing program that uses artificial intelligence to make photo enhancements easier and faster. Its AI-driven tools can quickly improve your real estate photos, making it a great choice for both beginners and experienced photographers.

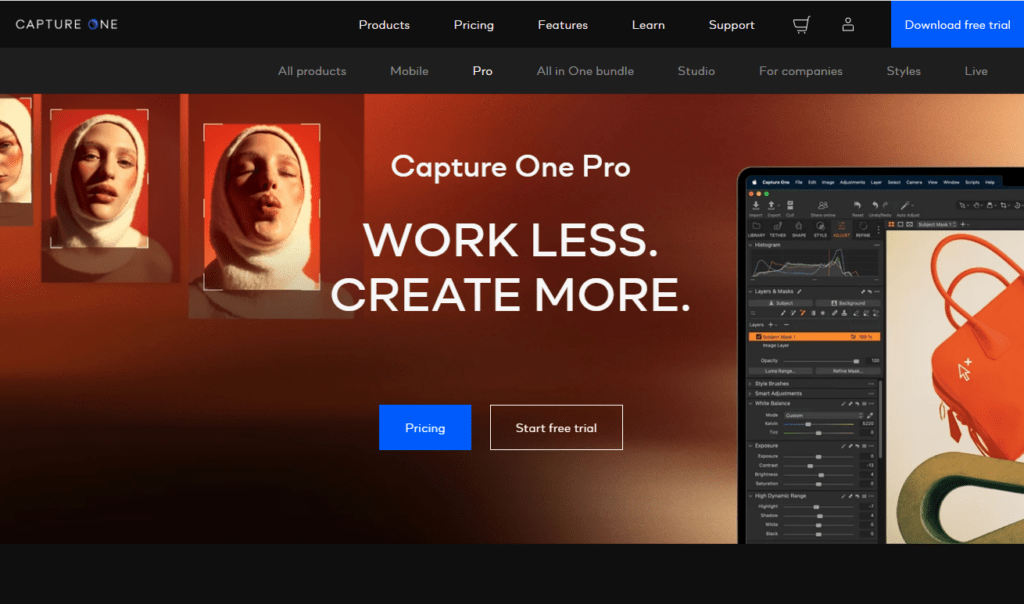
9. Capture One Pro
Capture One Pro is a professional photo editing software known for its exceptional color grading capabilities. It’s widely used by real estate photographers who need precise control over their images. Capture One Pro offers advanced tools for tethered shooting, RAW processing, and more.
10. Affinity Photo
Affinity Photo is a cost-effective alternative to Adobe Photoshop, offering many of the same powerful editing features. It’s a one-time purchase software with no subscription required, making it an attractive option for real estate photographers looking for a budget-friendly yet professional-grade editing tool.

Why You Need Photo Editing Programs for Real Estate
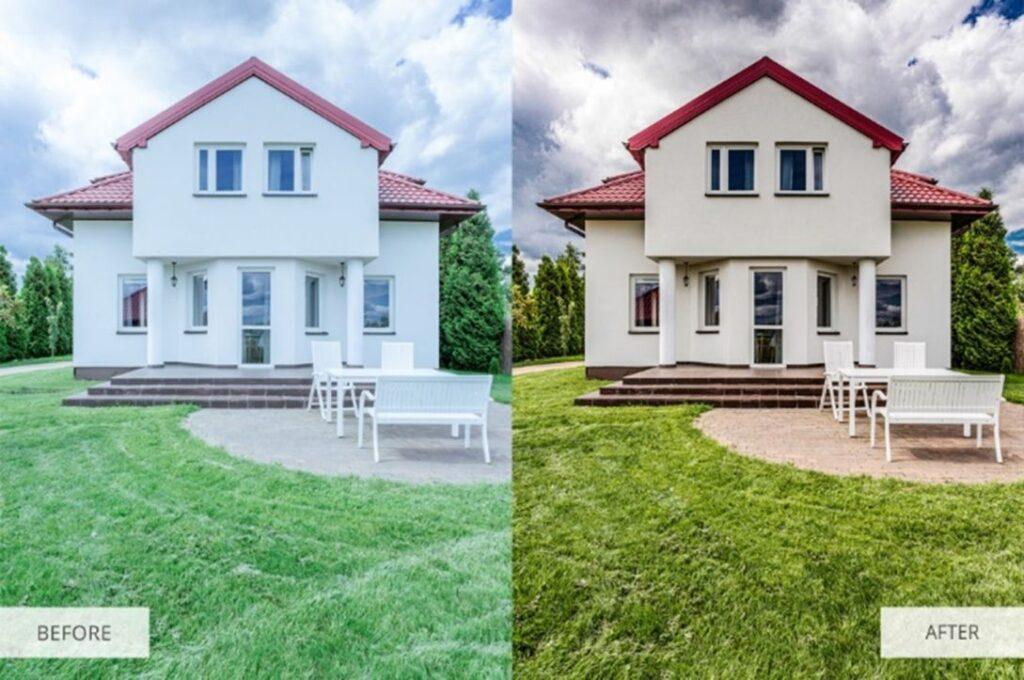
Capturing the perfect beauty of real estate properties is challenging due to constantly changing natural light. Photo editing programs are essential to make your photos look enticing and authentic. By using these tools, you can adjust exposure, highlight shadows, tweak saturation and contrast. Additionally, you can remove blemishes, ensuring your photos attract potential buyers.
How to Choose the Best Photo Editing Program
When selecting the best photo editing program for your needs, consider the following factors:
- Budget: Determine if you need free software or if you’re willing to invest in professional tools. Free programs like GIMP and PhotoScape X offer robust features. In contrast, paid options like Adobe Photoshop and Capture One Pro provide advanced capabilities and support.
- Features: Identify the features that are most important for your editing process. This could include batch processing, AI enhancements, or advanced color grading. Programs like Lightroom and Luminar AI offer powerful tools for quick and efficient editing.
- Ease of Use: Consider the user interface and learning curve of the software. User-friendly options like Canva and Fotor are great for beginners. Conversely, more complex programs like Photoshop and Capture One Pro may require some learning but offer extensive control.
- Compatibility: Ensure the software is compatible with your operating system, whether it’s Windows, macOS, or an online platform. Programs like Pixlr and Canva can be accessed online. This makes them versatile choices for any device.
Conclusion
Enhancing your real estate photos with the right photo editing programs can significantly boost your property’s appeal and lead to faster sales. Whether you’re a professional photographer or someone looking for free options, there’s a photo editing program that suits your needs. Explore the 10 best photo editing programs for real estate in 2024 and take your property listings to the next level.
Related Posts:
How Editing Real Estate Photos Work Like An Expert?
HDR Real Estate Photography- How Many Exposures Are Preferred?
5 Mind-Blowing Tips For Stunning Interior Real Estate Photos