
Hit enter to search or ESC to close
Trending Now
Gear choice shapes the quality of every real estate shoot, long before editing even begins. Beyond a camera and a lens, several other tools help photographers capture consistent, professional results across different properties and lighting conditions. This guide covers the essential equipment worth investing in, along with a few optional extras that can elevate your workflow.
Why the Right Gear Matters
Real estate photography demands consistency across dozens of shoots each month. A well-rounded kit helps photographers handle unpredictable lighting, tight spaces, and tight deadlines without sacrificing image quality. While skill and technique matter most, having reliable equipment reduces the number of things that can go wrong on-site.
Camera and Lens
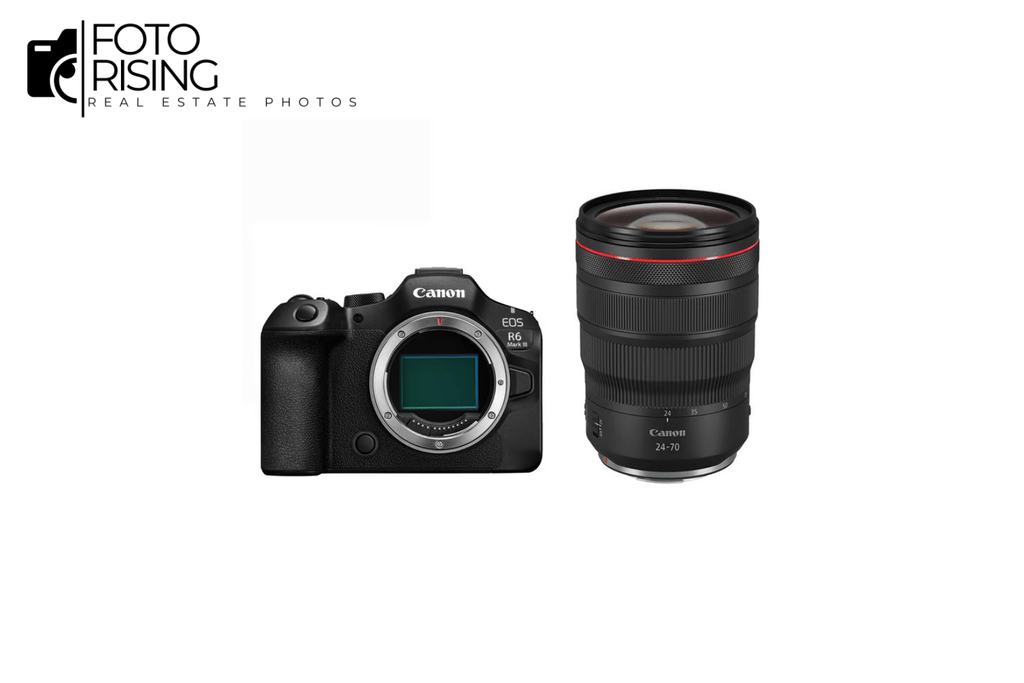
A capable camera body paired with a wide-angle lens forms the foundation of any real estate kit. Most professionals shoot with mirrorless or DSLR cameras that offer strong dynamic range, since interiors often mix bright windows with darker corners. A wide-angle lens, typically in the 14mm to 24mm range, lets you capture full rooms without excessive distortion.
Tripod
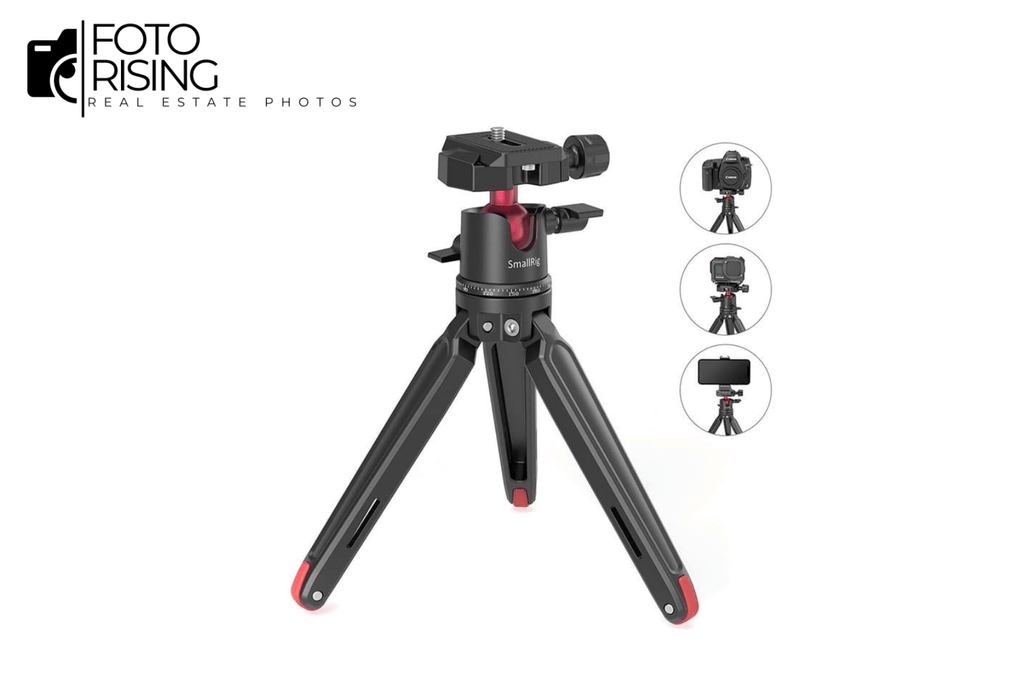
A sturdy tripod is one of the most important pieces of equipment in any real estate kit. It keeps shots perfectly stable during longer exposures, which matters for HDR bracketing and low-light interiors. A tripod also helps maintain consistent framing across multiple exposures of the same scene, which makes blending images together much easier during editing.
Look for a tripod with a reliable leveling head, since keeping the camera perfectly level helps avoid tilted walls and skewed perspective lines.
Remote Shutter Release
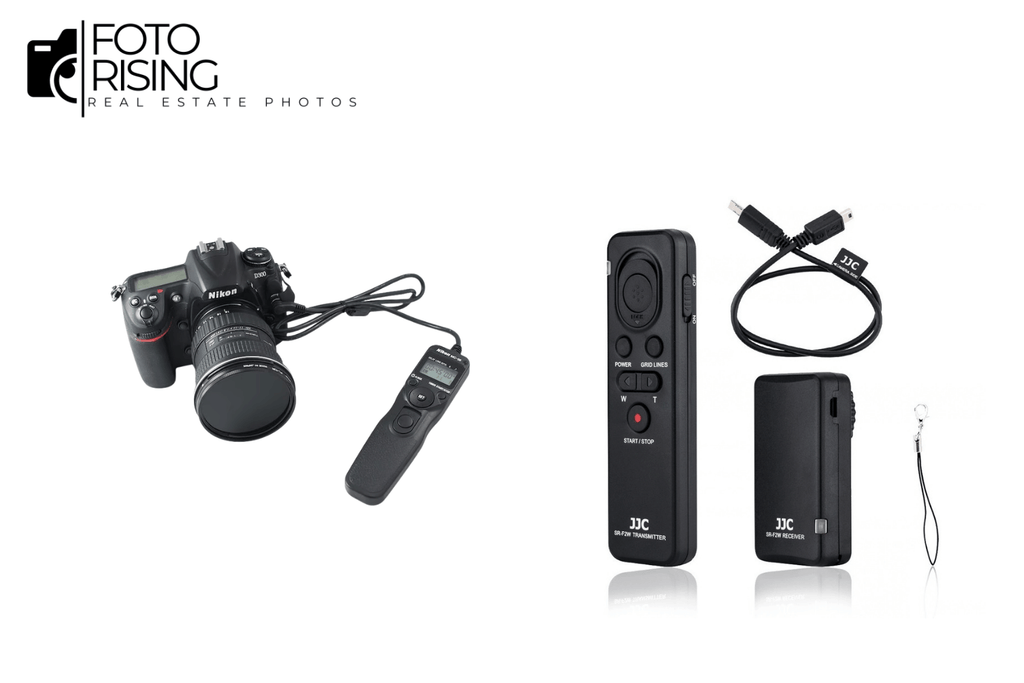
A remote shutter release, whether wired or wireless, prevents camera shake caused by physically pressing the shutter button. This small accessory makes a noticeable difference in image sharpness, especially during longer exposures in dim rooms. Many photographers also use a camera's built-in timer as a free alternative when a remote isn't available.
Flash and Lighting Equipment
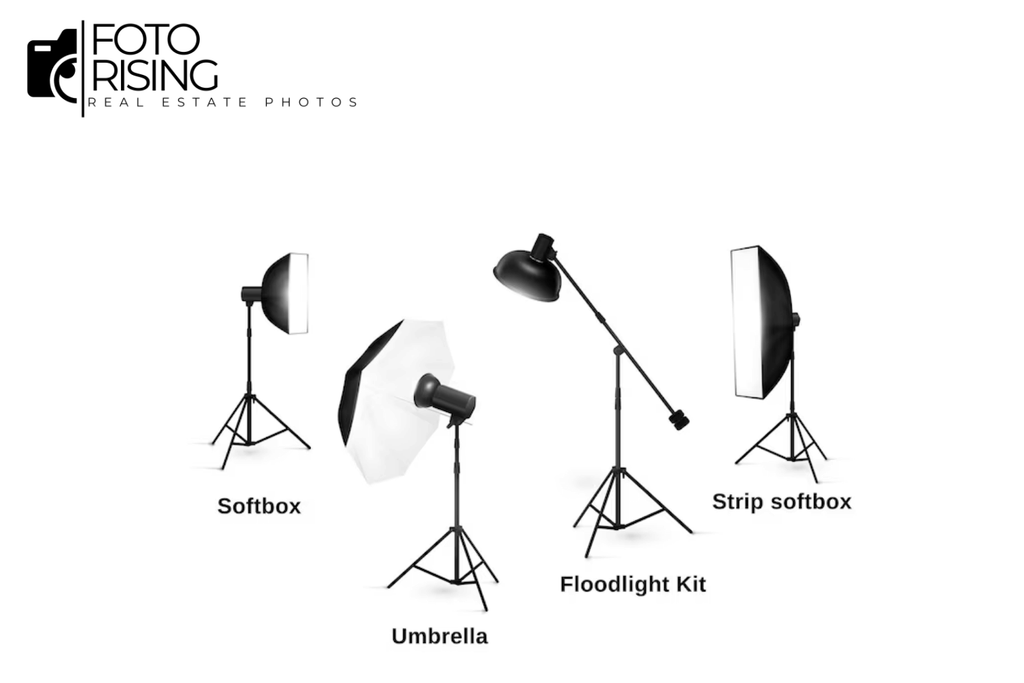
While natural light works well in many rooms, some interiors need supplemental lighting to avoid dark corners or uneven exposure. A portable flash or small LED panel can fill in shadows without overpowering the room's natural ambiance. Bounce flash techniques, where light reflects off a ceiling or wall, often produce more natural results than direct flash.
Camera Bag
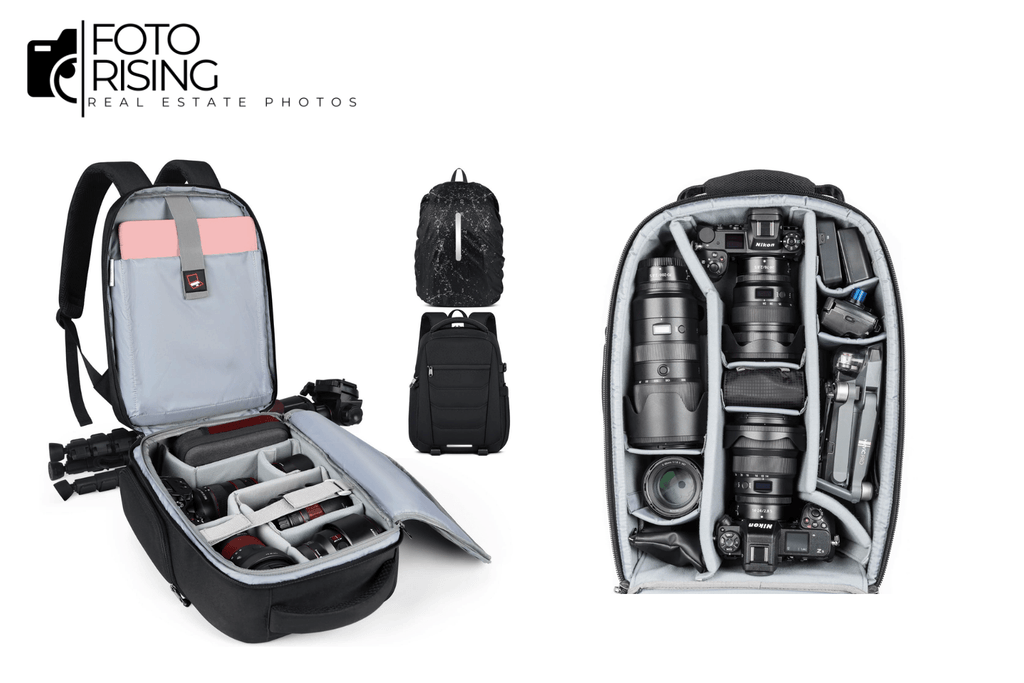
A durable, well-organized camera bag protects gear during transport between properties. Look for a bag with padded compartments for your camera body, lenses, and accessories, along with enough space for a small tripod. Weather resistance matters too, especially for photographers who shoot exterior property shots regardless of conditions.
Drone
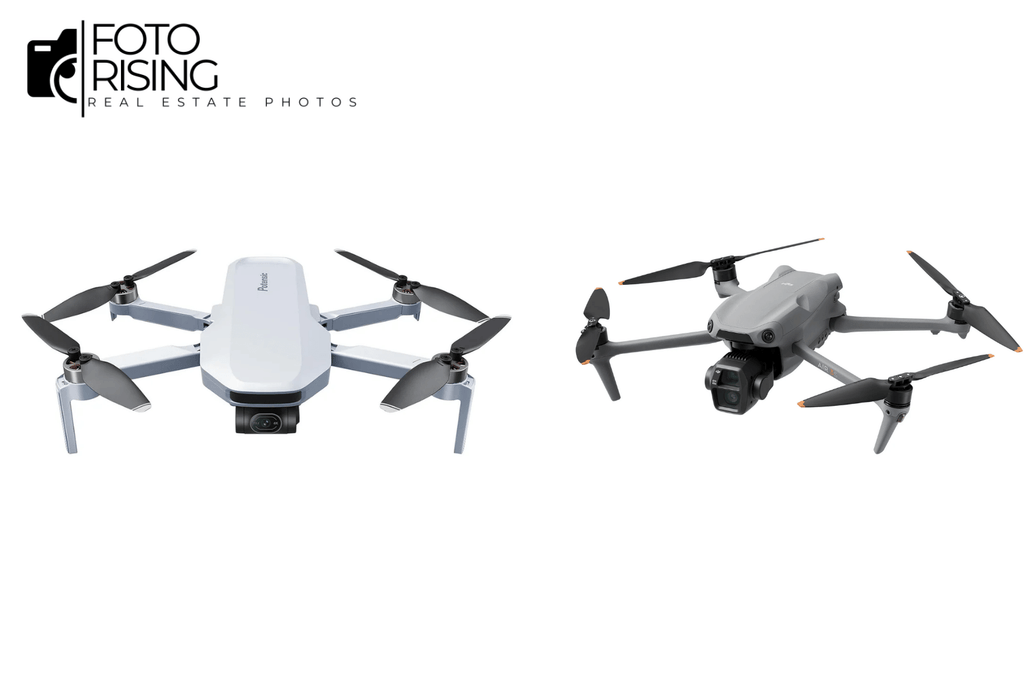
Aerial photography has become increasingly popular for showcasing larger properties, acreage, and neighborhood context. A drone equipped with a stabilized camera can capture angles that ground-based photography simply can't achieve. However, drone use often requires certification and adherence to local aviation regulations, so check your area's rules before adding one to your kit.
Lens Cleaning Kit
A simple lens cleaning kit, including a microfiber cloth and air blower, helps maintain image quality by keeping optics free of dust and smudges. This small, inexpensive addition prevents avoidable quality issues that are far more annoying to fix in post-production than in the field.
Spare Batteries and Memory Cards
Running out of battery or storage mid-shoot can derail an entire appointment. Carrying spare batteries and multiple memory cards ensures a shoot never has to stop early due to a technical oversight. Many professionals also back up files to a second card automatically, using cameras with dual card slots, to protect against data loss.
Laptop or Tablet for On-Site Review
Some photographers bring a laptop or tablet to review shots on a larger screen before leaving a property. This step helps catch exposure issues, missed angles, or focus problems while there's still time to reshoot, rather than discovering a mistake later during editing.
Building a Kit That Matches Your Workflow
Not every photographer needs every piece of equipment on this list right away. Beginners can start with a solid camera, wide-angle lens, and tripod, then expand their kit as their business grows. More established photographers often add lighting equipment, a drone, and backup gear to handle higher-end listings and larger properties.
Budget Considerations
A basic real estate photography kit, including a camera, wide-angle lens, and tripod, can start around $1,500 to $2,500. Adding a drone, lighting equipment, and backup accessories typically pushes a complete professional setup toward $4,000 to $6,000. Building gradually, rather than buying everything at once, helps photographers invest based on which tools actually improve their day-to-day results.
Conclusion
The right gear gives real estate photographers the consistency and reliability needed to handle demanding shoot schedules. While a camera and lens form the core of any kit, tools like a tripod, remote shutter release, and proper lighting equipment often make the difference between amateur and professional-looking results. Building a kit gradually, based on real shooting needs, tend to produce better long-term value than trying to buy every piece of equipment at once.
Read more:
Best Lens for Real Estate Photography
Professional Real Estate Editing in the AI Era
Best Camera for Real Estate Photography: A Buyer’s Guide