
Hit enter to search or ESC to close


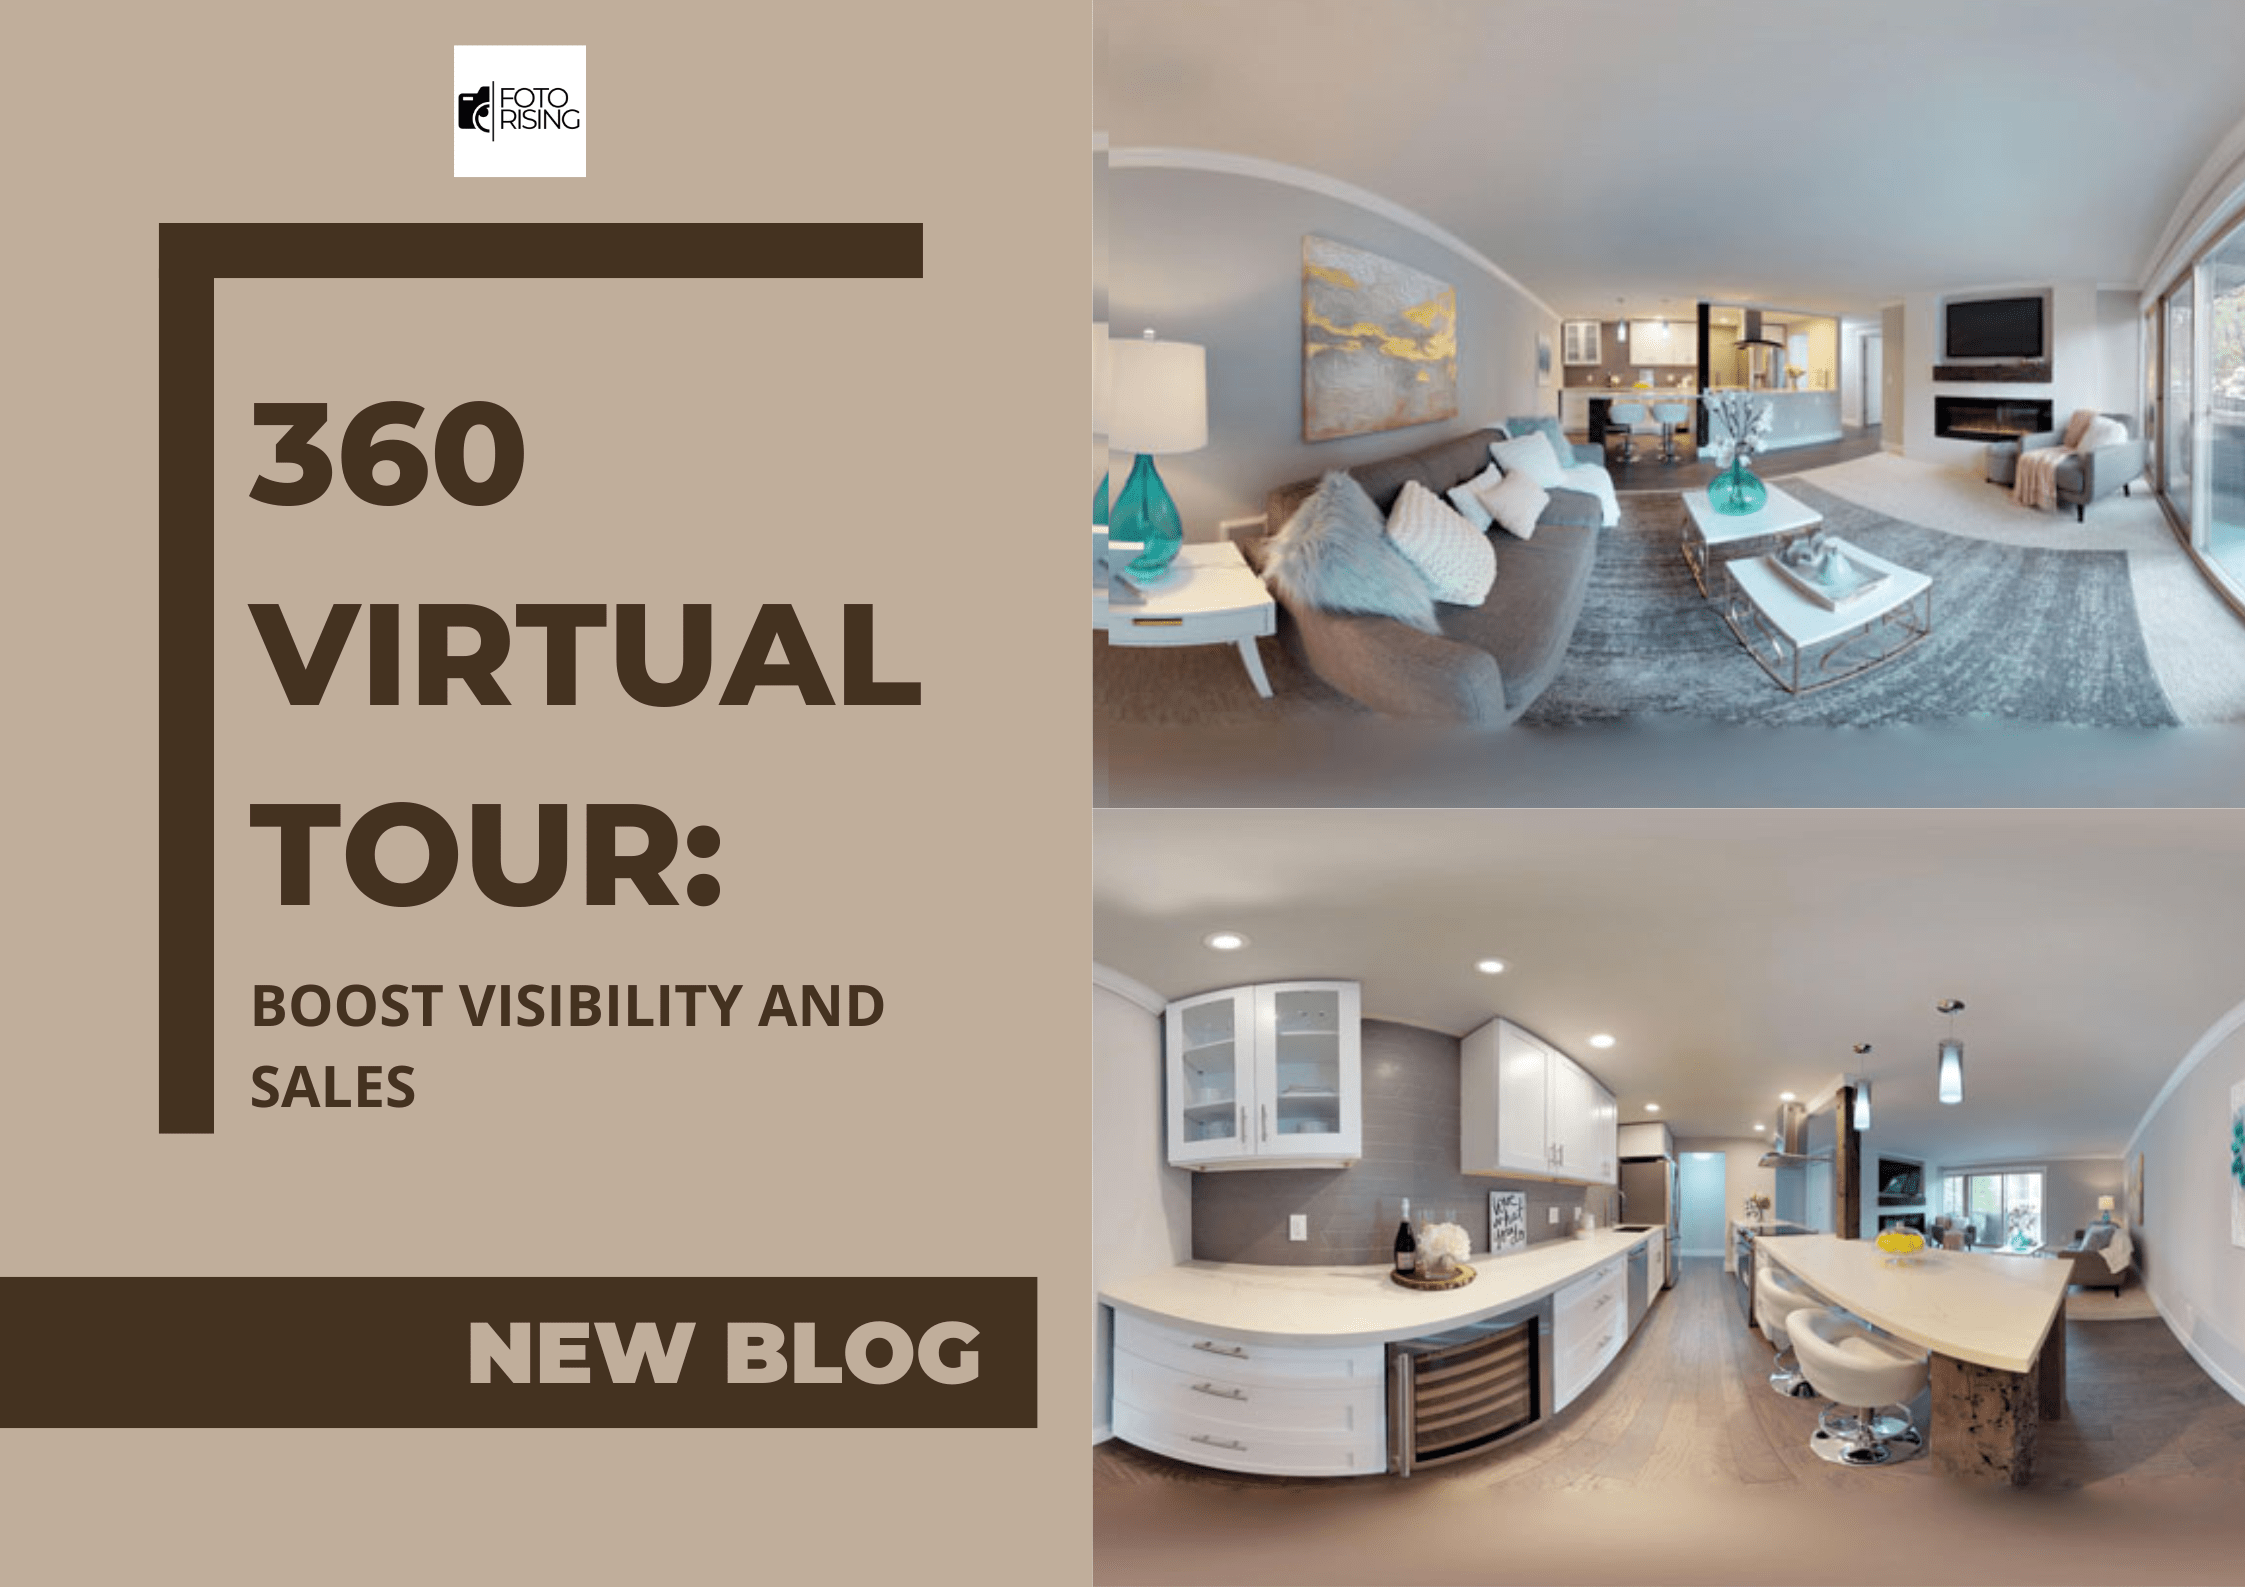
The real estate world keeps evolving. And right now, 3D photography is setting a new standard for how buyers explore homes. Forget flat images — today’s buyers expect movement, depth, and emotion. When you shoot 3D real estate photography, you create more than just pictures. You build virtual experiences that make properties feel alive.
It’s no surprise that listings with 3D tours receive almost two times more engagement than standard photo sets. Buyers stay longer, click deeper, and form emotional connections before stepping inside.
What Makes 3D Real Estate Photography Different?
Traditional real estate photography captures light, color, and layout. However, 3D photography goes beyond surfaces. It captures space — the relationship between walls, ceilings, and floors. Each image becomes part of a digital model that buyers can walk through virtually.
This kind of visual storytelling helps buyers imagine themselves living there. They can sense how furniture fits, how light changes through the day, and even how rooms connect. In short, 3D brings reality closer to the screen.
Why 3D Photography Is a Smart Move for Agents
Agents who shoot 3D real estate photography aren’t just following trends. They’re staying ahead of the market. Research from 2025 shows that 68% of buyers prefer listings with immersive tours. Meanwhile, properties with 3D visuals sell up to 30% faster.
Those numbers tell a clear story — this technology isn’t just “nice to have.” It’s now a competitive advantage. And with more agents embracing 3D tools, standing still means falling behind.
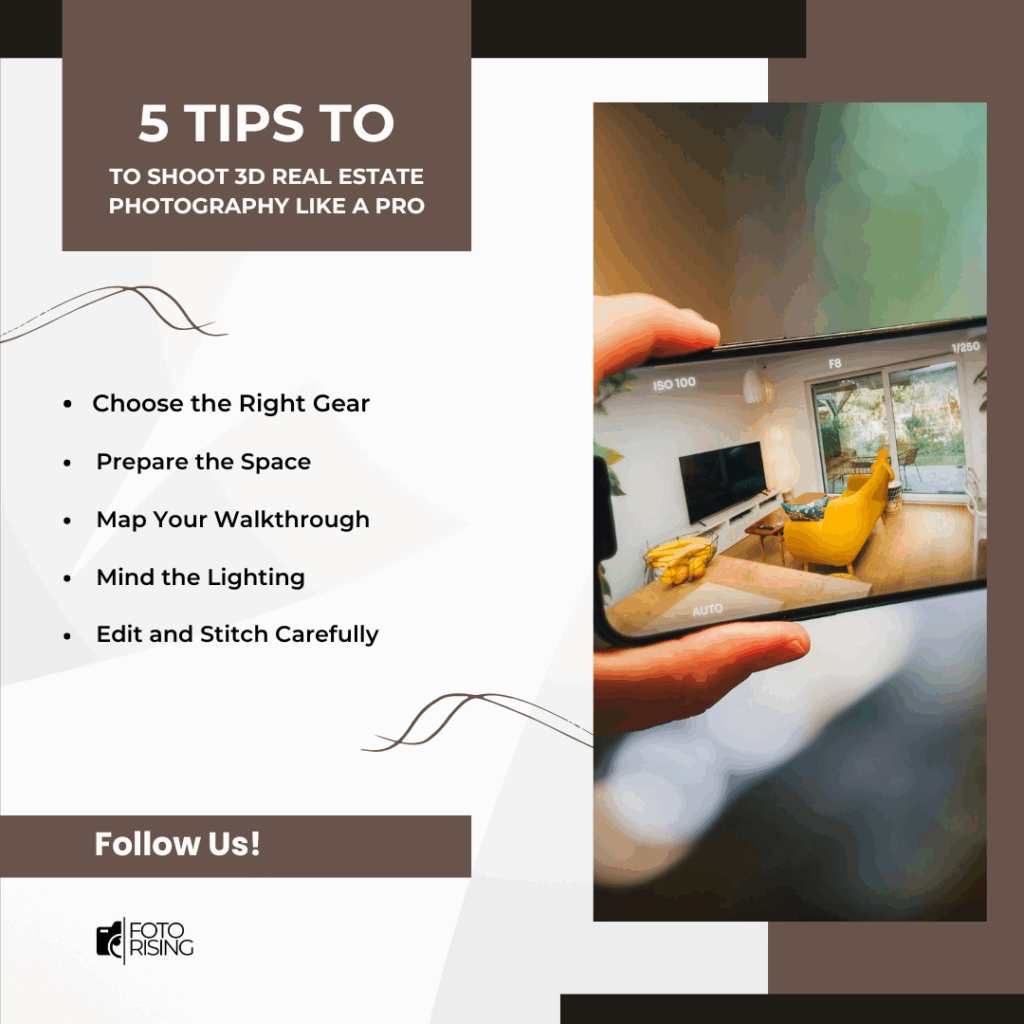
How to Shoot 3D Real Estate Photography Like a Pro
You don’t need a movie-studio budget to begin. However, you do need technique, patience, and planning. Here’s how professionals do it right:
1. Choose the Right Gear
Use a camera that supports 3D or 360° capture. The Matterport Pro3 and Ricoh Theta X are popular choices in 2025. These cameras map spaces with accuracy, giving you sharp images and smooth virtual movement.
2. Prepare the Space
Declutter, open blinds, and let natural light flood the room. 3D photography reveals every detail, so even small messes become distractions. A clean, bright setup always translates better on screen.
3. Map Your Walkthrough
Plan your camera path before shooting. Move in smooth, logical steps — from entrance to living areas, then bedrooms and exteriors. Consistency matters because viewers will feel every change in flow.
4. Mind the Lighting
3D cameras need even lighting to stitch images seamlessly. Avoid harsh shadows and bright spots. If daylight is uneven, use soft LED panels to balance exposure.
5. Edit and Stitch Carefully
Once captured, process your images using professional software such as Matterport Workshop or Zillow 3D Home. These tools align images and create a full virtual model. Don’t rush this step — fine-tuning angles, exposure, and transitions makes a huge difference.
Latest Industry Insights (2025 Update)
According to recent data from HomeJab and Statista, demand for 3D listings has doubled in the last 18 months. Buyers now expect digital tours as part of the listing experience.
At the same time, AI-assisted editing tools have made the process faster. Some systems can now generate full 3D models in under 30 minutes. Virtual staging has also merged with 3D photography, allowing agents to add realistic furniture directly into the model. This combination of technology makes every listing feel personal and polished.
Moreover, in competitive cities like Austin, Miami, and Seattle, listings that include a 3D tour rank higher on search platforms such as Zillow and Redfin. Better ranking means more visibility — and ultimately, faster sales.
Common Pitfalls to Avoid
Even skilled photographers can make mistakes. Here are a few to watch out for:
- Skipping key rooms: Missing spaces breaks the sense of flow. Always capture every area.
- Uneven exposure: A bright kitchen and a dark hallway make the model look inconsistent.
- Fast camera movement: Rushing scans can cause blurry spots or warped walls.
- Ignoring mobile users: Always preview your 3D tour on phones. Over half of viewers browse on mobile.
Avoiding these issues ensures your 3D tour feels smooth, professional, and realistic.
Marketing Your 3D Photography Service
Once you’ve mastered how to shoot 3D real estate photography, make sure the world knows. Highlight the value — faster sales, fewer wasted showings, and better buyer engagement. Post before-and-after visuals on social media.
You can also create short teaser clips showing snippets of the 3D walkthrough. These are perfect for platforms like Instagram Reels or TikTok, where attention spans are short.
Finally, collaborate with agents who handle luxury or new development properties. They are often first to invest in technology that enhances buyer experience.
Final Thoughts
Shooting 3D real estate photography isn’t just about technology. It’s about emotion, imagination, and experience. Every scan and every angle builds a story that helps buyers feel connected to a space before they ever visit.
As the market grows more digital, 3D imagery will soon become as essential as professional photo editing once was. The earlier you start, the more confidently you’ll lead.
So grab your camera, plan your path, and step into the future of real estate — one 3D shot at a time.
Read more:
360 Virtual Tour: Boost Visibility and Sales
10 Best Photo Editing Programs for Real Estate in 2024
How Long Does It Take to Be a Professional Photography Editor?
2 responses to “Shoot 3D Real Estate Photography: The Future of Property Marketing”
I wasn’t expecting to learn so much from this post!
This is exactly the kind of content I’ve been searching for.