Search Blog
Hit enter to search or ESC to close
Trending Now
3 Biggest Mistakes in Flambient Real Estate Photography – How to Master?
- Get link
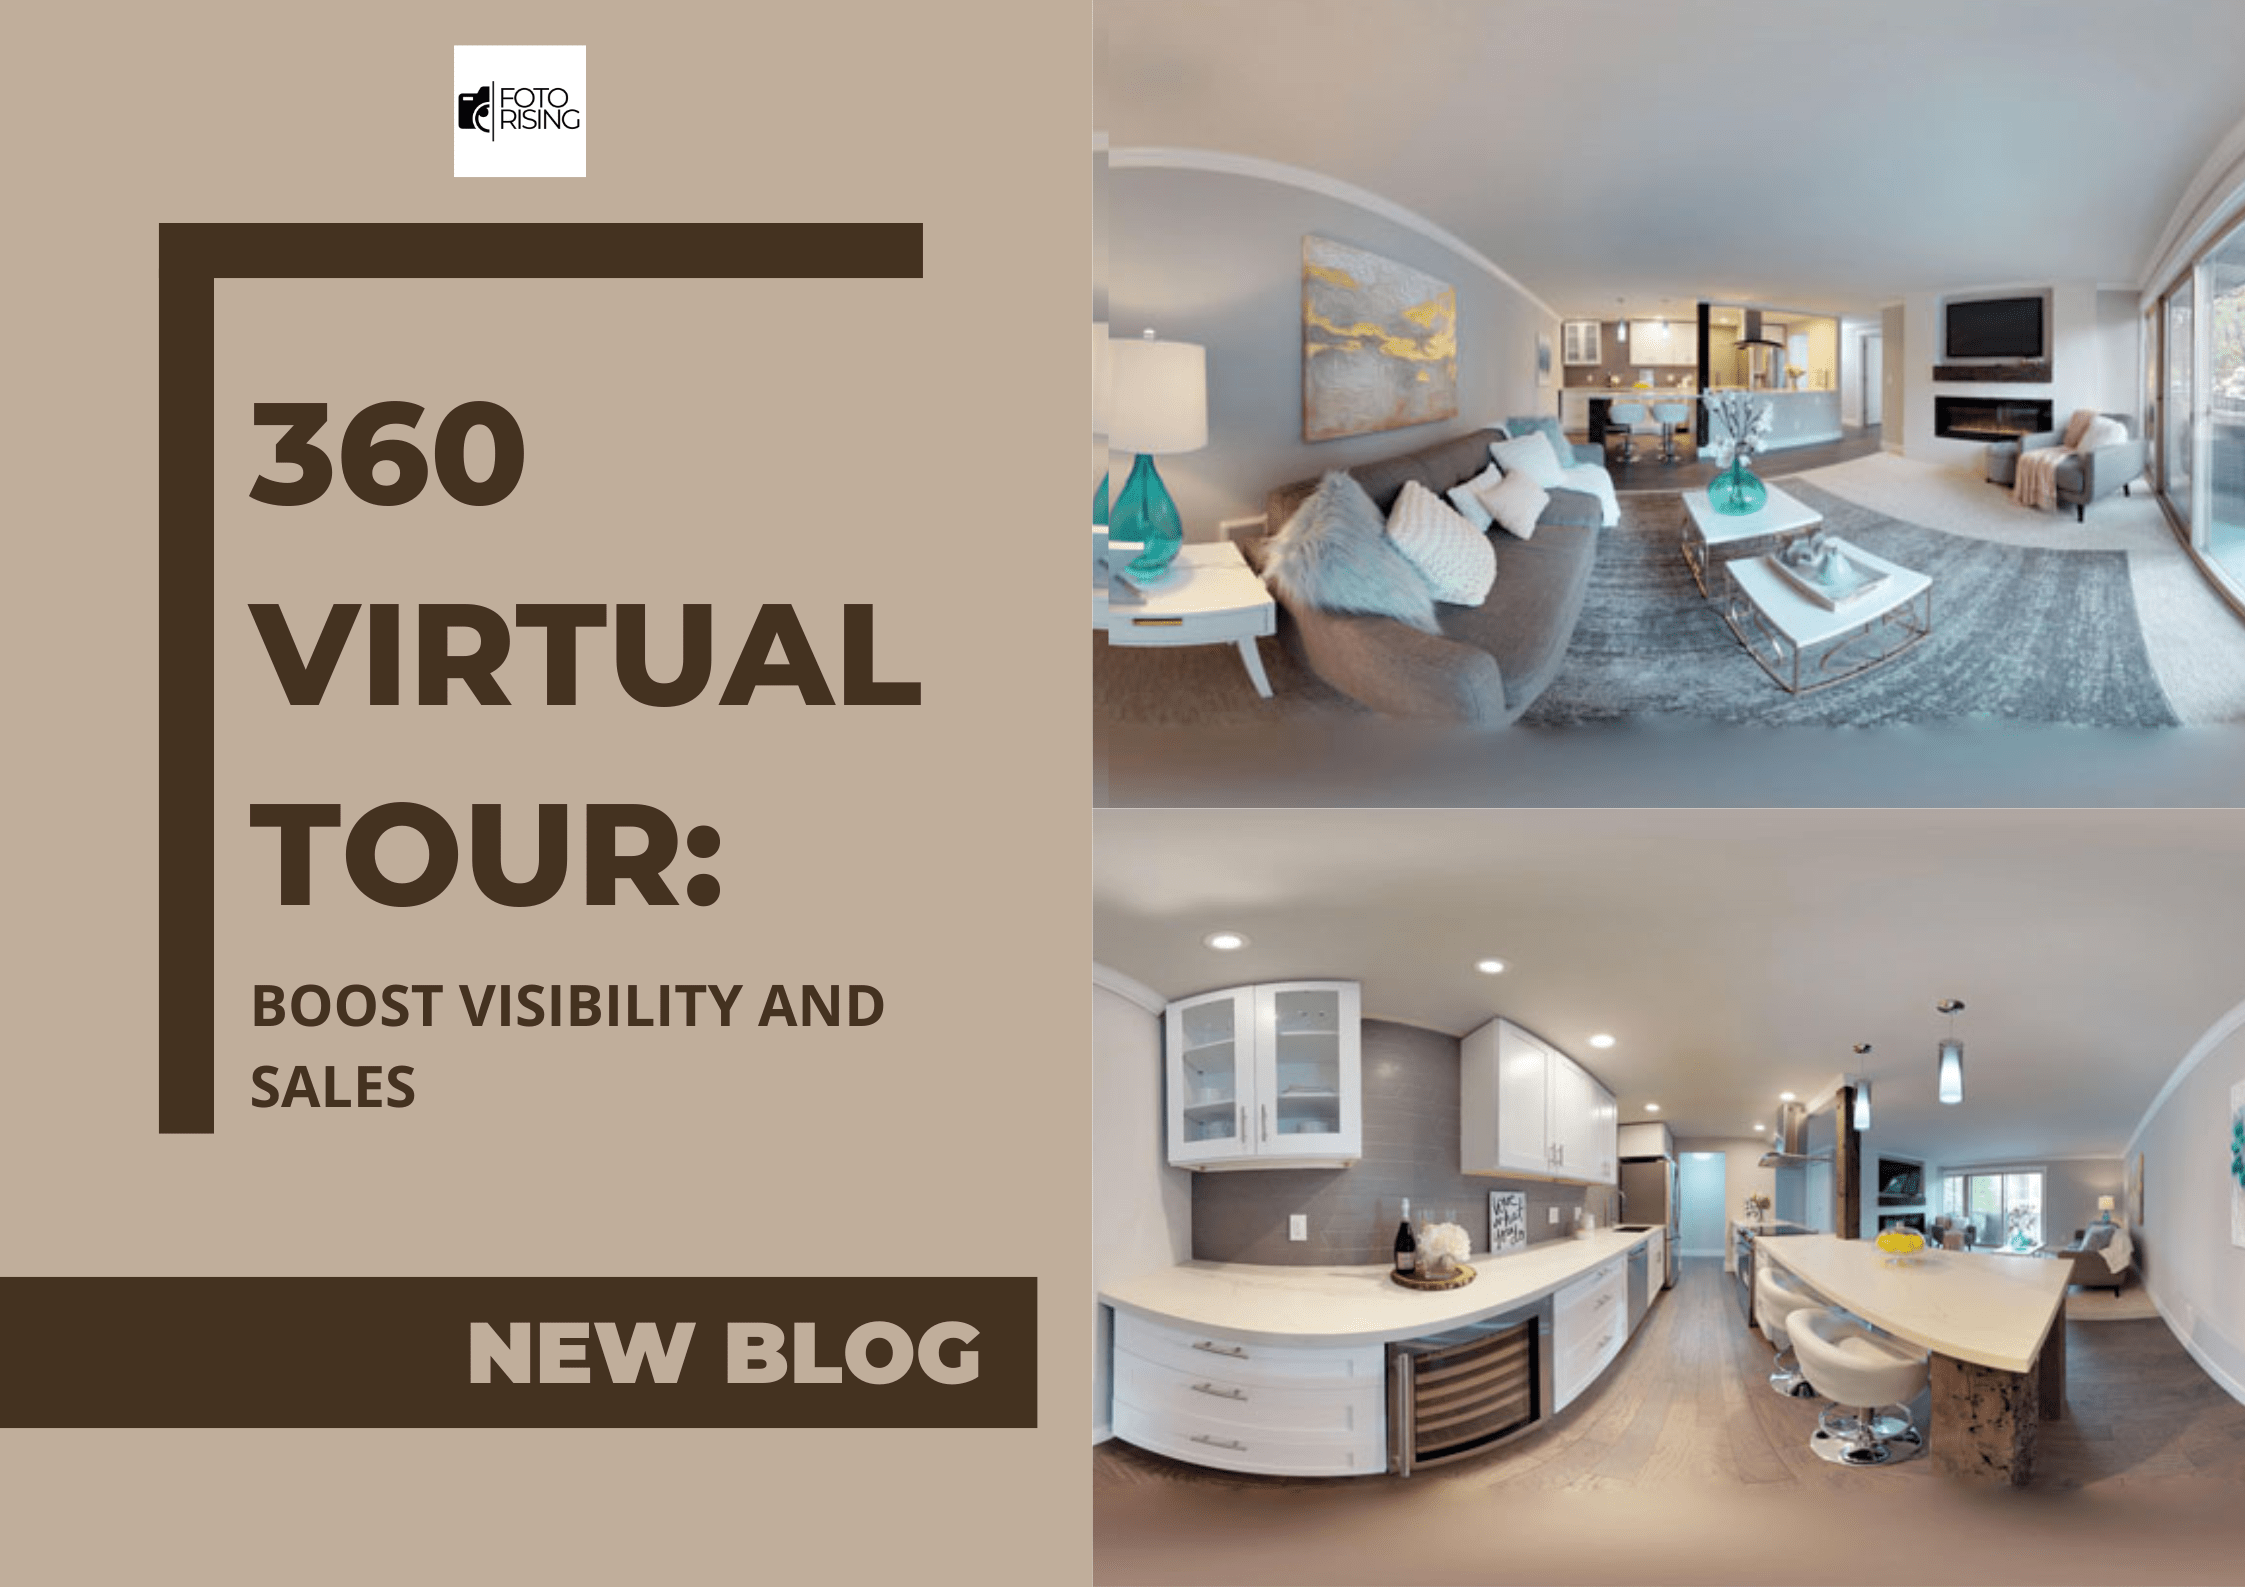
360 Virtual Tour: Boost Visibility and Sales
- Get link
- Get link
Editing real estate photos in Lightroom is essential for professionals. The right techniques can make a property look inviting. This blog will guide you through the process. We will cover the latest tips and tricks to ensure your photos stand out.
Why Use Lightroom for Real Estate Photos?
Lightroom is a powerful tool for photo editing. It offers a range of features tailored for real estate photography. These features help in enhancing images while maintaining natural aesthetics.
1. Importing Your Photos
Firstly, import your photos into Lightroom. This step is crucial for organizing your work. Use the Library module to manage your photos efficiently. Ensure your photos are in RAW format for the best quality.
2. Basic Adjustments
Begin with basic adjustments. These include exposure, contrast, highlights, shadows, and white balance. Adjust the exposure to ensure the photo is not too dark or too bright. Correct the white balance to achieve natural colors.
3. Enhance Details with Clarity and Sharpness
Clarity and sharpness are key for real estate photos. Increase the clarity to enhance textures and details. Use the sharpening tool to make your images crisp. Avoid over-sharpening as it can create unwanted artifacts.
4. Correct Lens Distortion
Lens distortion can affect the quality of your photos. Lightroom offers lens correction tools to fix this issue. Enable the “Remove Chromatic Aberration” and “Enable Profile Corrections” options. These settings correct common lens issues automatically.
5. Adjust the Lighting with Graduated Filters
Graduated filters are excellent for balancing lighting. Use them to brighten dark areas or darken overly bright areas. This technique helps in creating a balanced exposure throughout the image.
6. Use the Brush Tool for Local Adjustments
The brush tool allows for precise edits. Use it to adjust specific areas of the photo. For instance, brighten a room corner or enhance details on a feature. This tool provides greater control over your edits.
7. Enhance Colors with HSL Adjustments
HSL (Hue, Saturation, Luminance) adjustments are vital. These settings help in enhancing or muting specific colors. For real estate photos, ensure the colors look natural and appealing. Over-saturation can make the photos look unrealistic.
8. Correct Perspective with Transform Tools
Perspective correction is important in real estate photography. Use the transform tools to correct any distortion. Ensure vertical and horizontal lines are straight. This step enhances the professionalism of your photos.
9. Final Touches with Vignettes and Cropping
Vignettes and cropping can add the final touches. Use a slight vignette to draw attention to the center of the image. Crop the photo to remove any distracting elements. This step ensures the photo focuses on the property.
10. Exporting Your Edited Photos
Finally, export your edited photos. Choose the right settings to maintain quality. Save your photos in a format suitable for online use, such as JPEG. Adjust the resolution to ensure the images load quickly on websites.
Latest Trends in Real Estate Photo Editing
Keeping up with the latest trends is important. Virtual staging is becoming popular. It allows buyers to visualize spaces with furniture. Another trend is the use of HDR (High Dynamic Range). HDR combines multiple exposures for a balanced image. These trends enhance the appeal of real estate photos.
Virtual Staging
Virtual staging helps buyers imagine living in the property. It adds furniture and decor to empty rooms. Lightroom supports this through integration with other software. Use this feature to make properties more attractive.
HDR Photography
HDR photography balances light and dark areas. It involves merging multiple exposures. Lightroom has built-in HDR tools. Use these to create well-balanced images. This technique is especially useful for rooms with large windows.
Conclusion
Editing real estate photos in Lightroom can transform your images. Follow these steps to enhance your photos professionally. Stay updated with the latest trends to keep your work relevant. With practice, you will master the art of real estate photo editing.
Read more:
The Future Of Real Estate Photo Editing In 2024
Unlock Your Real Estate Listings With Exceptional Exterior Photo Editing Services
You May Also Like
10 Best Photo Editing Programs for Real Estate in 2024
- Get link
3 Biggest Mistakes in Flambient Real Estate Photography – How to Master?
- Get link
360 Virtual Tour: Boost Visibility and Sales
- Get link


