
Hit enter to search or ESC to close
Trending Now
Professional property photo editing turns average listing photos into polished images that attract buyers and build trust. Most buyers start their search online, so photos make the first impression. Even a well-shot property can look flat without proper post-production. This guide explains what professional editing includes, why it matters, and how to choose the right provider.
What Is Professional Property Photo Editing?
Professional property photo editing is the skilled post-production of real estate images. Trained editors correct lighting, color, and perspective. They also remove distractions and enhance key features. As a result, every photo looks bright, clean, and true to life.
Unlike quick filters or one-click apps, professional work relies on human judgment. An experienced editor knows how a room should feel. Therefore, the final image looks natural rather than over-processed.
Why Professional Property Photo Editing Matters
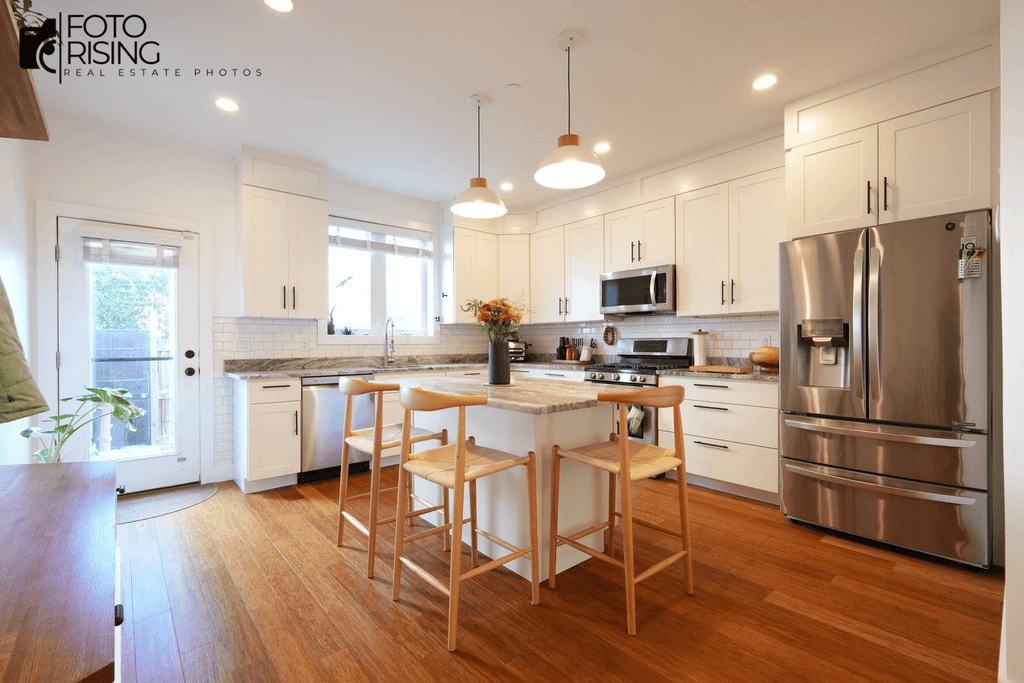
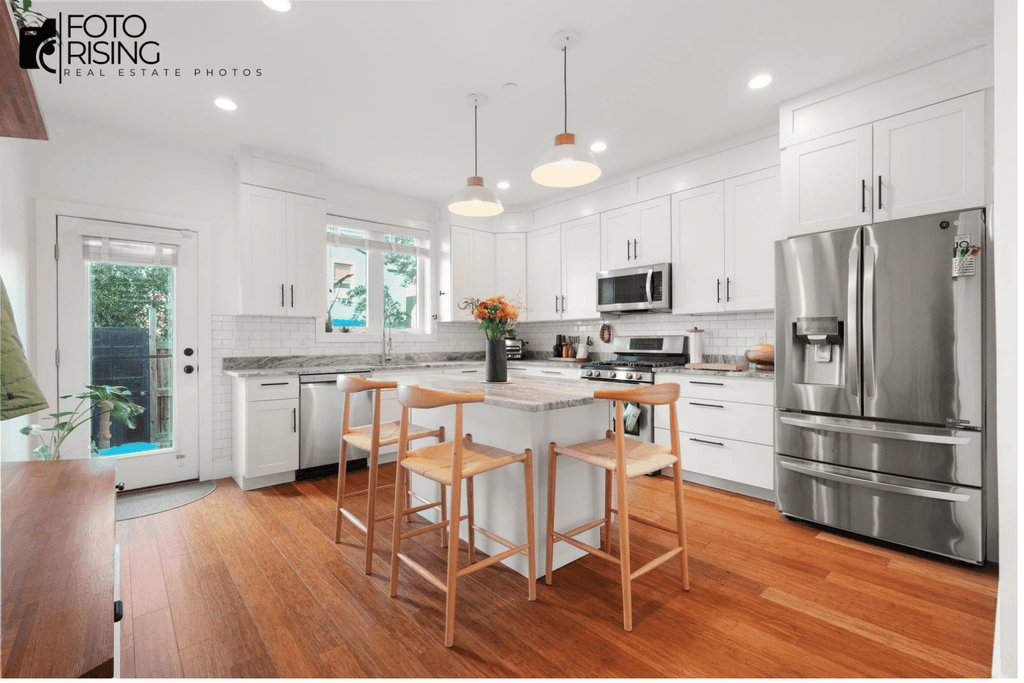
Buyers scroll fast. A dark, crooked, or cluttered photo gets skipped within seconds. Polished images, however, hold attention and encourage showings.
Bright, balanced photos make a home feel inviting, and eye-catching thumbnails earn more clicks on listing portals. Consistent quality across the gallery also builds a stronger brand for agents and photographers. Meanwhile, outsourcing the editing frees photographers to spend more time shooting.
Core Services in Professional Property Photo Editing
Most professional providers offer a similar set of core services. Each one solves a specific problem.
HDR Blending
Interior rooms often mix bright windows with dark corners. HDR editing combines several exposures into one balanced image. Consequently, you keep detail in both shadows and highlights.
Color and Exposure Correction
Editors fix color casts, adjust white balance, and brighten dim rooms. Whites stay clean, and wood tones stay warm. This step alone improves most photos dramatically.
Perspective and Lens Correction
Crooked walls and curved lines make a room feel off. Editors straighten verticals and reduce lens distortion. The space then looks accurate and comfortable.
Object Removal and Cleanup
Power cords, trash cans, and small stains distract buyers. Editors remove these temporary items quickly. They never hide permanent defects, because honesty protects buyer trust.
Sky Replacement and Lawn Enhancement
Gray skies and patchy grass hurt curb appeal. Editors replace dull skies and refresh lawns, so exteriors look bright and welcoming.
Virtual Staging and Virtual Dusk
Empty rooms struggle to connect with buyers. Virtual staging adds realistic furniture to show the space's potential. Virtual dusk turns daytime exteriors into warm twilight scenes without a second shoot.
Professional Editing vs. DIY and Automated Tools
Automated apps are fast and cheap. Still, they often miss details. They may leave halos around rooflines, create odd colors, or mishandle reflections.
Professional editors, on the other hand, review every image by hand. They catch small flaws and adapt each edit to the property. Additionally, they can follow your personal style, so your galleries stay consistent over time.
DIY editing works for occasional shoots. However, it becomes a bottleneck once you handle several listings each week.
How to Choose a Professional Property Photo Editing Provider
Not every provider delivers the same quality, so start with their focus. Editors should understand real estate photography, not just general retouching. Next, check the turnaround time. Reliable teams deliver within 24 hours or less.
Pricing matters too. Per-image rates should be easy to find, and a free trial edit lets you test quality before you commit. Responsive support also helps when deadlines are tight, and a fair revision policy means issues get fixed without extra fees.
Always review portfolio samples. Check for natural colors, clean edges, and a consistent style.
Tips to Get the Best Results
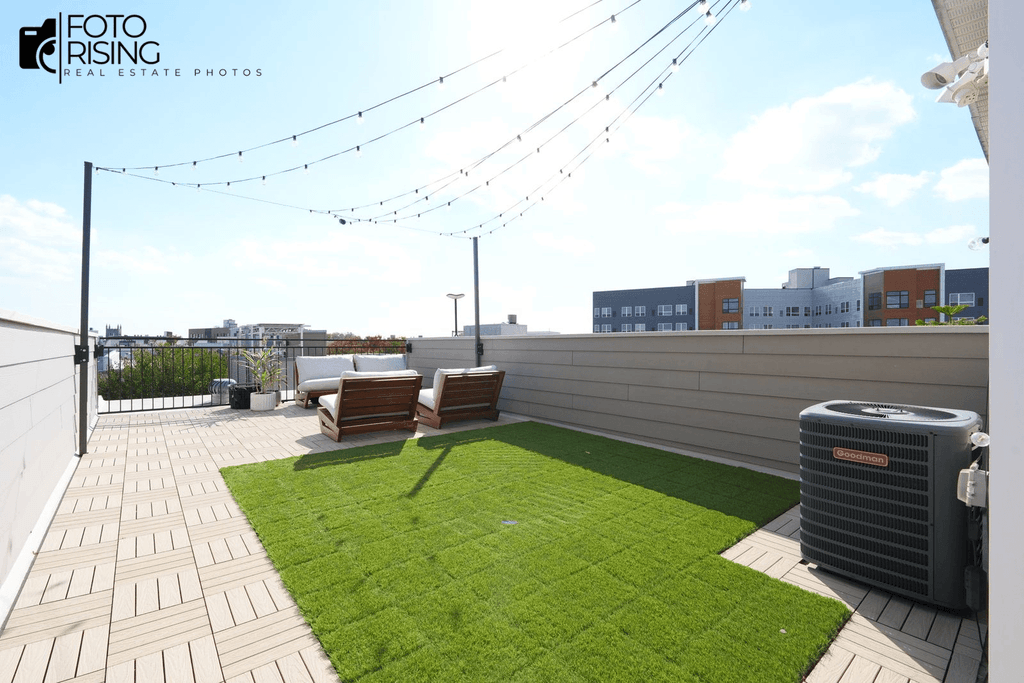
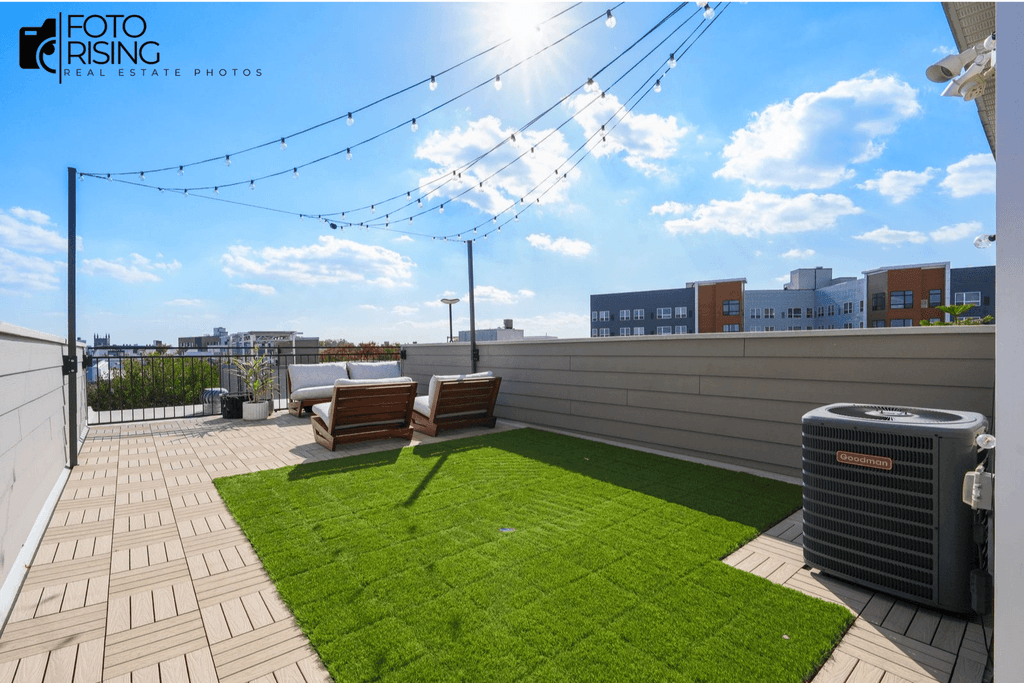
You can help your editor deliver better work with a few simple habits. Shoot in RAW, since it preserves more detail for editing. Use bracketed exposures to give the editor flexibility with HDR. Keep your tripod level, because straight frames reduce correction work.
Finally, share a style guide that explains your preferred brightness, warmth, and look. Clear notes about objects to remove or areas to enhance help too.
Staying Honest and Compliant
Editing should improve presentation, not mislead buyers. Many MLS platforms limit changes that alter the property itself. Cleaning up photos and improving light is generally fine. Changing structure, size, or condition is not. Check your local rules, and disclose significant edits such as virtual staging.
Conclusion
Professional property photo editing helps every listing look its best. It fixes lighting, straightens lines, removes distractions, and adds finishing touches that grab attention. When you choose a reliable, real estate-focused provider, you save time and deliver consistent results. Start with a trial edit, and see how much difference expert editing makes.
Read more:
Real Estate Photo Editing Workflow: 8 Steps to Faster Delivery
The Art of Portrait Photography: Capture Emotion with Ease
Flambient Photography: Complete Guide for Real Estate